Oz PD Goose performance
The Goose turns out to be a decent performer when setup correctly. Check this out.
Oz PD Goose Sailboat build finished
We just finished building a simple sailboat. For more details, go here.
Still working
I haven't posted in a while, but things are still moving along. We've made progress on the Pitts, but that's taken a back seat to some small sailboats we're building for the kids. Hopefully we will get to spend some time this summer teaching them all how to sail.
There is progress on the Airbike front as well. I sent the Hirth to Rec Power and had Matt Dandar's shop go through it get it ready to go again. It has been sitting in storage for a few years, so a few items needed to be inspected. Everything I was concerned about was actually fine. The biggest maintenance item was replacing the rings. They had become loaded up from all the 100LL that's been run through it. Everything was cleaned up and they did a few upgrades to parts that have changed design since I bought the engine. I'll start using TCP in the fuel when I have to run 100LL and extend the life of the rings and plugs.
The engine should be back this week, so we'll start putting the Airbike back together soon. It needs a few hoses and other odds and ends, but mostly just needs to be reassembled. Once the engine is broken in again, it will be back in the air. It will be nice to have a least one of the airplanes in flying condition again.
More aileron work
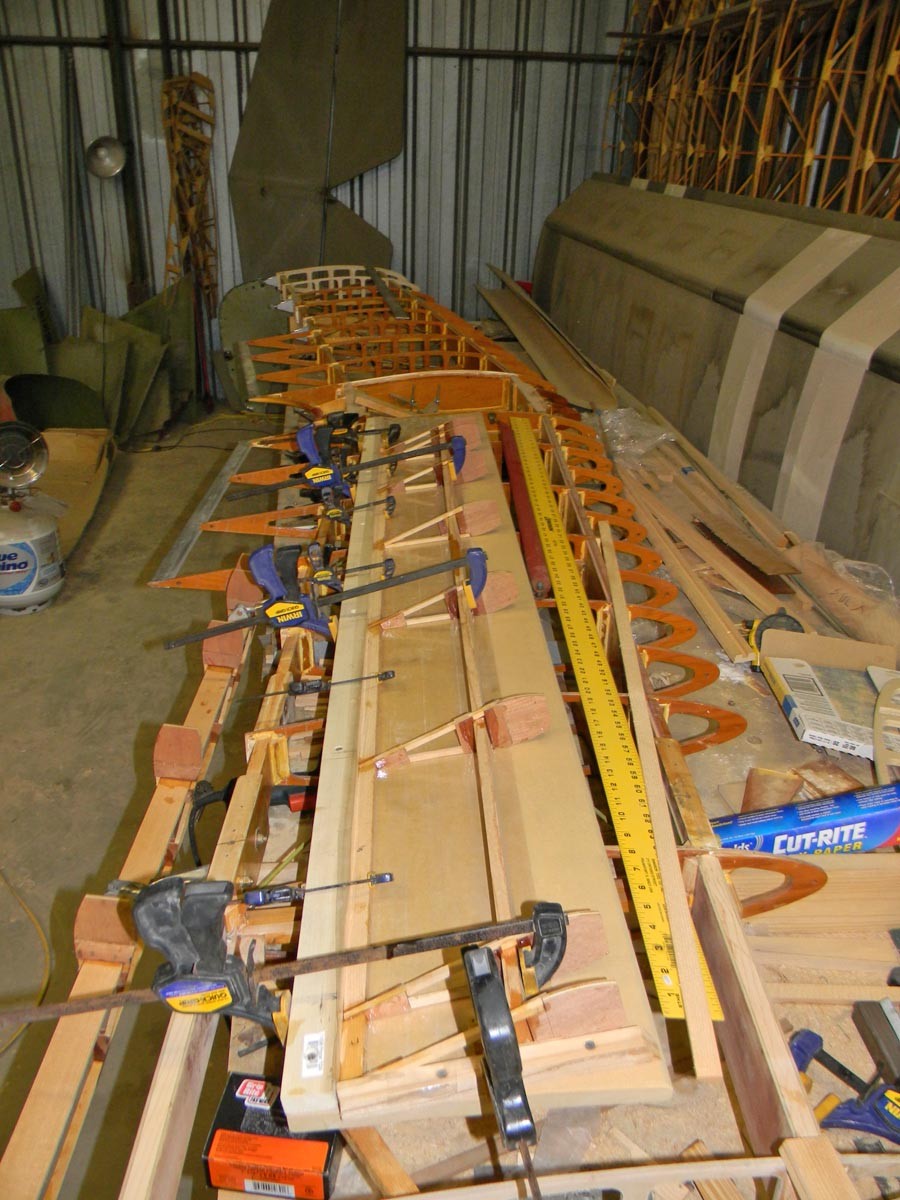
We glued the ribs to the spar of the second top aileron Friday night. Today, I got over to the hangar and glued in the trailing edge and inboard rib. Here's a picture of the parts in the jig.
Top aileron framed up.
I pulled the first top aileron out of the fixture Friday night. The ribs looked good and were glued to the spar correctly. The trailing edge pieces wandered a bit and didn't work out as well.
We busted the TE pieces out of the aileron and setup up the fixture again. Much easier now that the ribs were glued. After a couple jig adjustments, the TE pieces all sat where they were supposed to go.
Today, I pulled the aileron out of the jig and everything looks real good. The trailing edge is straight and flat like it should be. It was too cold to glue up another part, so nothing else got done today.
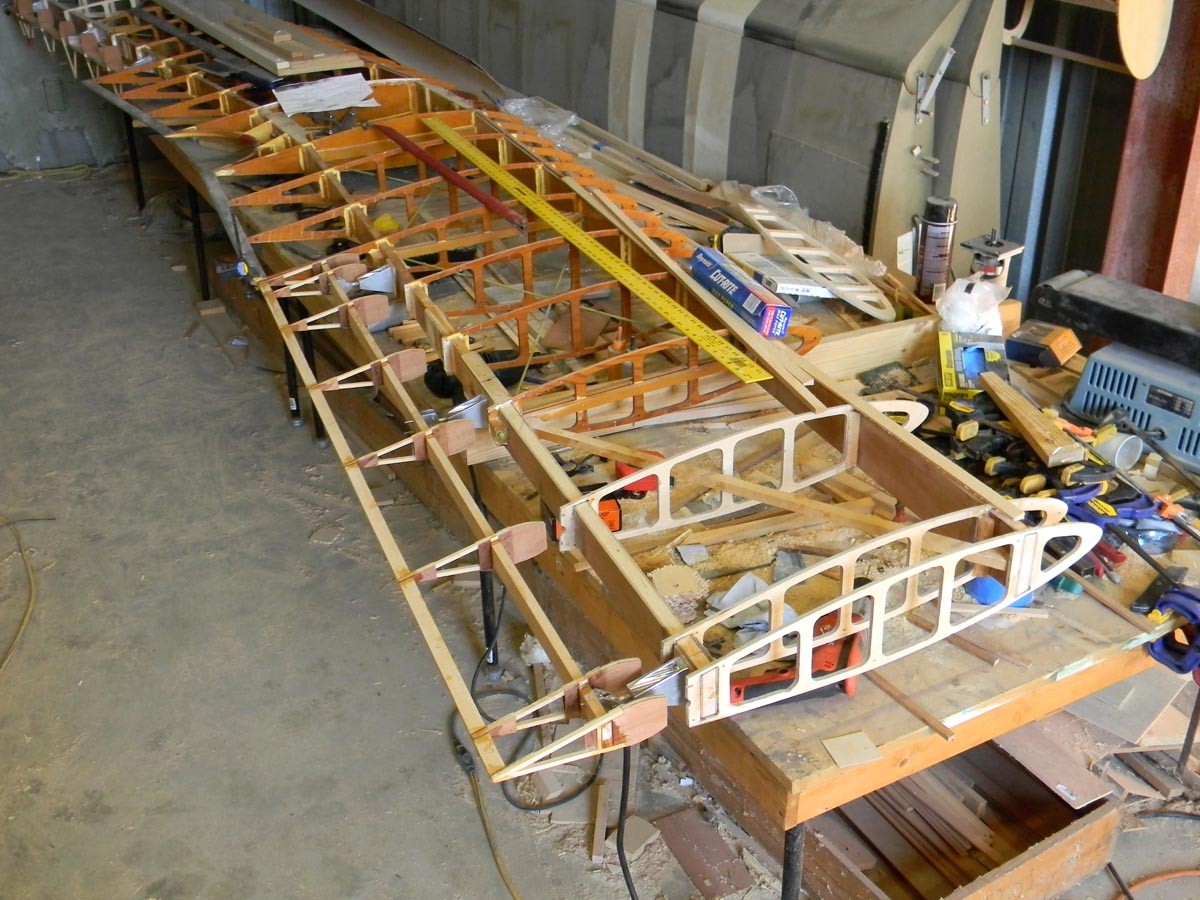
Here's a picture of the framed up aileron hung on the top wing.
First top aileron glued
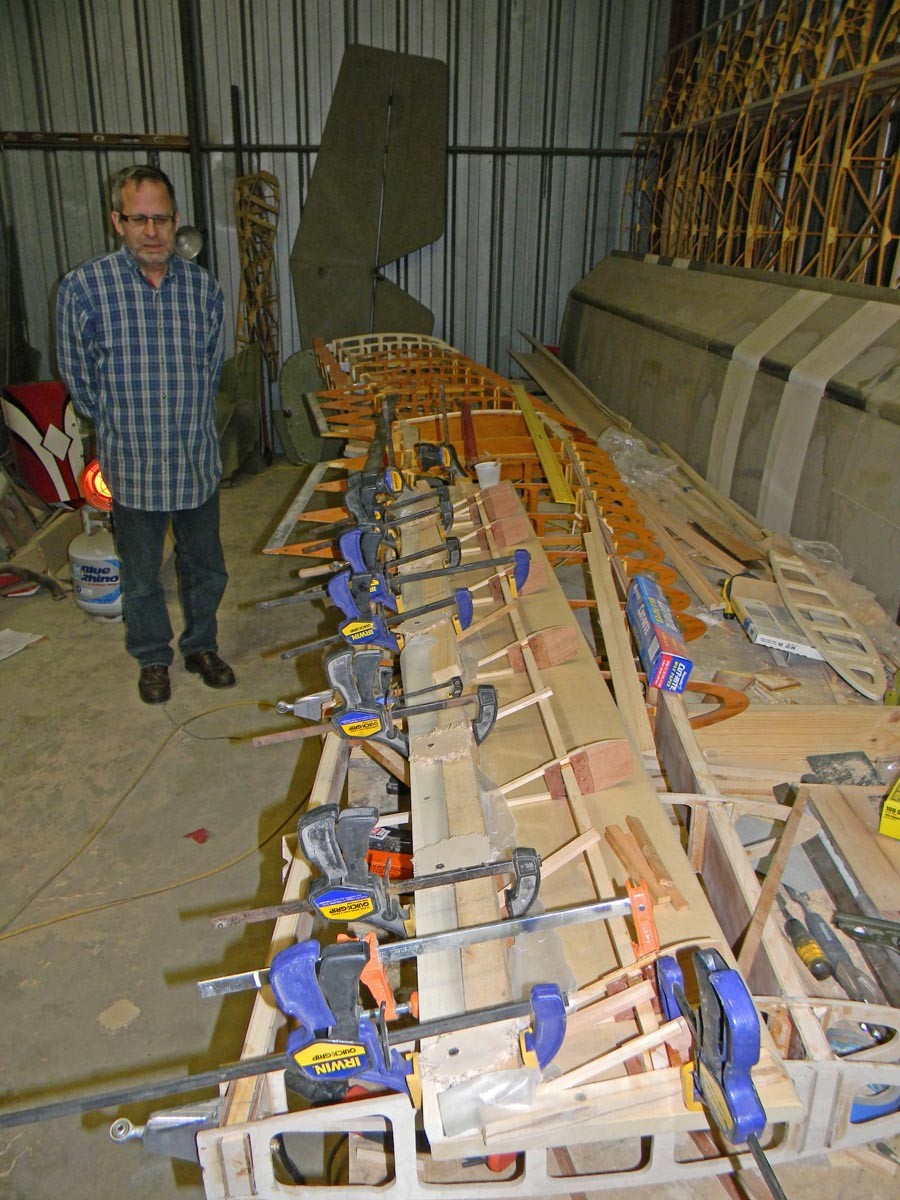
Today, Dad came out to the hangar and gave me a hand gluing up the first aileron for the top wing. We had to finish up a couple details on the jig and then fit all the trailing edge parts between each rib. A little epoxy and a bunch of clamps later, we had it together.
Top wing ailerons
I've been pretty busy with other stuff, but we're still making progress on the ailerons for the top wing. All the hinge hardware has been installed and works well. Yesterday we laid out the jig for building the ailerons. The same jig will be used for both ailerons since they are symmetrical. We'll be able to start gluing up aileron parts the next time we're at the hangar.
More aileron hinges
I spent a little time working on the top wing today. I got the inboard and outboard aileron hinges installed on the left side of the wing and the left aileron spar. Most of the work is locating them correctly. The rest is just drilling a few holes.

Aileron hinges
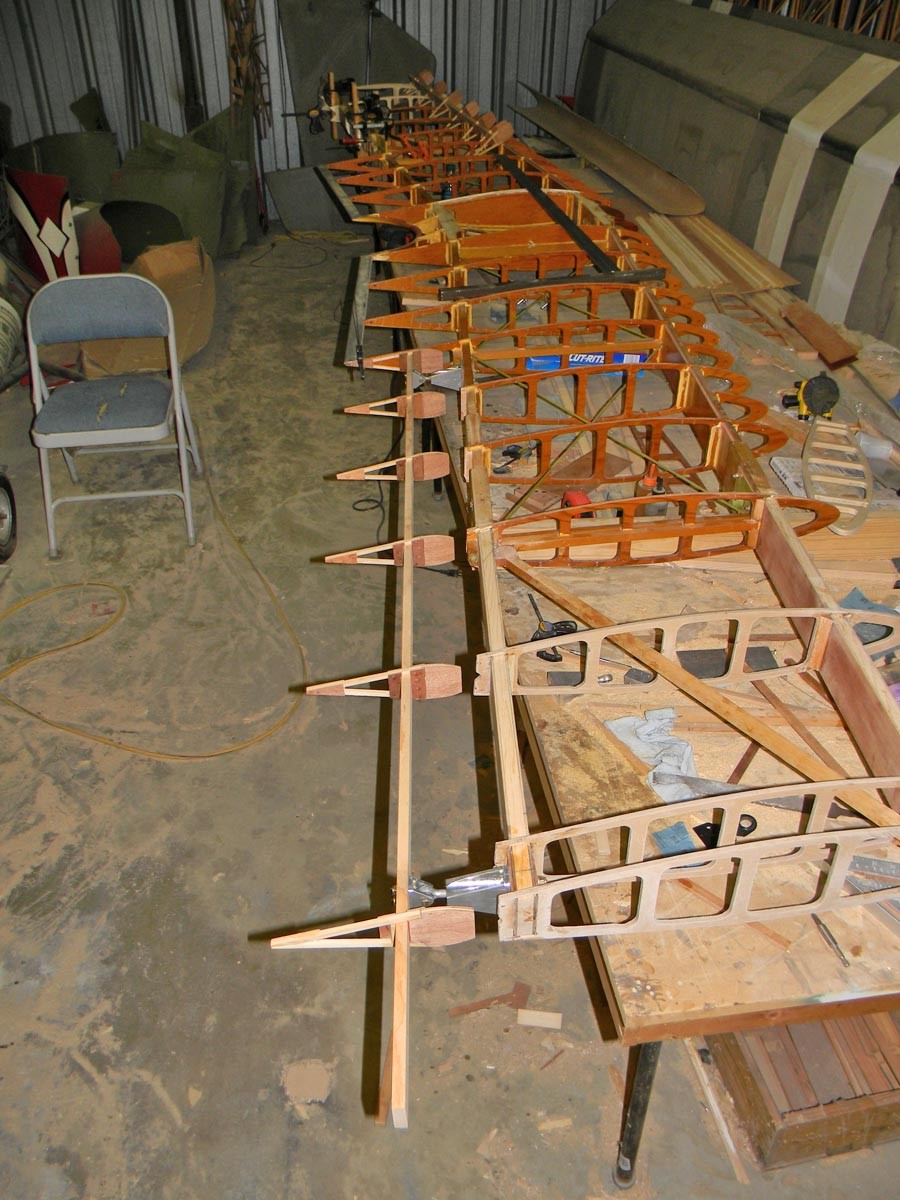
Starting to get back to work on the top wing. Today I laid out the locations of the aileron hinges for the left side and glued some required 1/16" plywood shims in place. My dad made a set of aluminum spacers needed for the aileron control arms on all four ailerons. Not much to see that looks any different. Here's a shot of the right side with the root and tip hinges installed on rear spar. There are a couple more small things to do before we build an aileron assembly jig. There will be more visible progress then.
Aileron hinge setup
We got a little bit of prep work done tonight for the aileron hinges on the top wing. Just enough to layout where the hinge locations and where to drill. Ran out of time before we could start punching holes in the spars.
