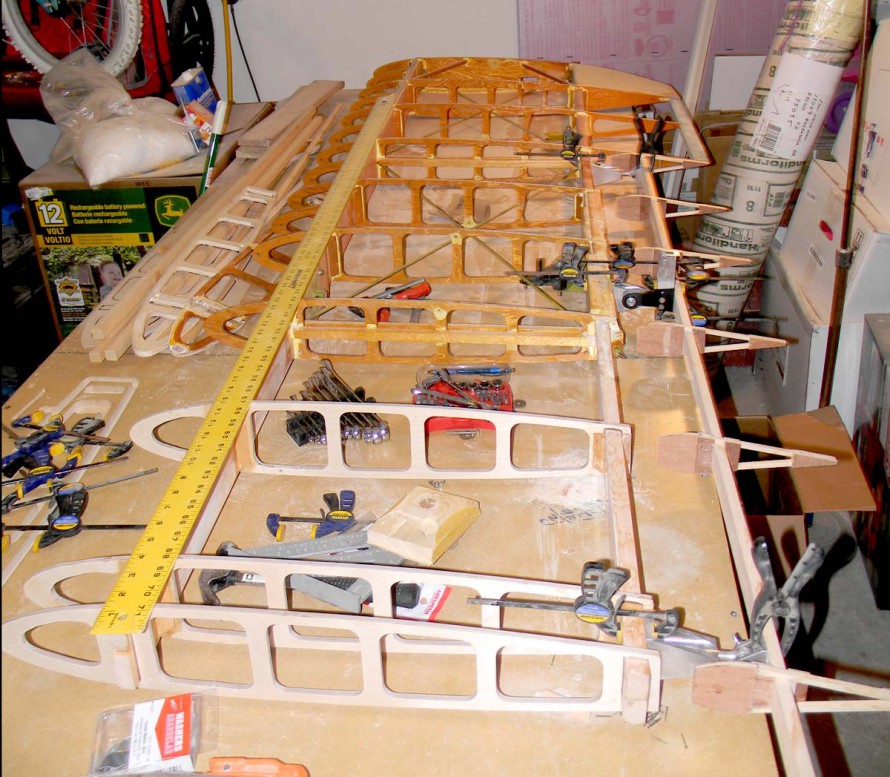
Starting to layout new bottom aileron and hardware.


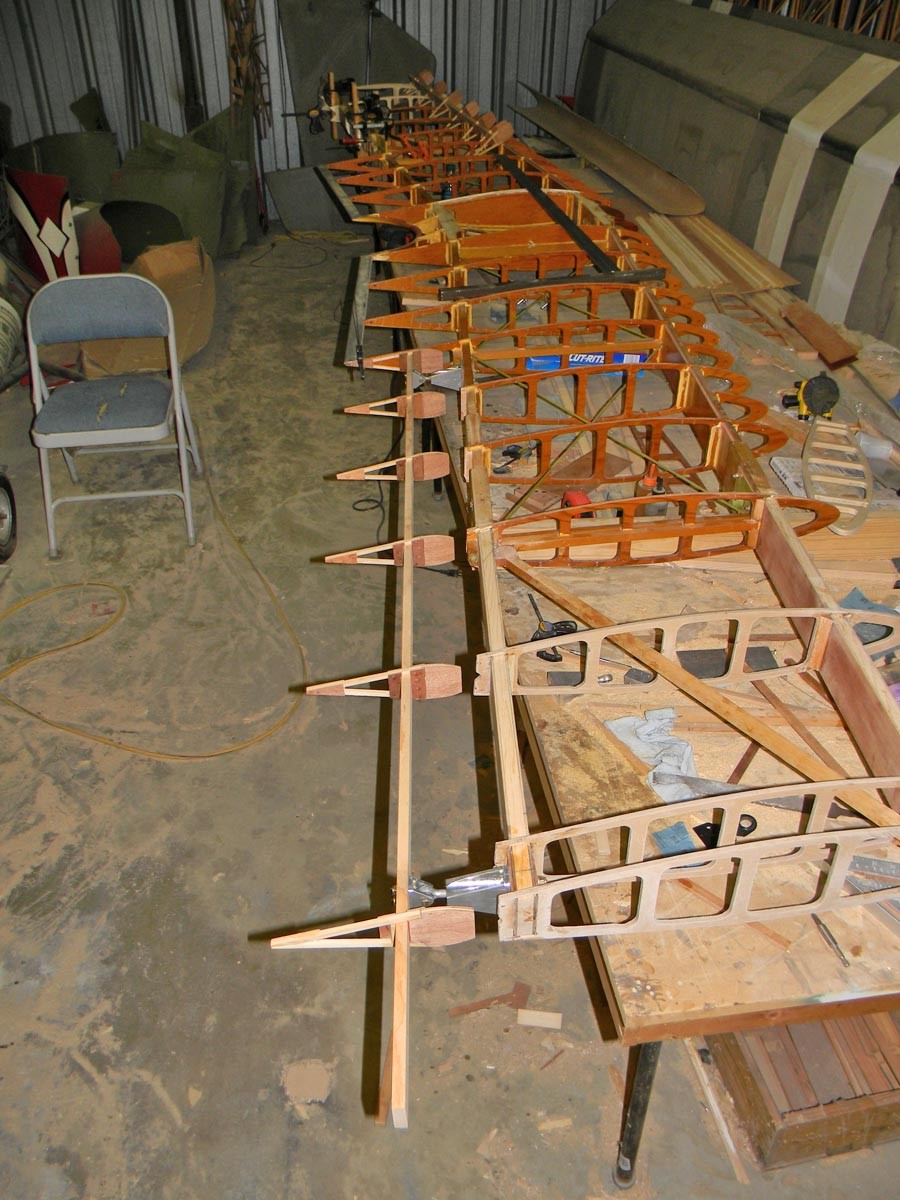
Center wing to wingtip

Center wing towards root of aileron

Tip aileron hinge

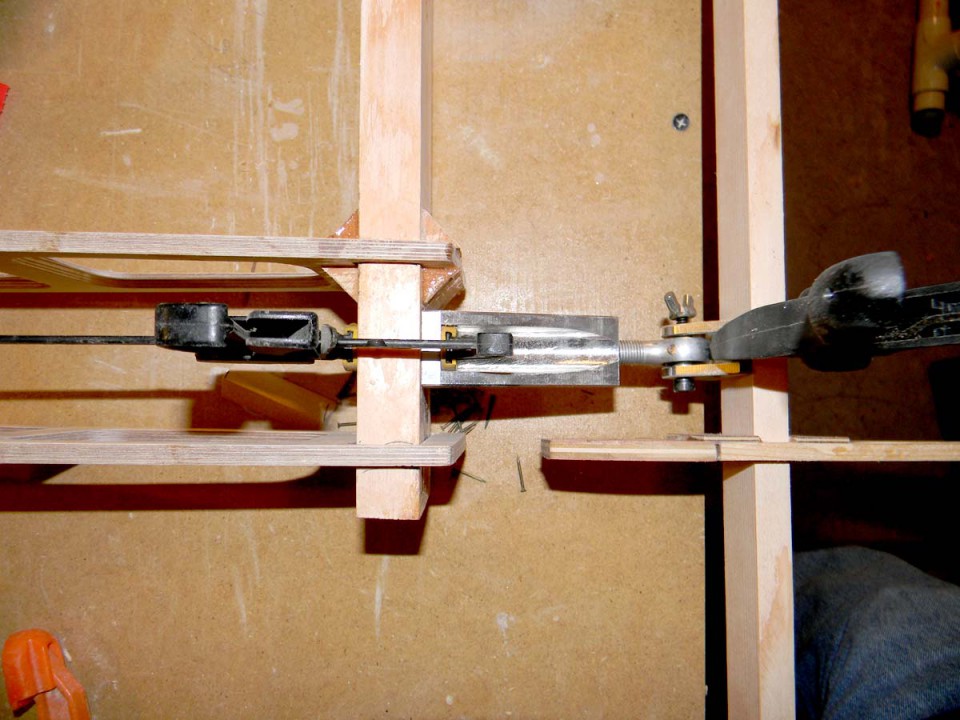
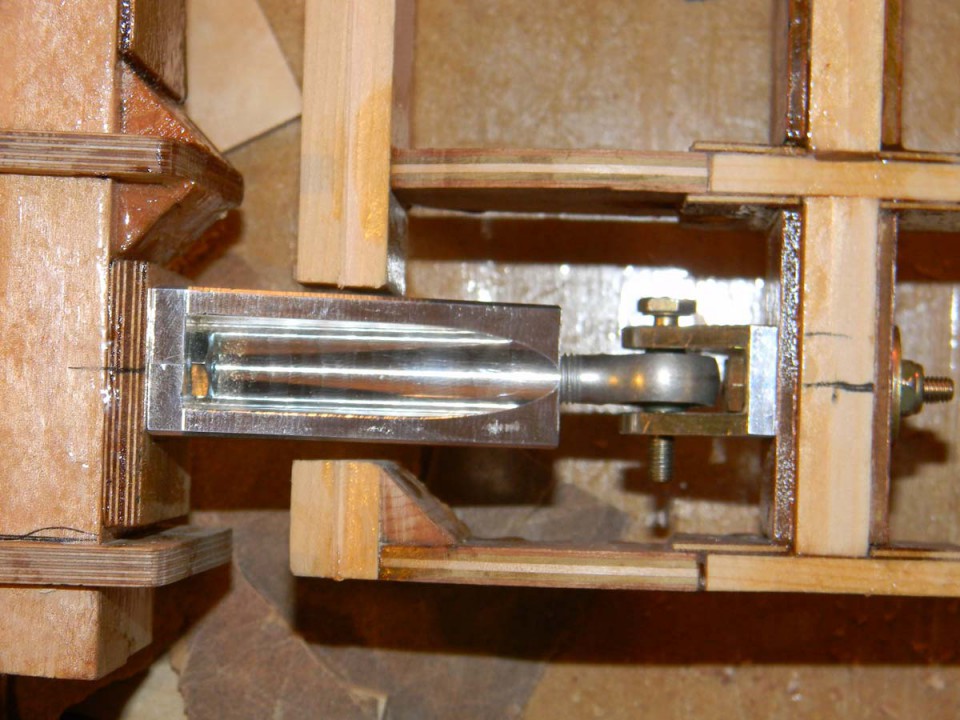
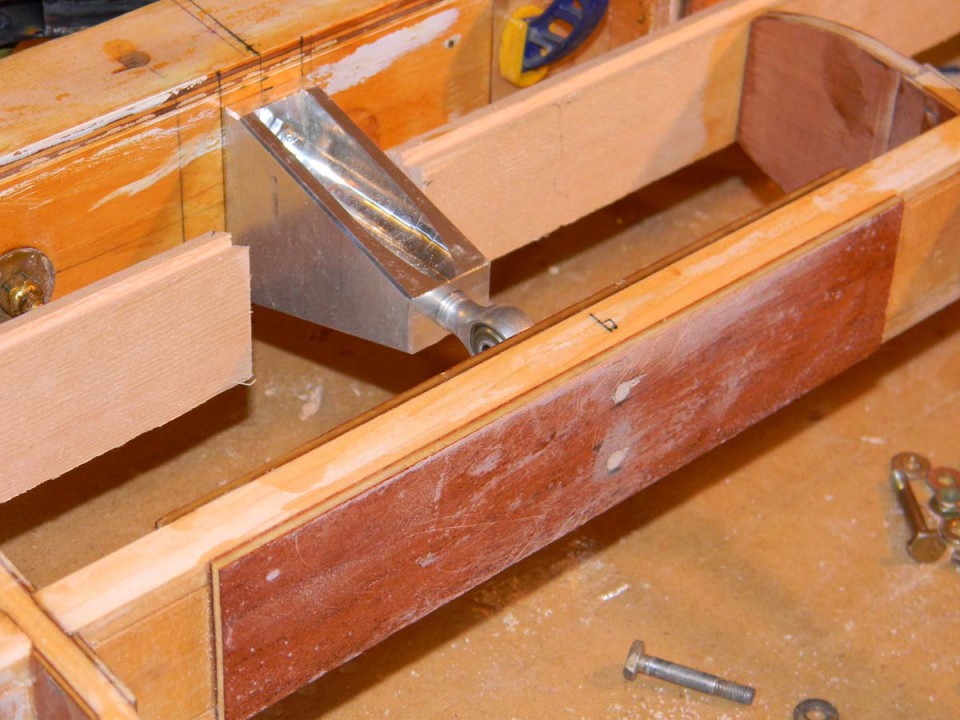
Center hinge, aileron horn and bellcrank

Inboard aileron hinge

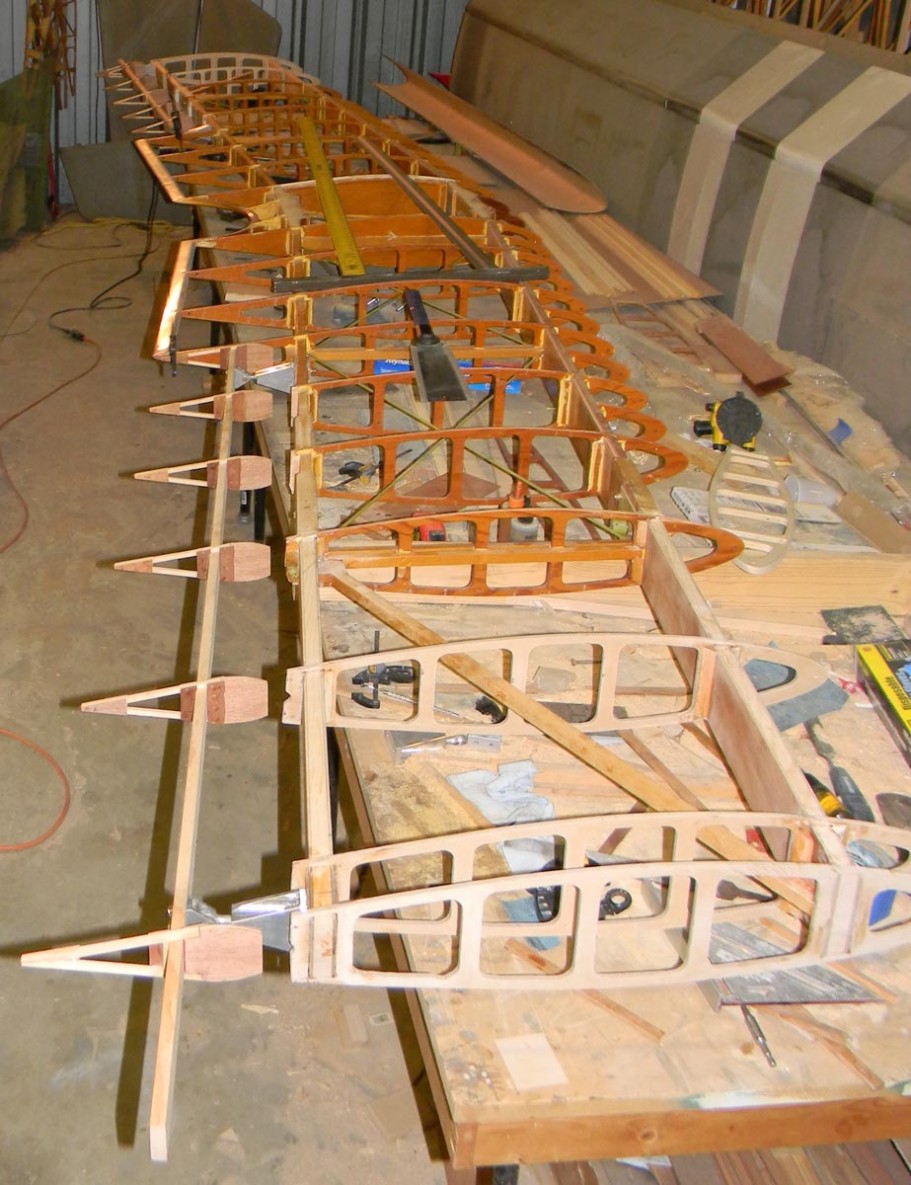
Tip hinge

Center hinge

Inboard hinge

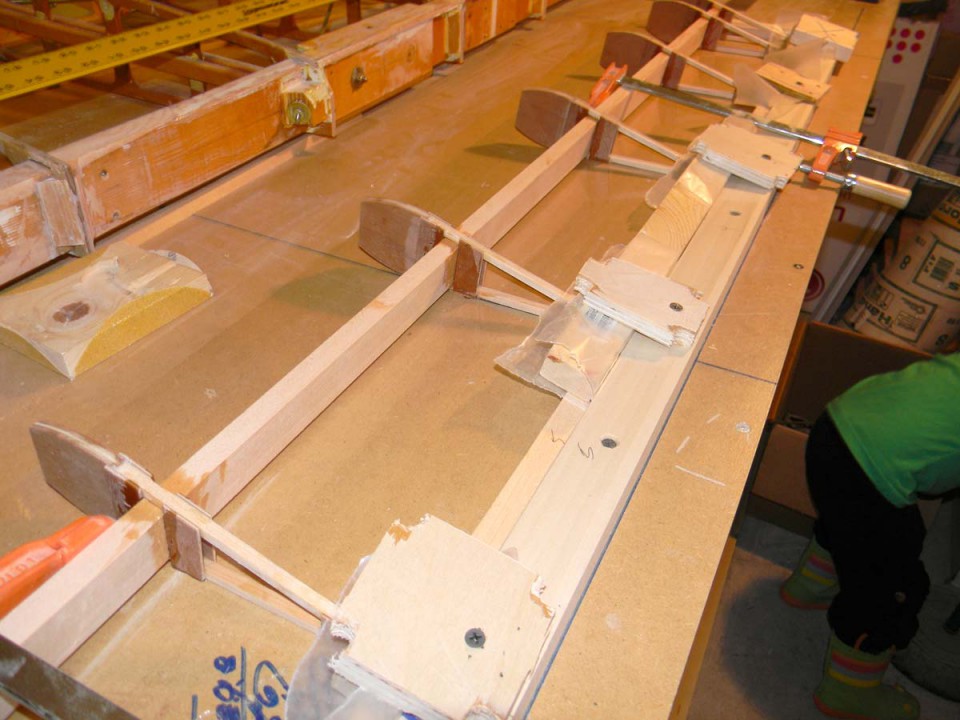
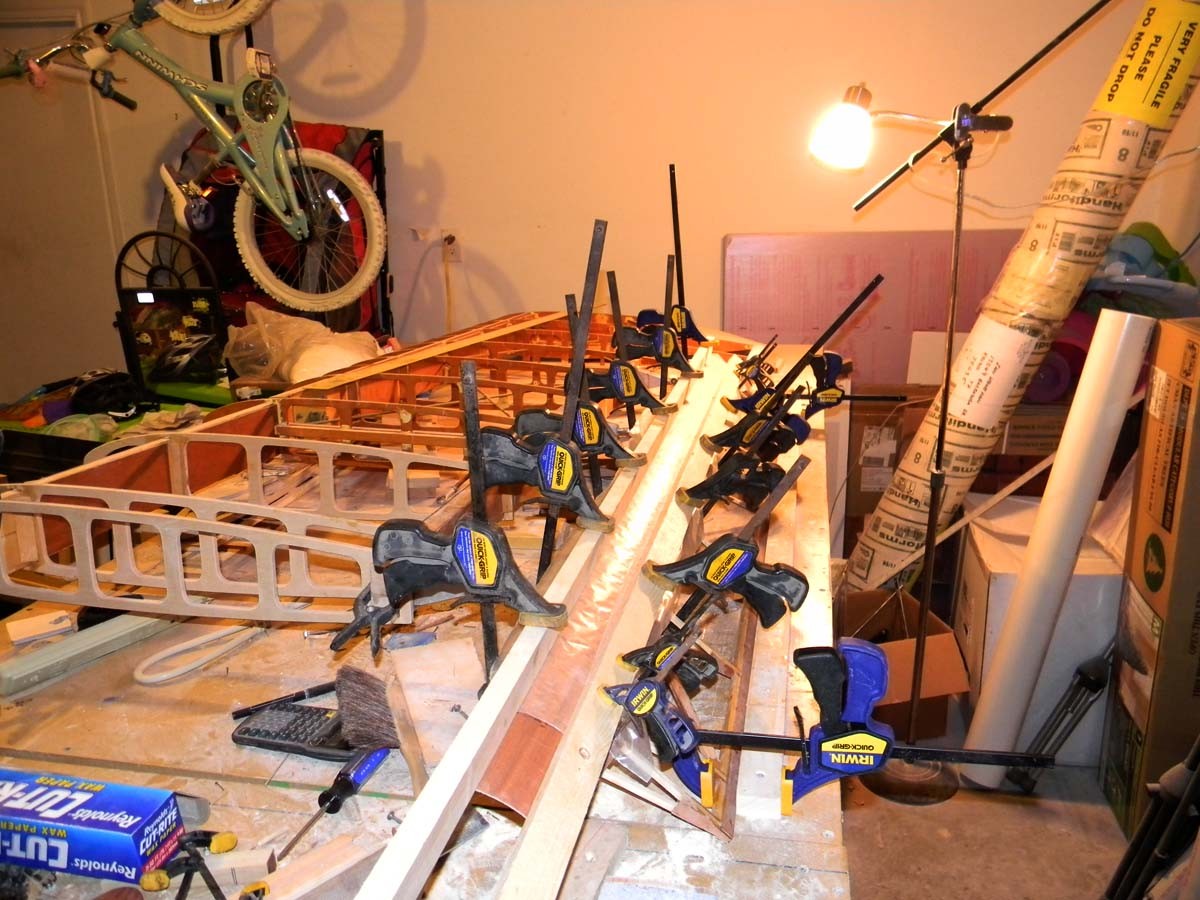
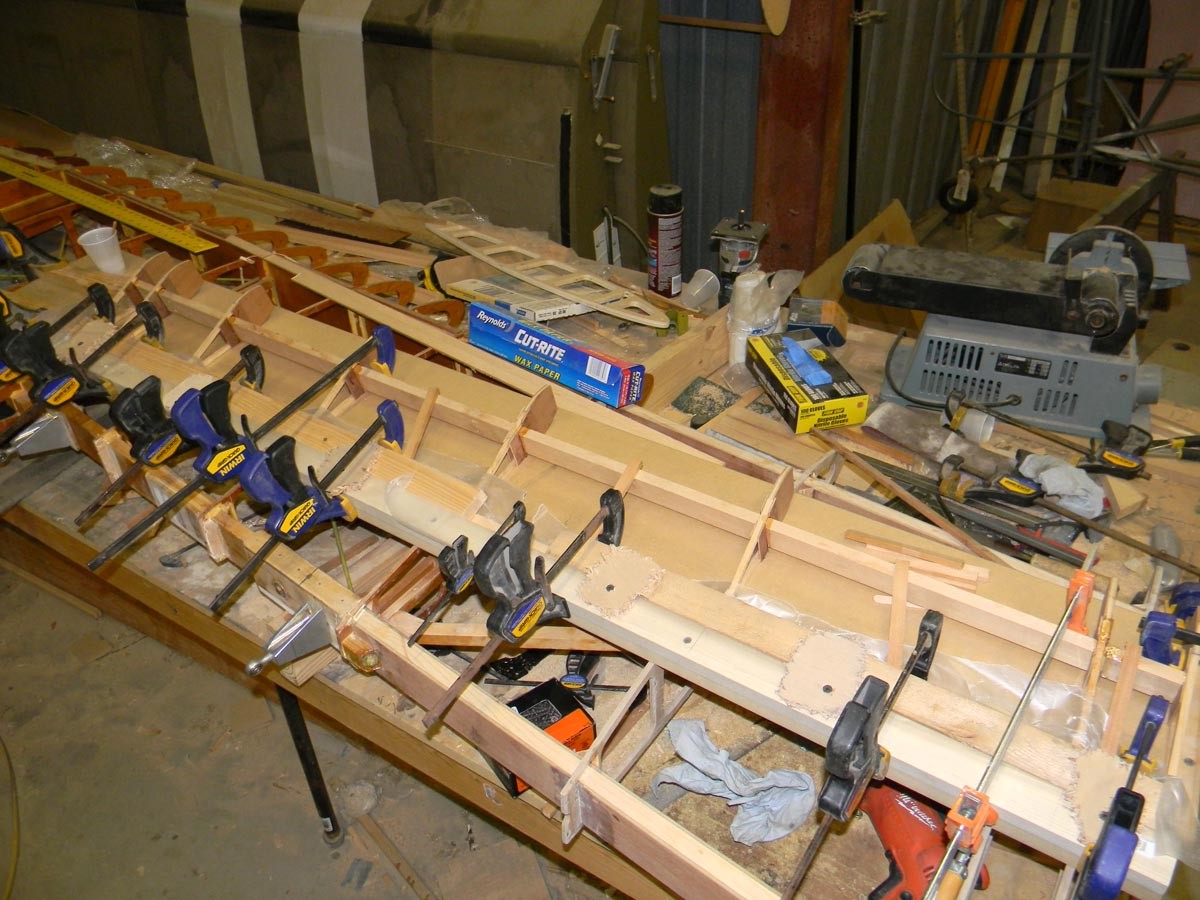
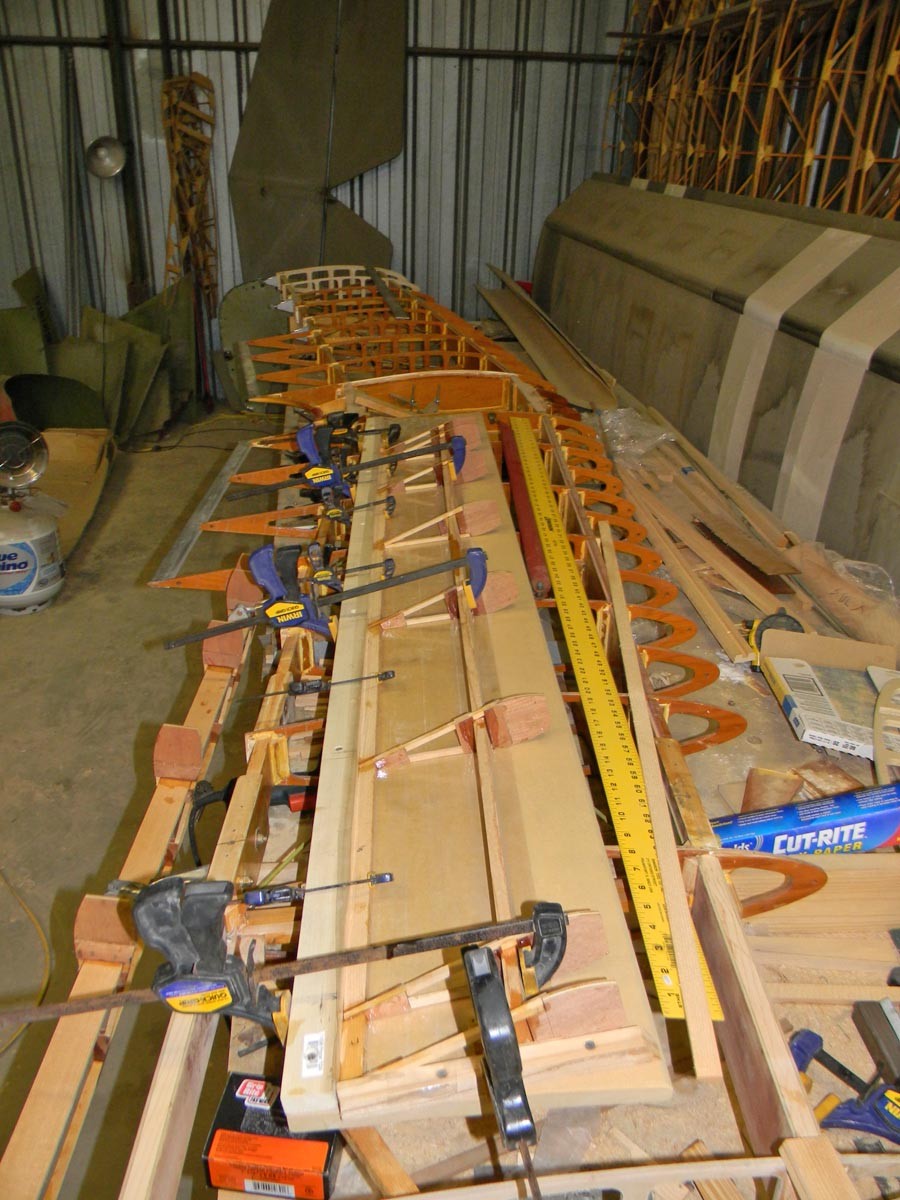
First aileron glued up in the jig.

I used some scraps to make edge clamps to hold the ribs and trailing edge pieces down on the table.


Riley insisted on getting in the pictures.

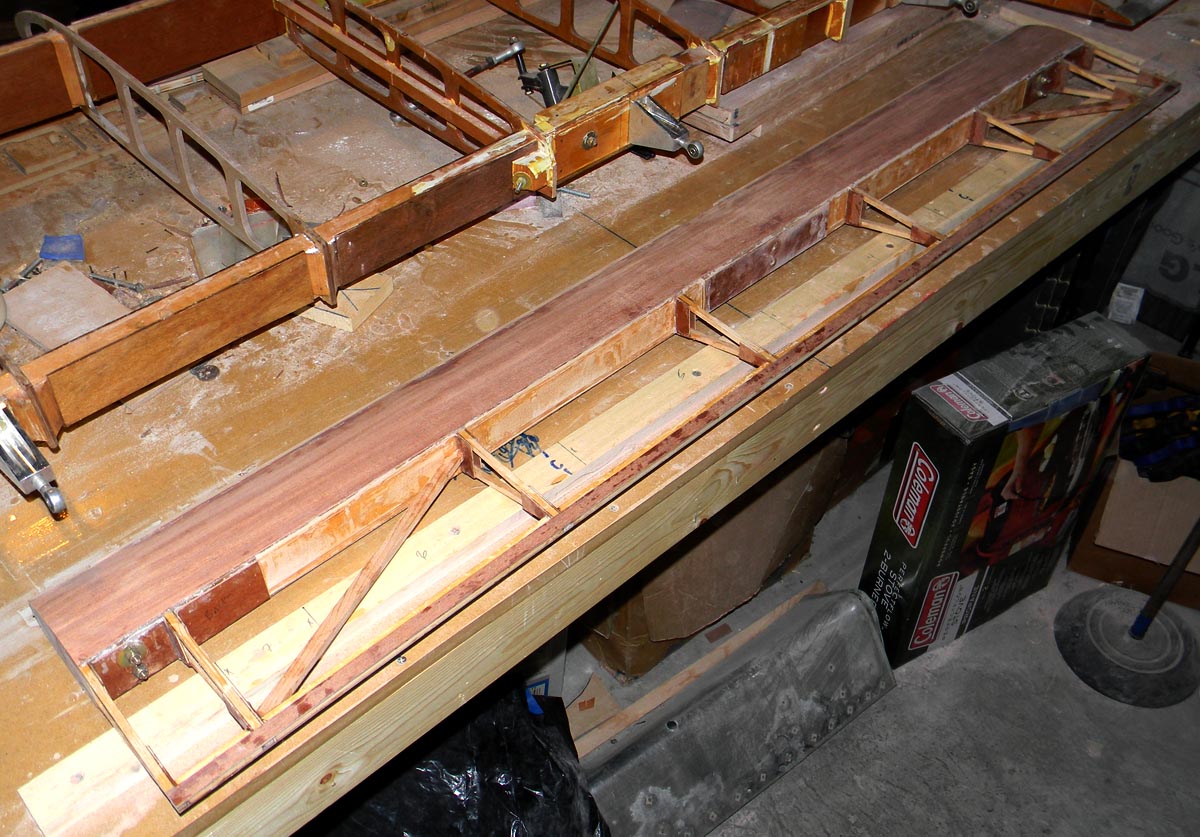
New aileron out of the jig. The trailing edges looks pretty straight.


More parts. More epoxy and more clamps.


Out of the clamps with the leading edge glued on.


Plywood doublers glued over spar splices.


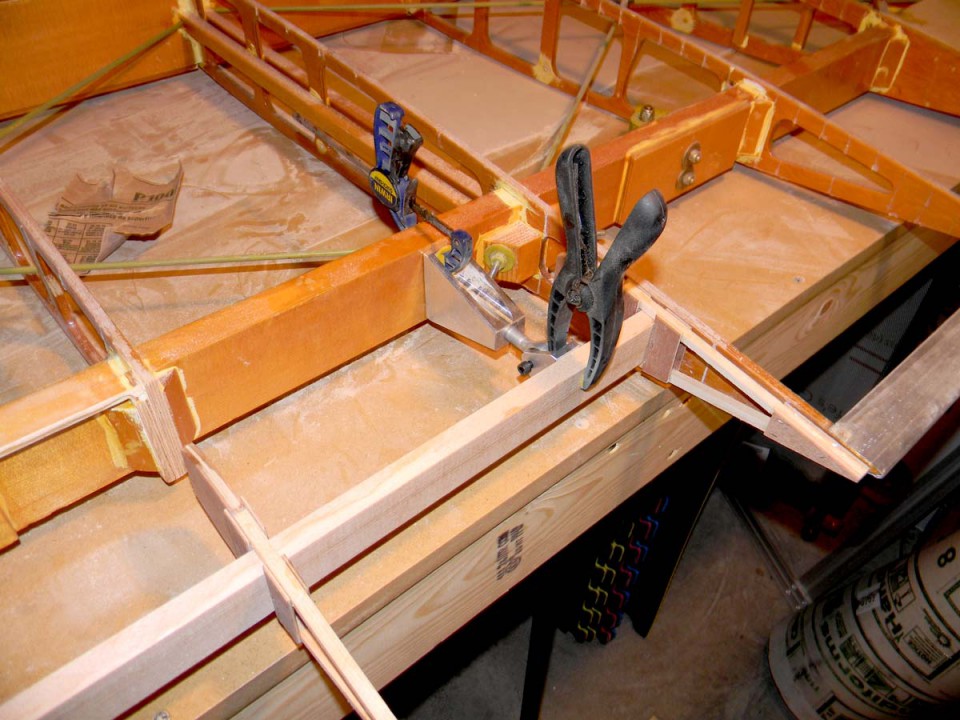
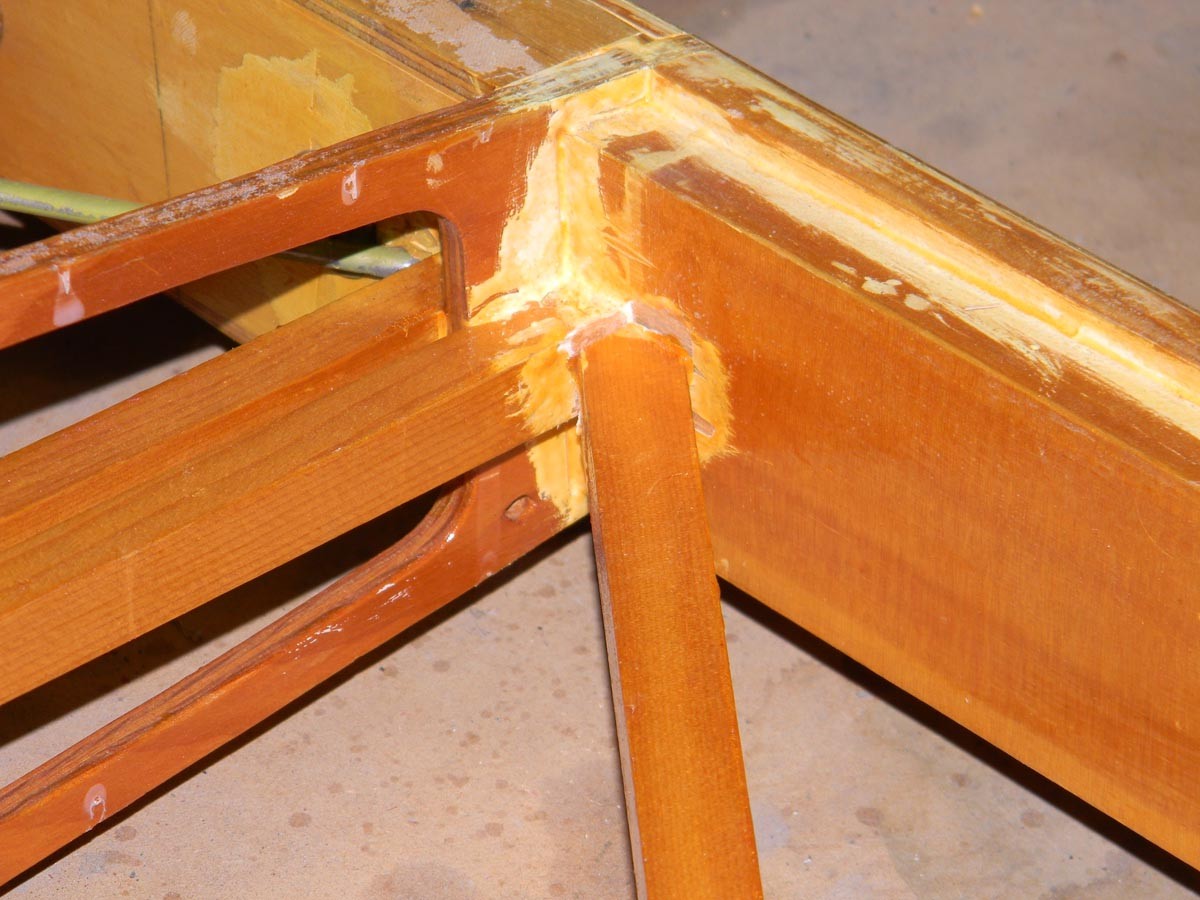
Corner braces installed.


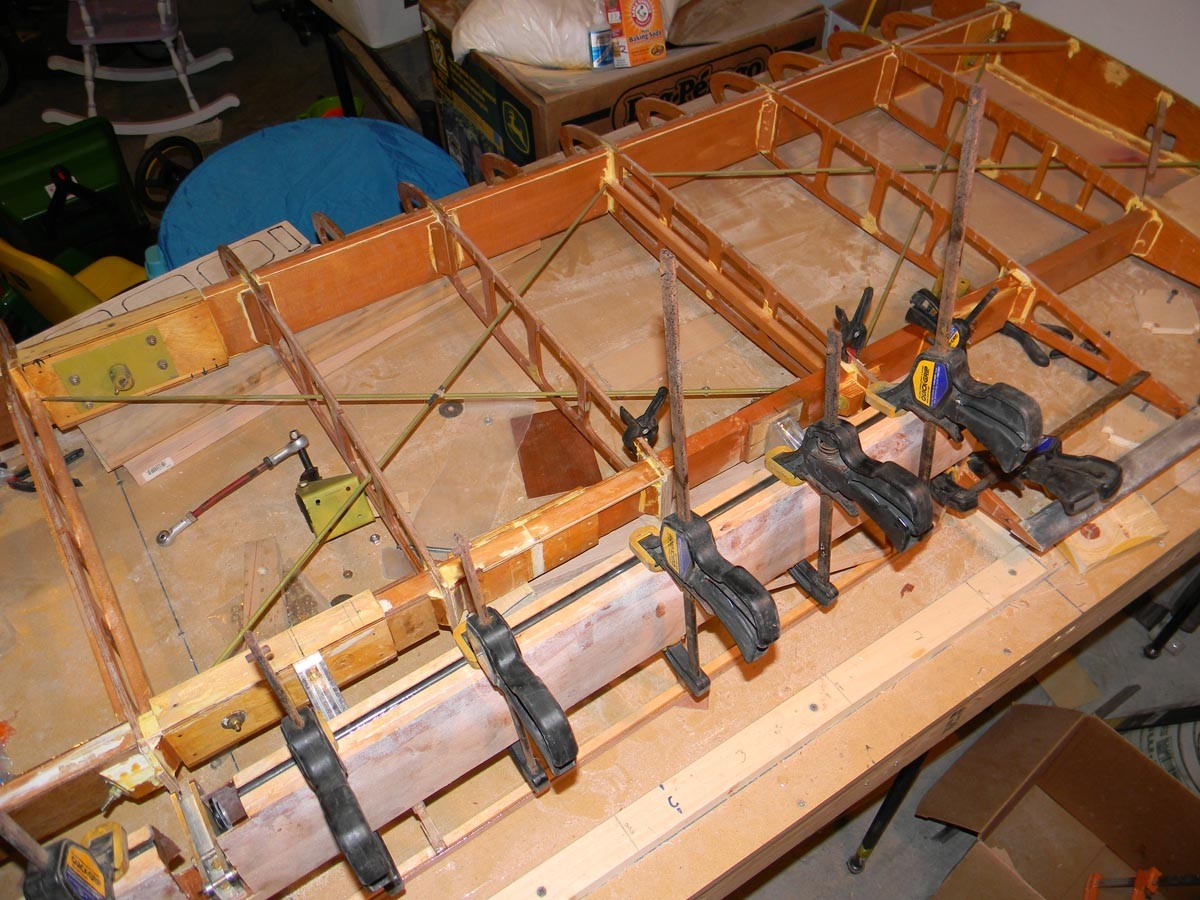
All hinge doublers installed on rear spar. Still have one more to install on the aileron spar.

Tip hinge installed.

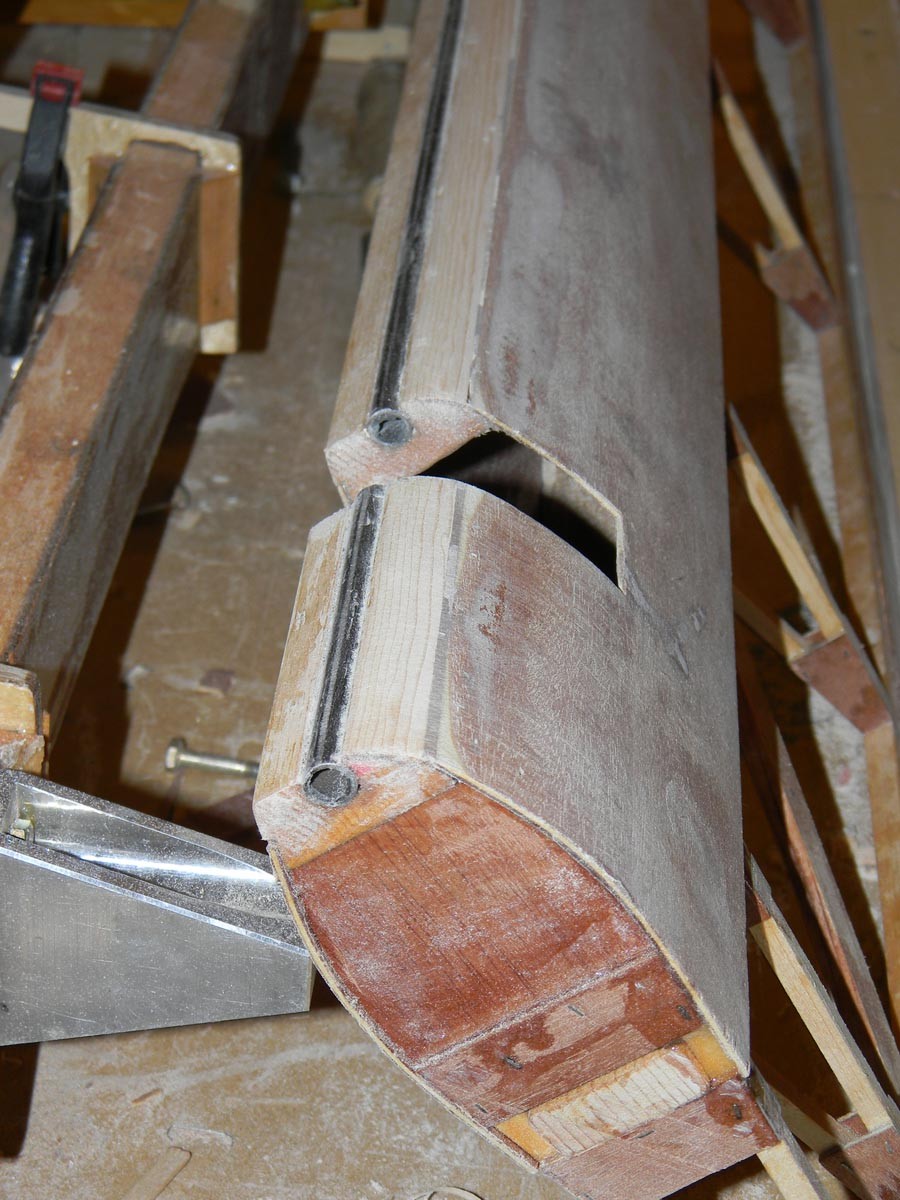
Root hinge

Center hinge with fix for misplaced holes. Got ahead of myself and had to back track a bit.

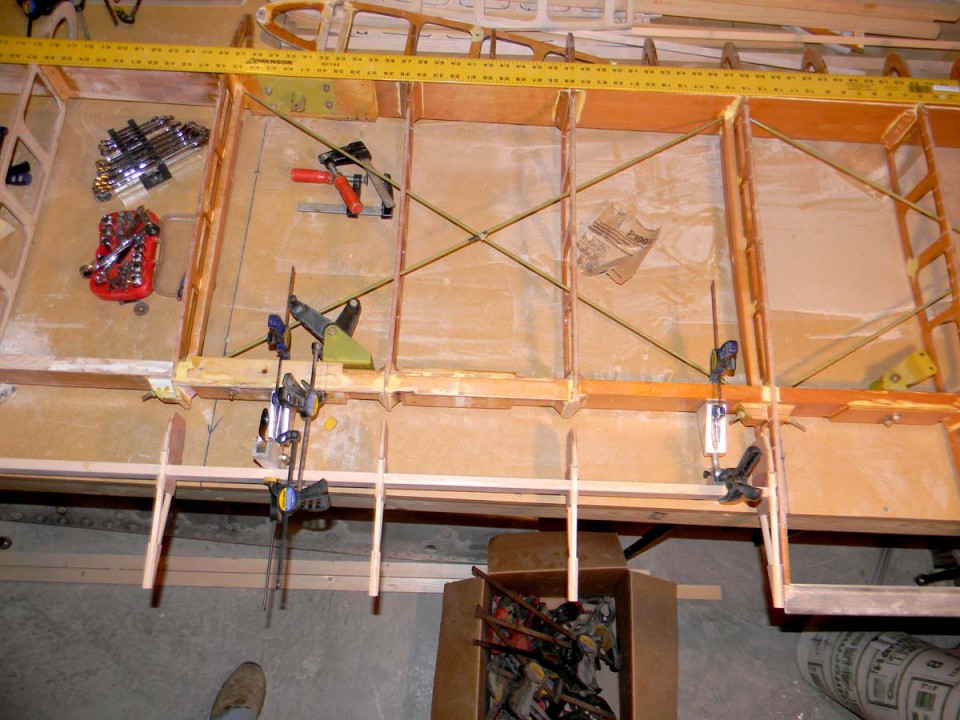
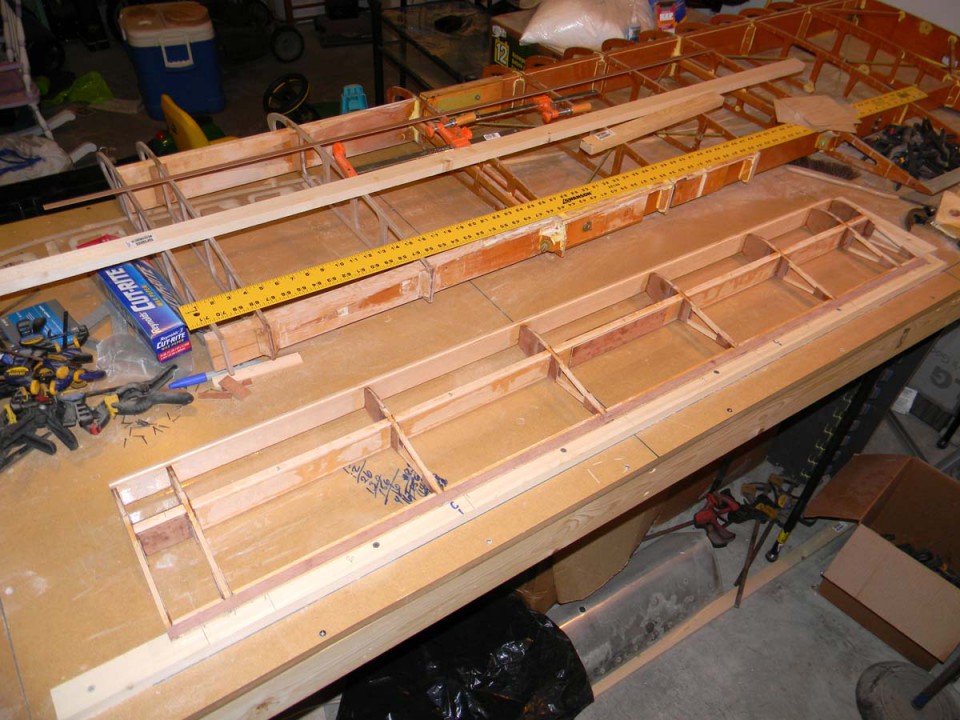
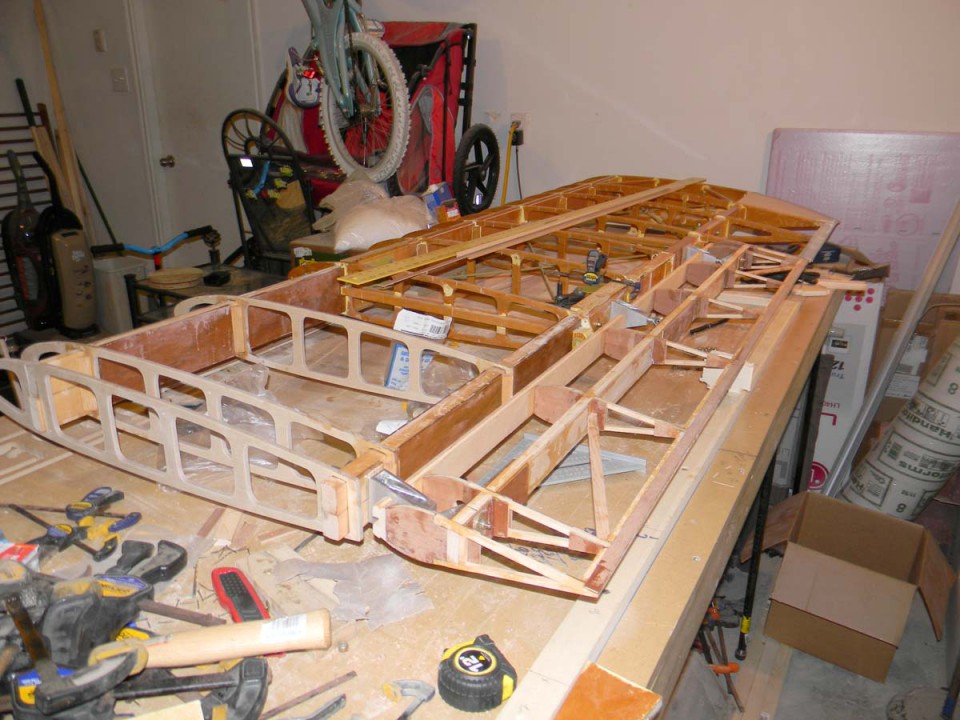
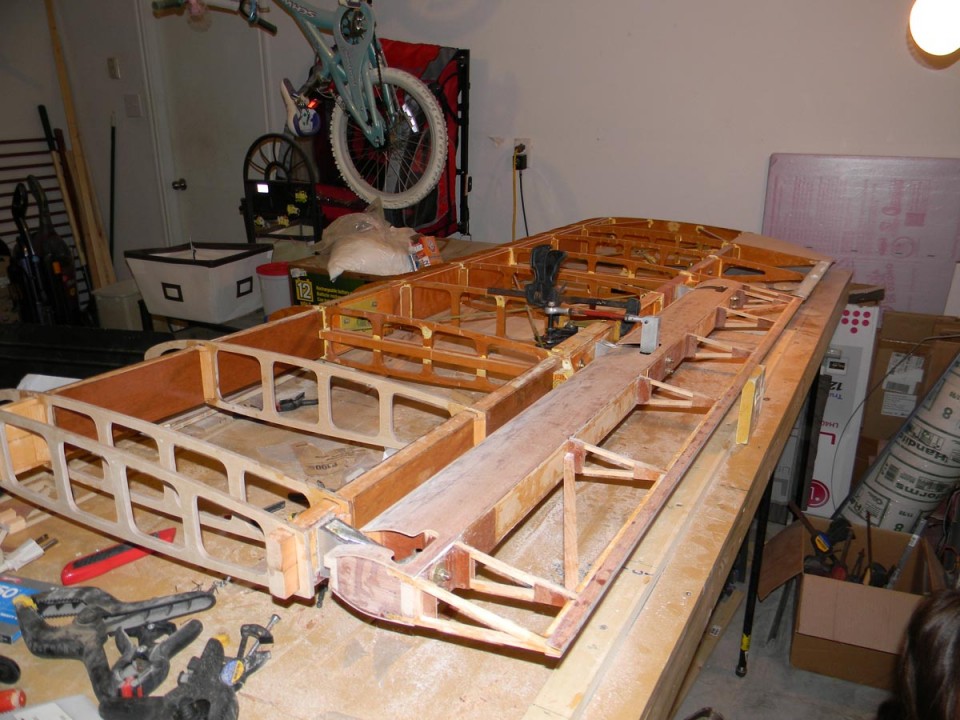
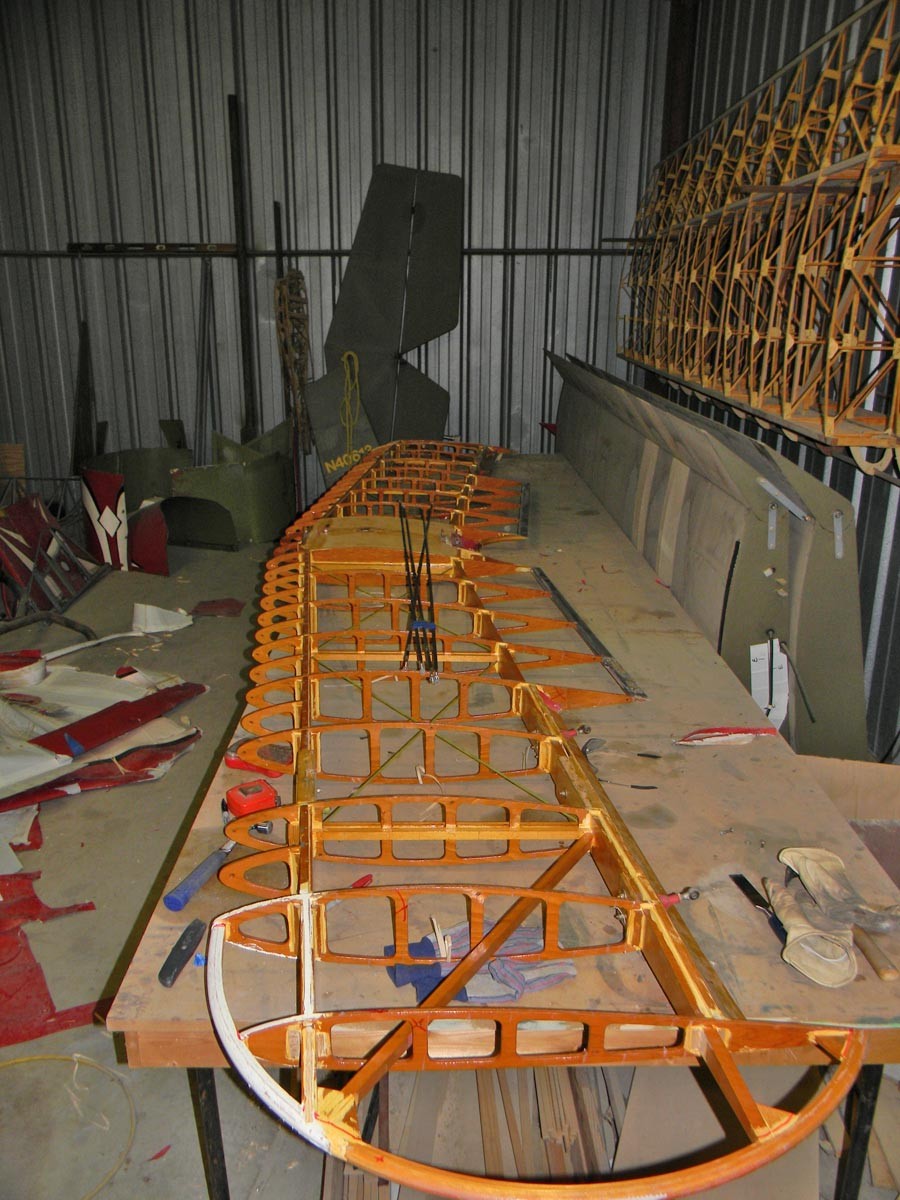
Starting to come together!


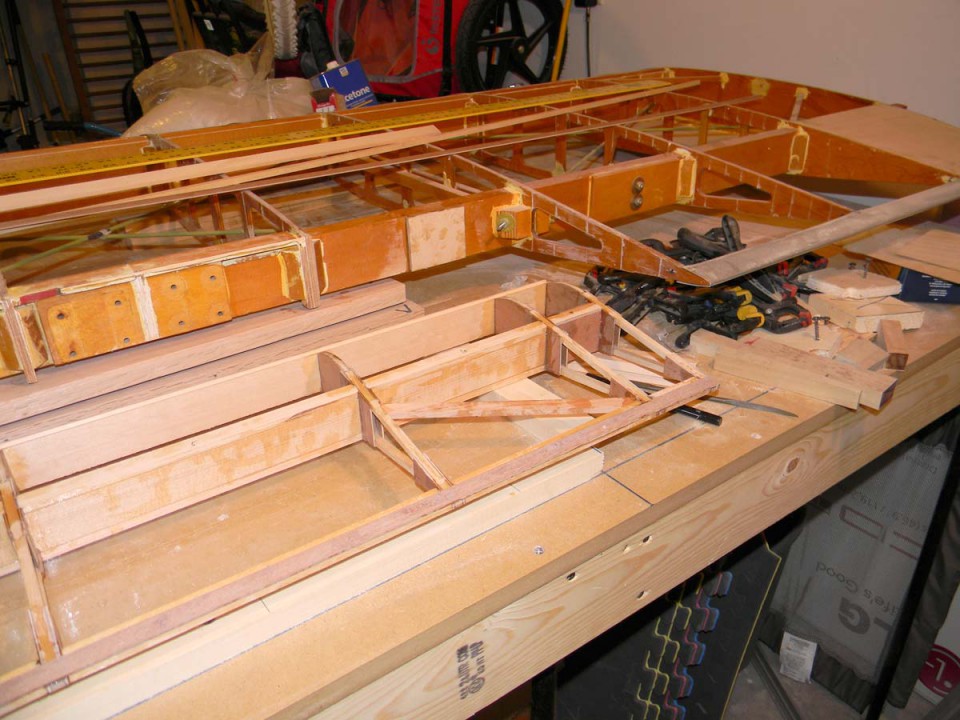
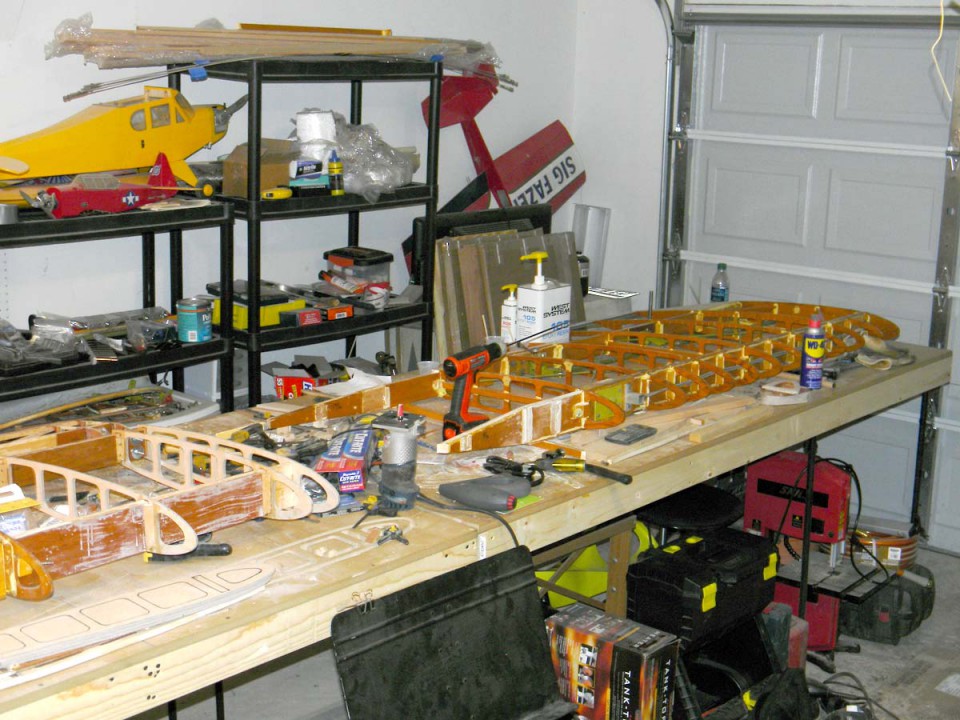
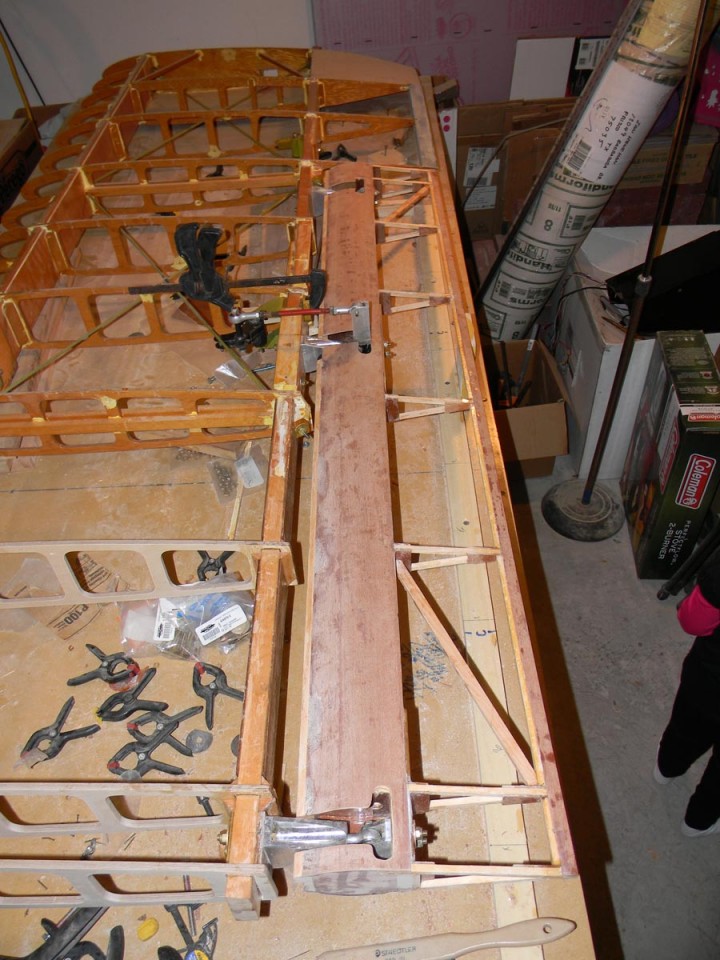
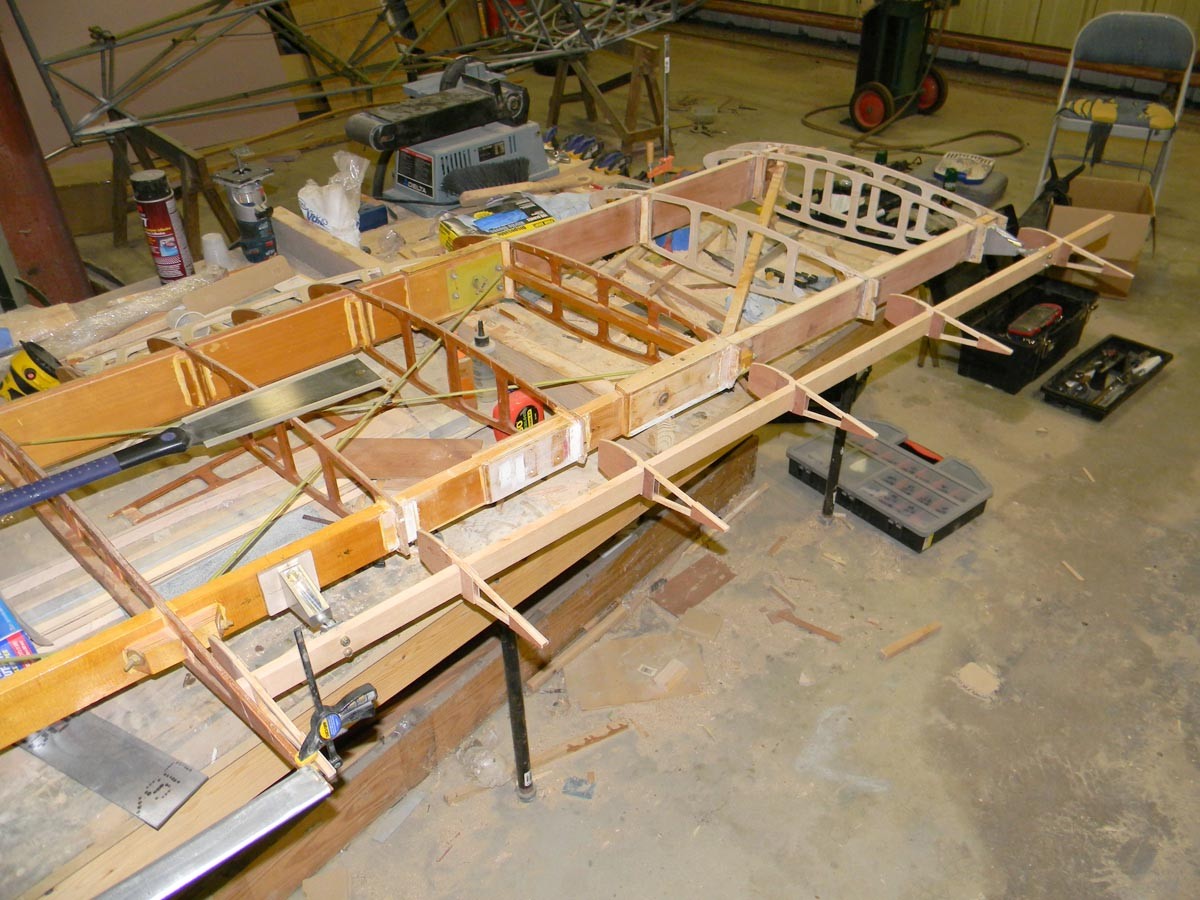
Started tearing down the other bottom wing today. It will be ready for the spar extensions pretty soon.

-

-

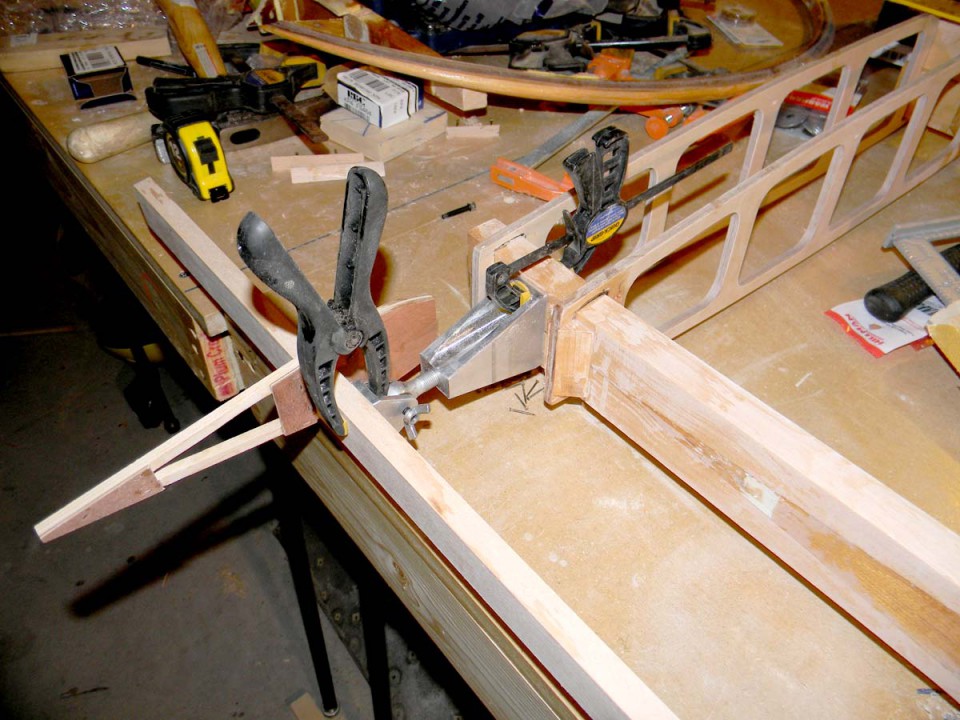
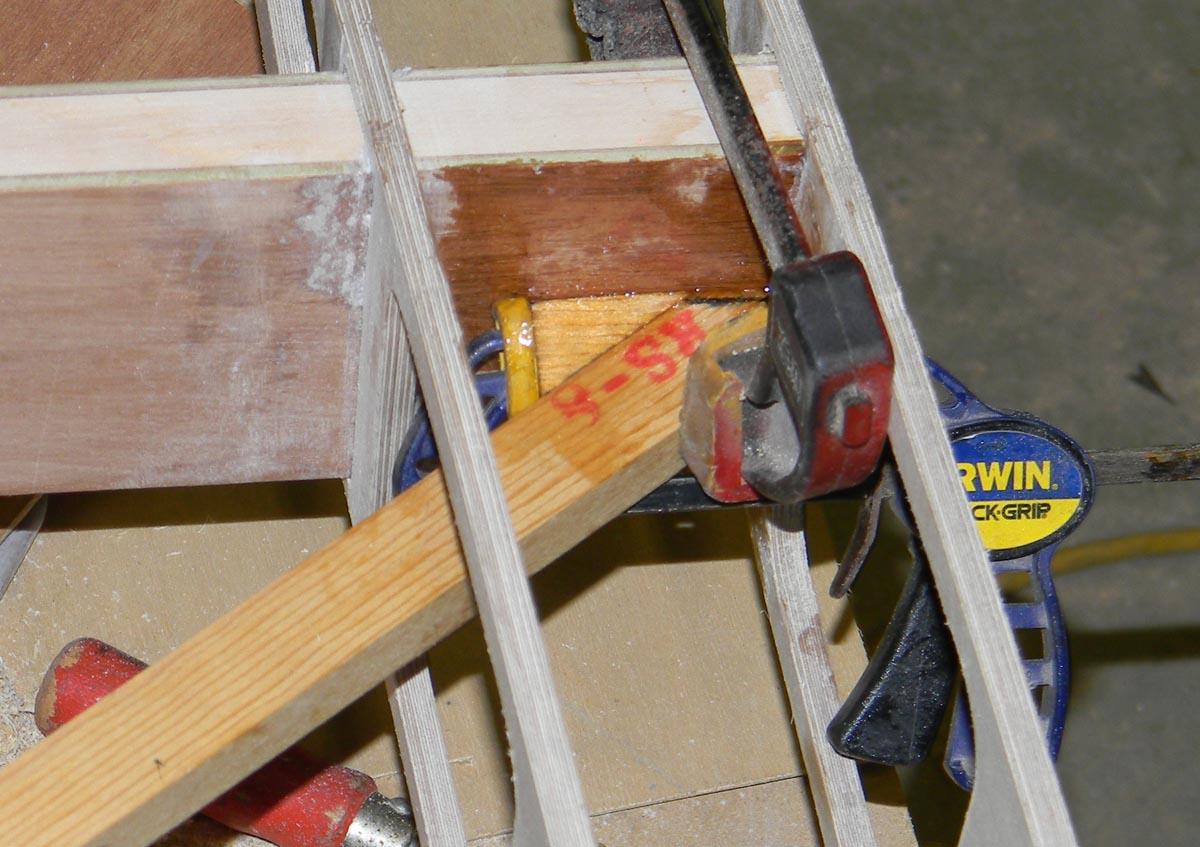
The aileron bellcrank is clamped in it's rough position.
-

-

-

-

-

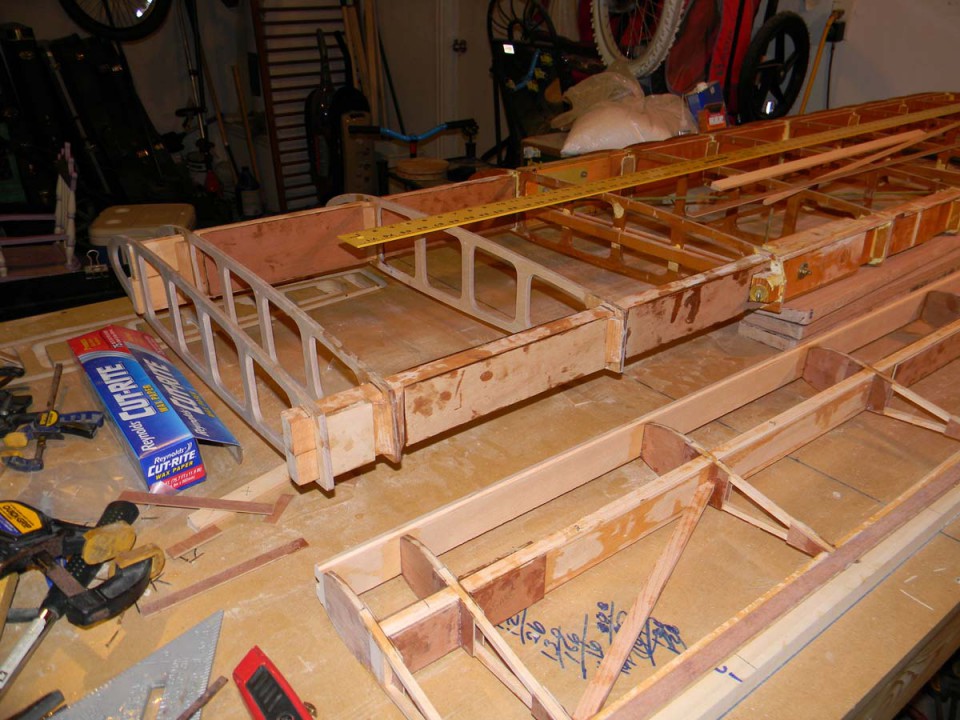
The new ailerons are huge compared to the stock version. Should be fun!
-

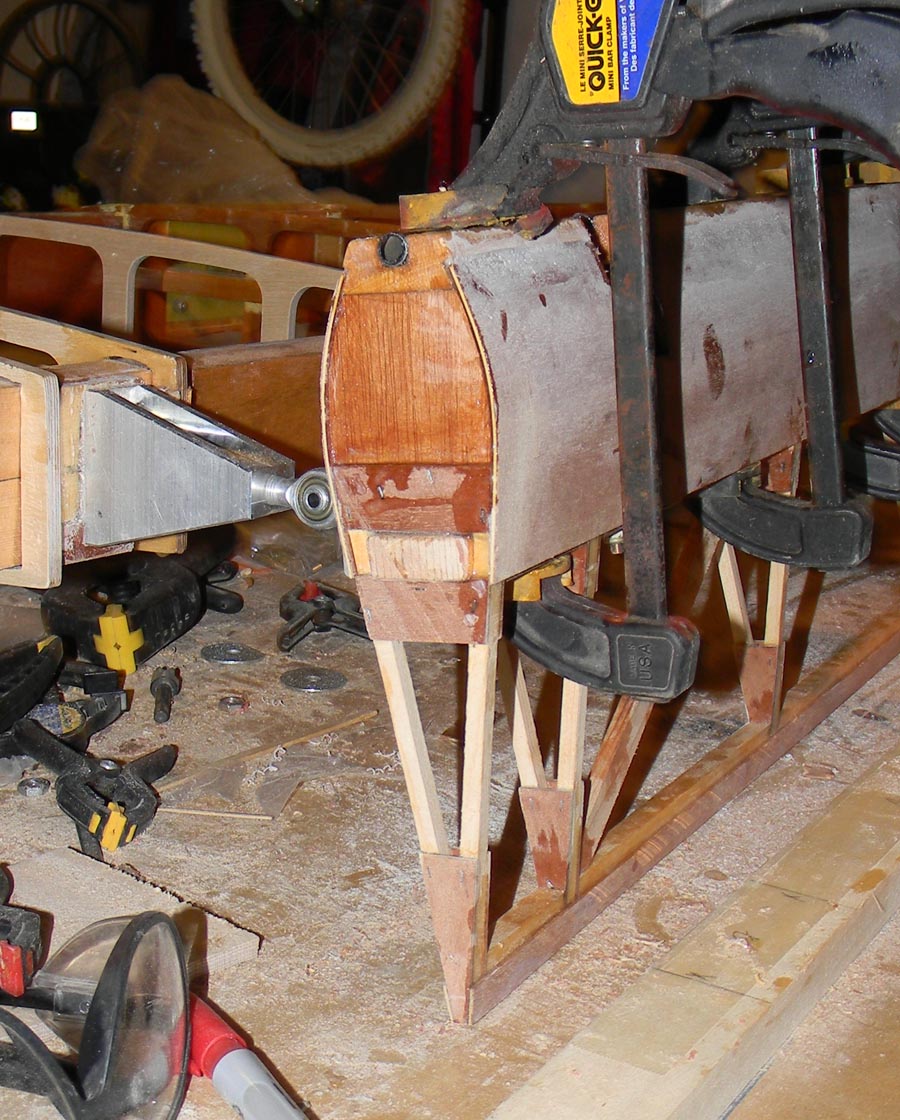
Steel tube embedded in the leading edge. This is where the lead shot will go when the ailerons are balanced.
-

-

-

Starting to shape the aileron leading edge.
-

This isn't difficult, but is slow and steady work.
-

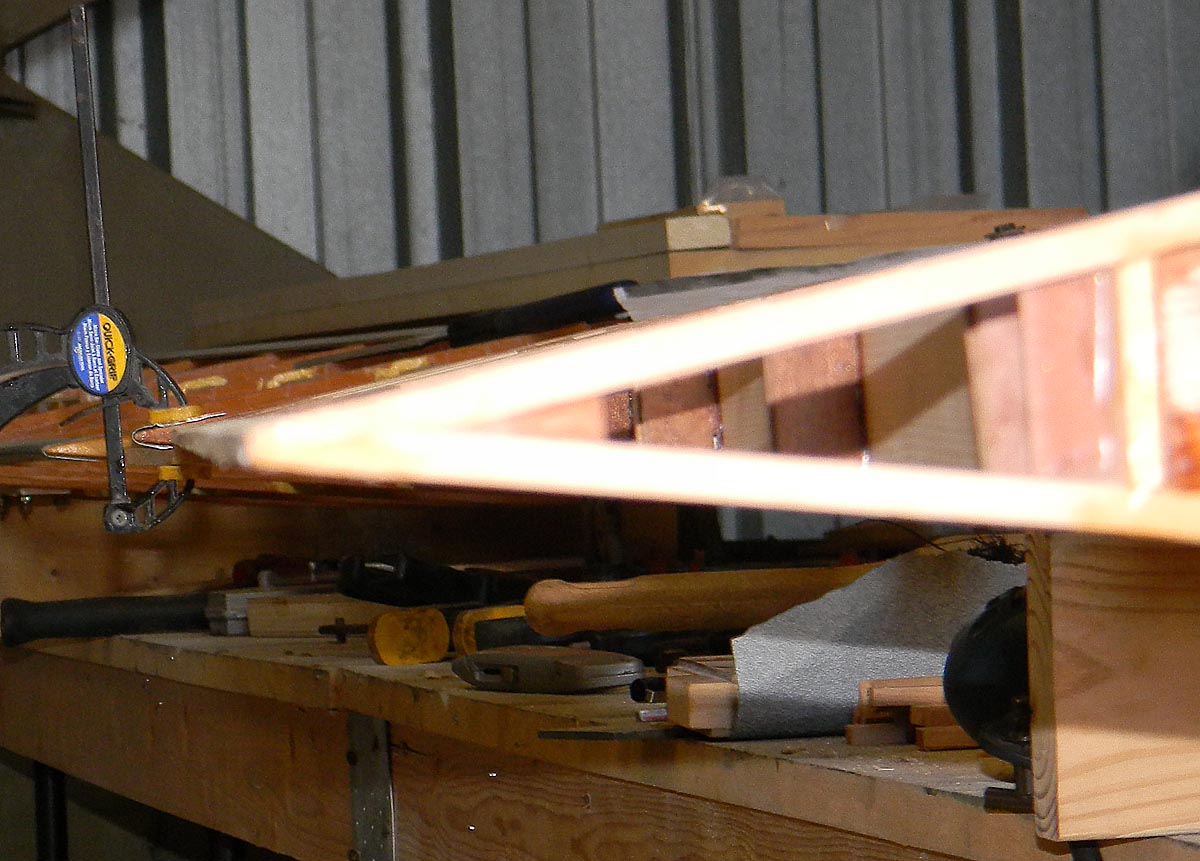
Clamping up the leading edge ply again for the aileron. Much easier this time with the plywood formed to a curve.
-

I clamped the ply between these two halves of PVC pipe overnight to set the curve.
-

Second try at sheeting the aileron came out looking good.
-

Dad came by tonight and helped get the covering and aluminum leading edges off of the top wing. We're ready to start tearing down the tips for the conversion.
-

We found that both of the diagonal tip braces had marginal glue joints at the rear spar. They didn't look torn up. It looked like the gaps were too big for the Weldwood glue that was used. They both broke loose easily by hand.
-

-

Most of the tear down finished.
-

First aileron leading edge shaped. Maybe a little fine tuning left, but pretty much there.
-

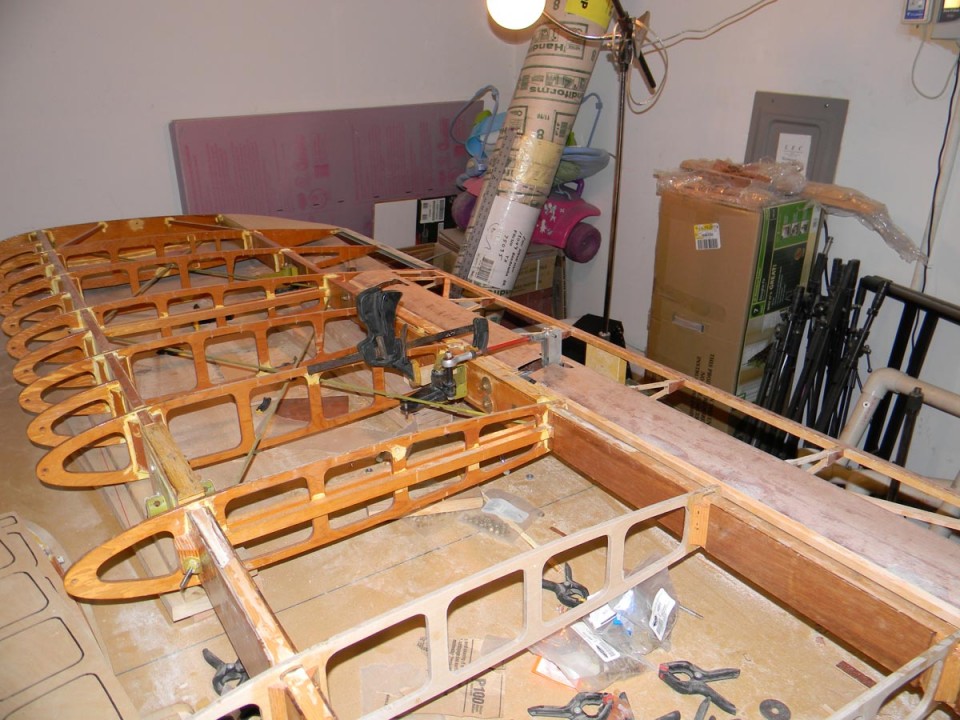
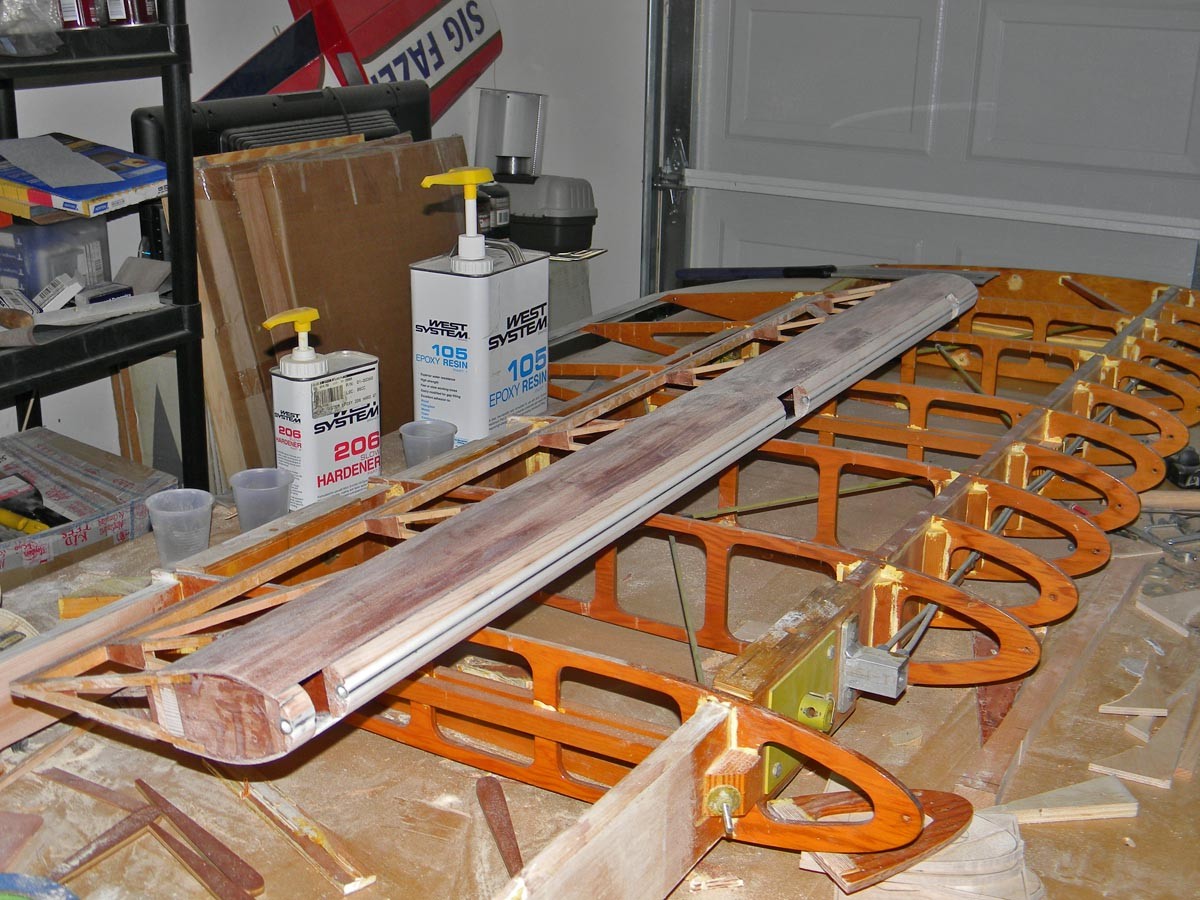
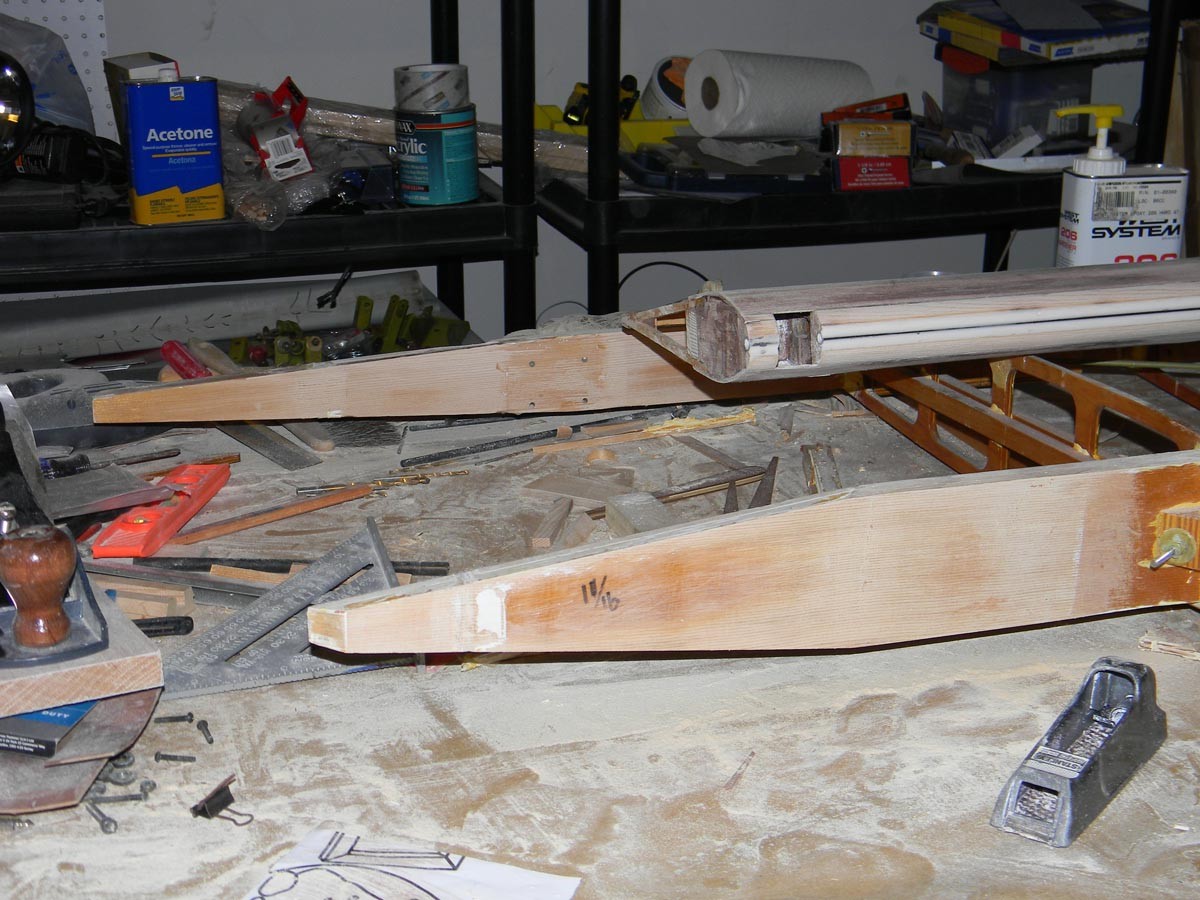
Spars on second lower wing just about ready for scarfing the extensions.
-

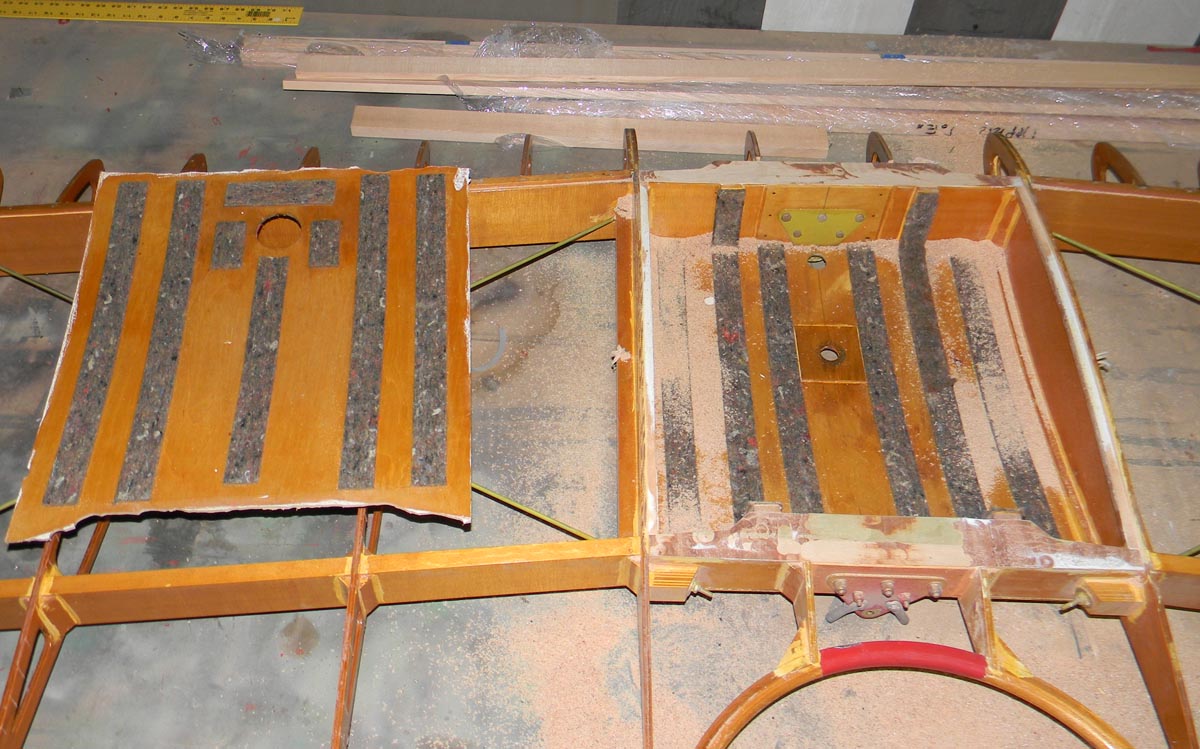
We used a laminate trimmer to mill off the edge of the plywood tank cover without going too deep. It worked like a charm.
-

Bevels routed on front and rear spars for one tip on the top wing.
-

New ribs slid into place on the completed spars.
-

This is pretty close to the final position for the ribs.
-

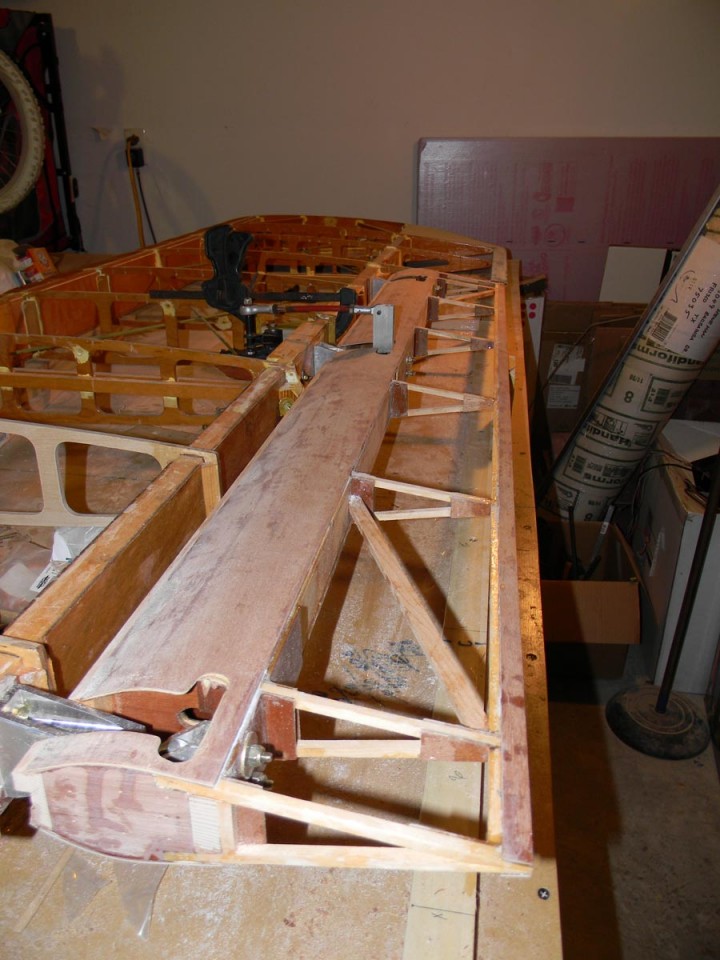
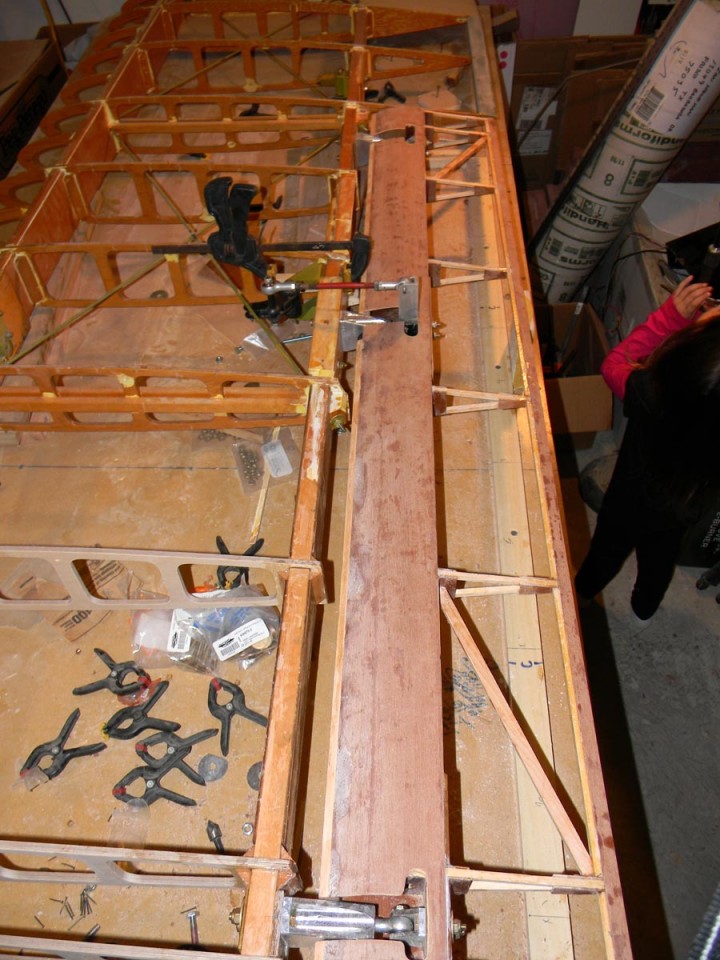
Tip diagonal getting installed.
-

Diagonal gusset detail.
-

-

-

-

Laying out the hinge locations for the top wing.
-

Tip and root hinges in place.
-

Inboard and outboard hinges installed for the top left wing.
-

Inboard and outboard hinges installed for the top right wing.
-

-

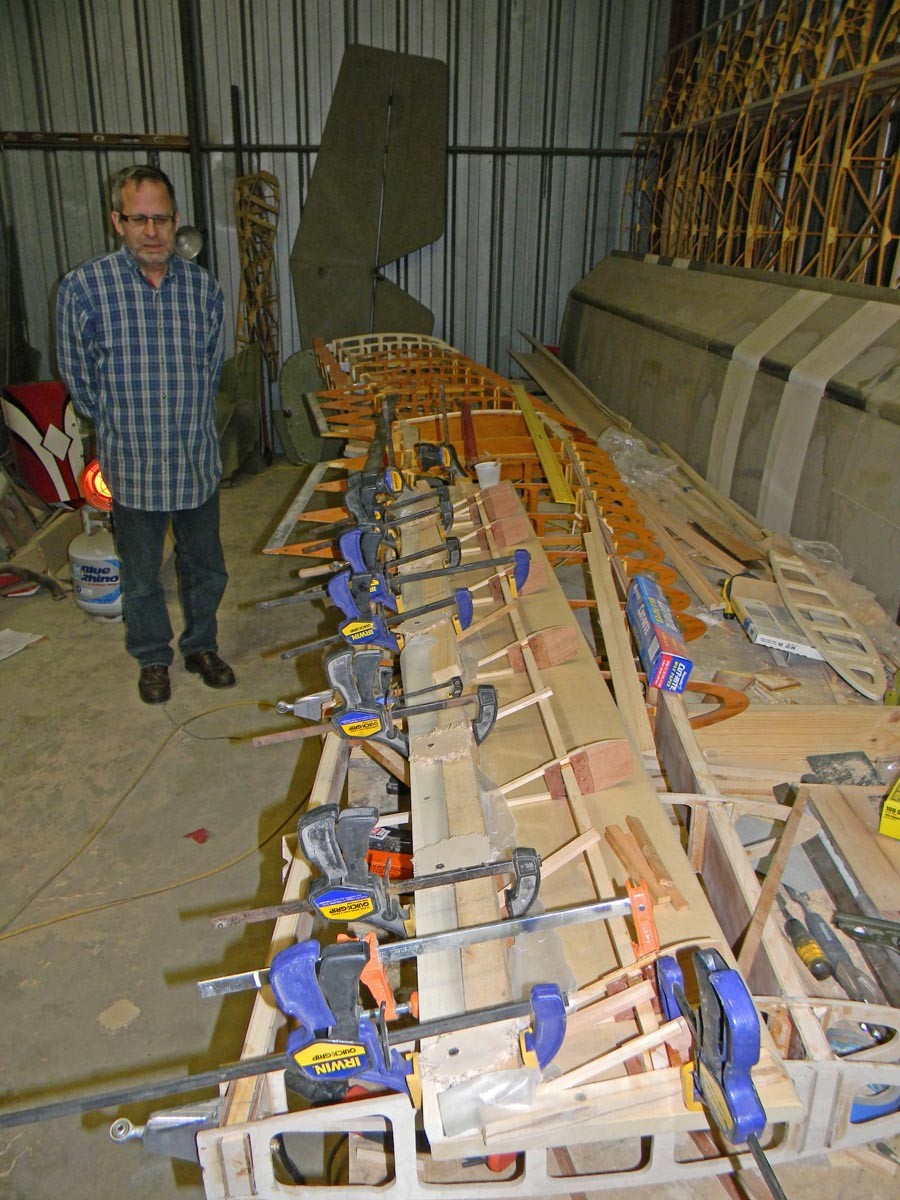
Dad looking at the first top aileron jig and assembly.
-

Cluttered table and first top aileron glued up.
-

Hard to see, but this is the trailing edge of the aileron. Pretty dang straight!
-

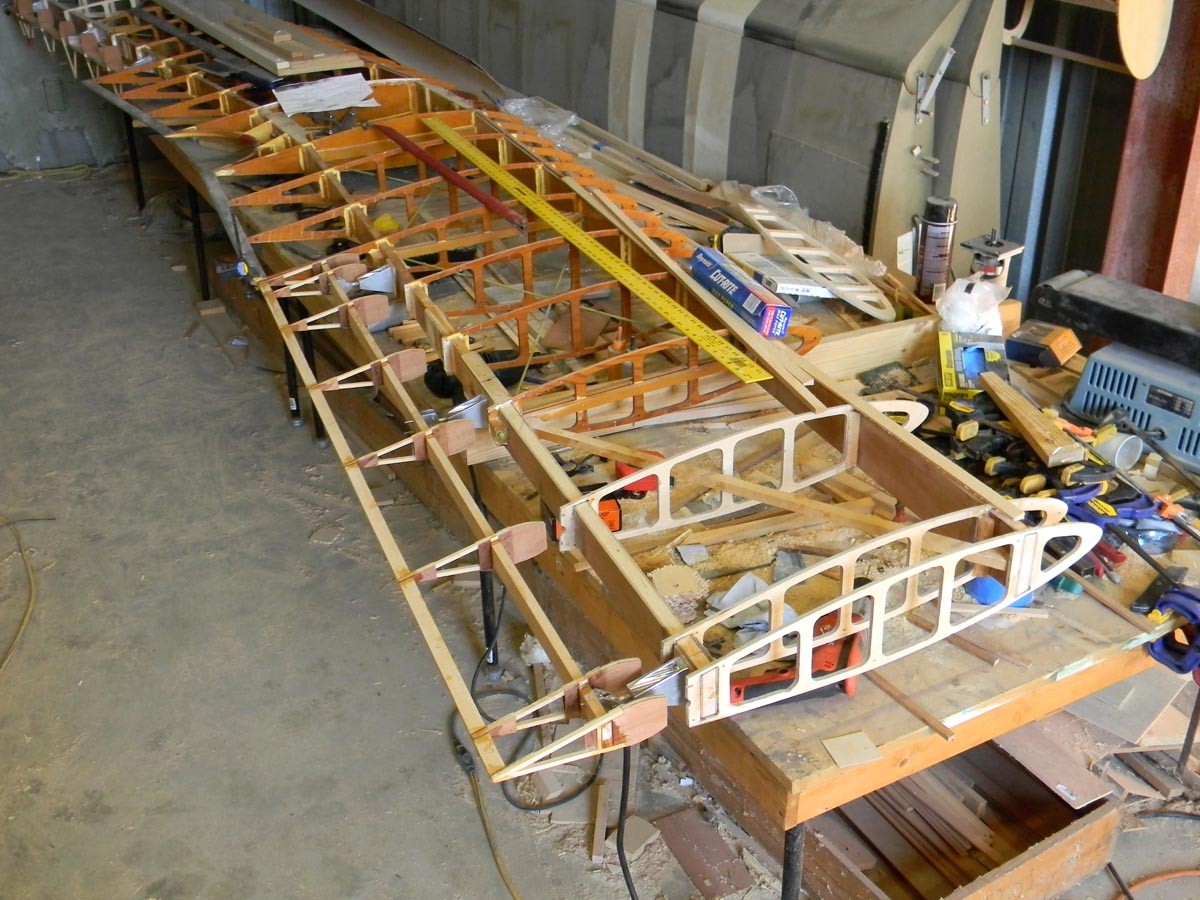
Framed up aileron for the top wing.
-

Gluing trailing edge pieces for second top aileron.