Exhaust Tunnel Details
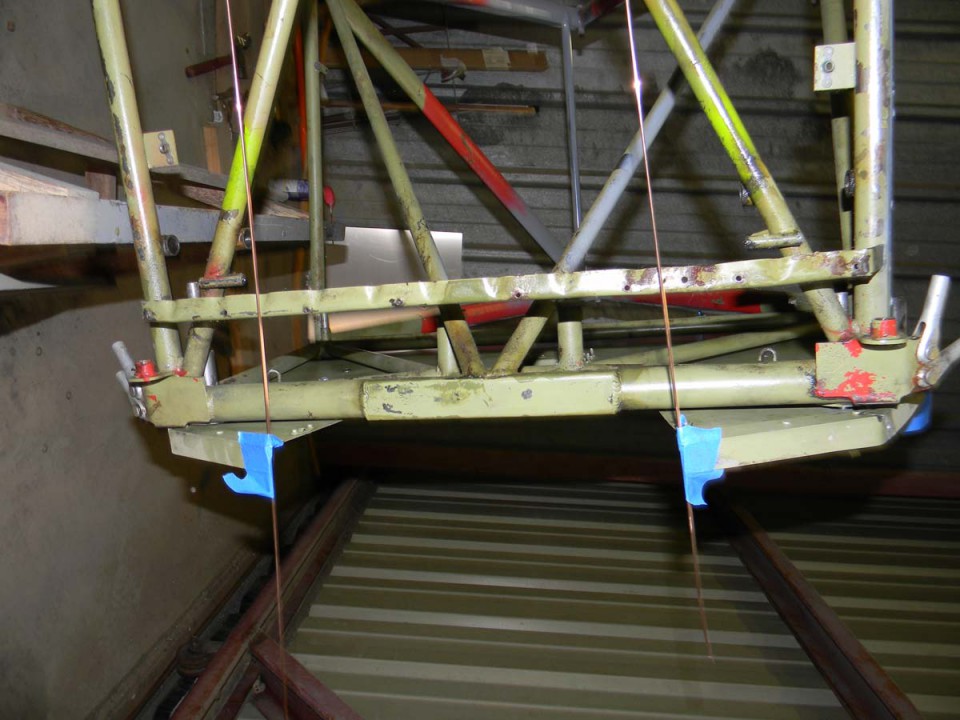
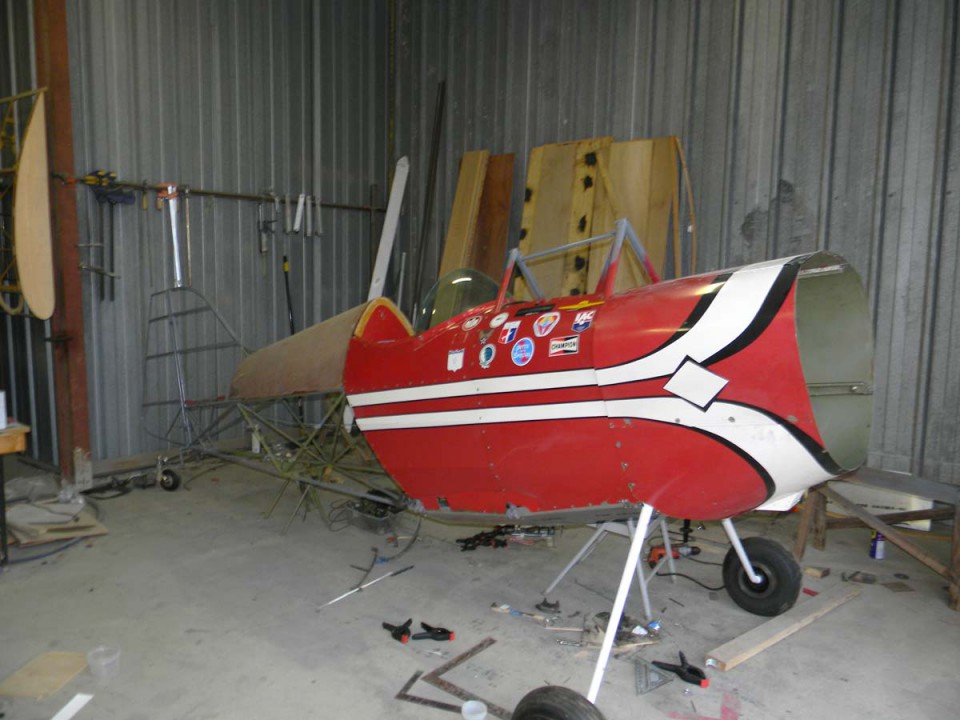
The new Wolf Pitts landing gear will allow a better arrangement of the exhaust pipes. Instead of the pipes sticking down well below the cowl, an exhaust tunnel can be created that lets them tuck up under the fuselage a little more. This should reduce some drag as well as setup a better exit for the cooling air coming out of the bottom of the cowl.
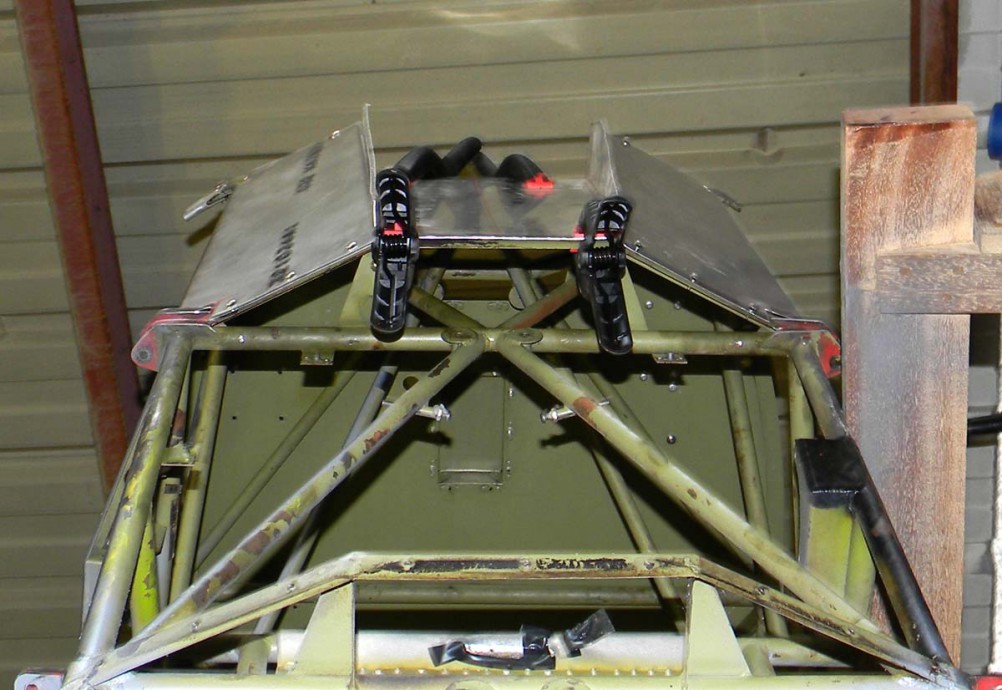
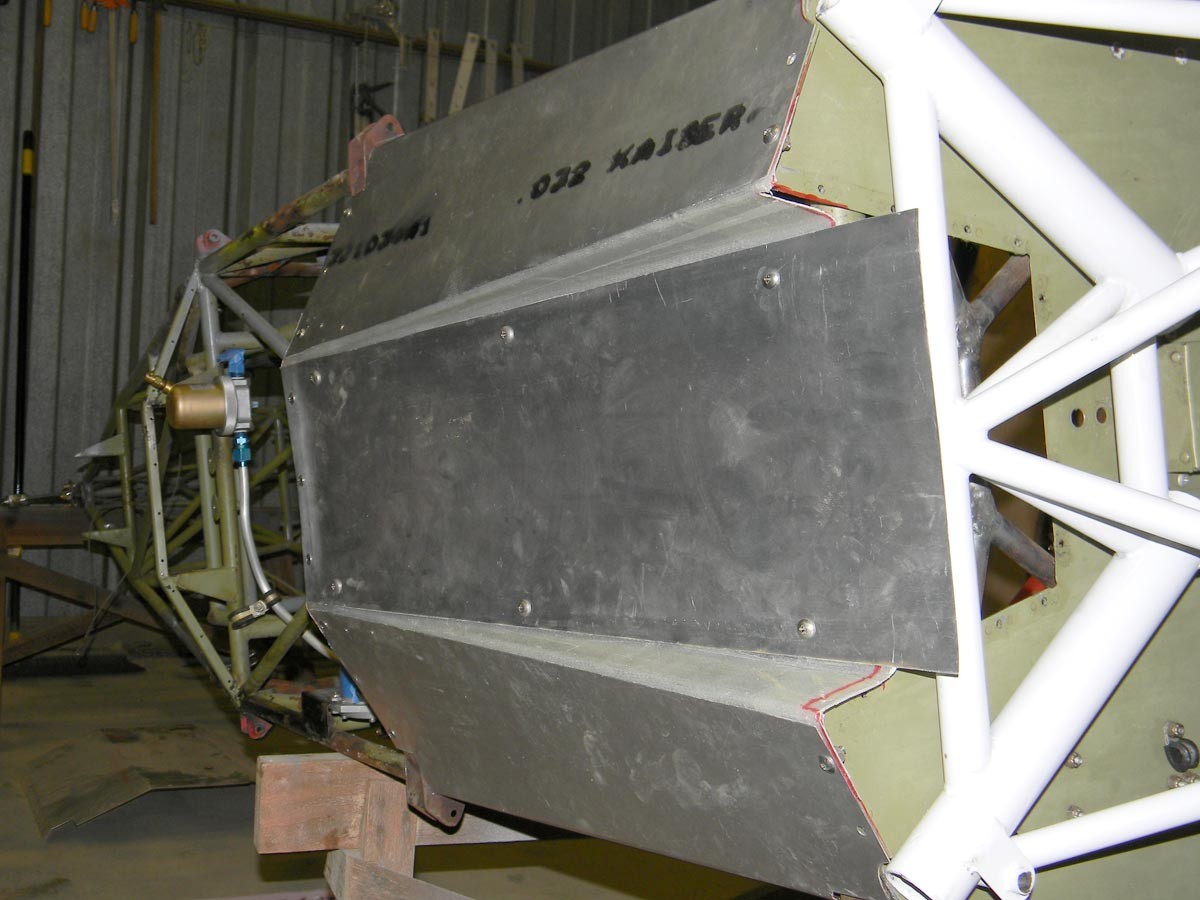
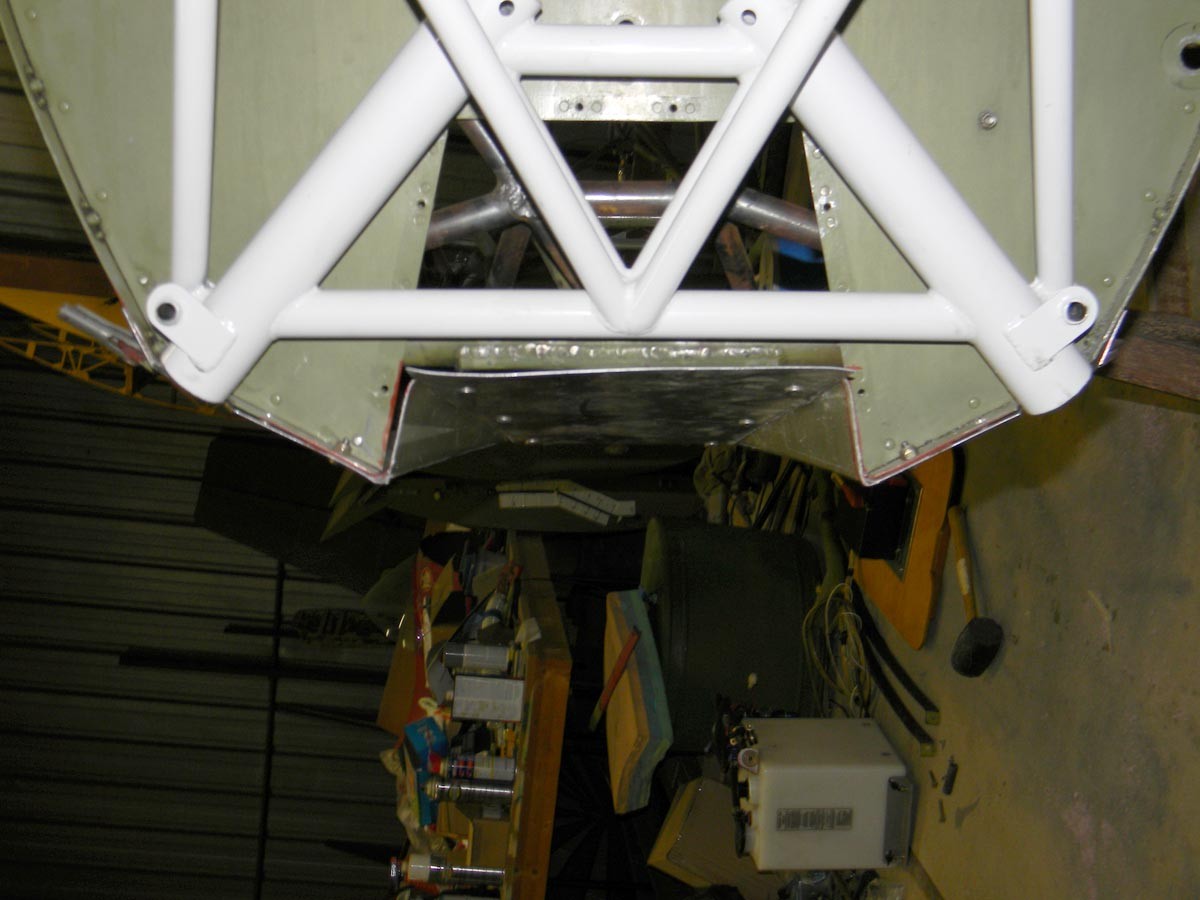
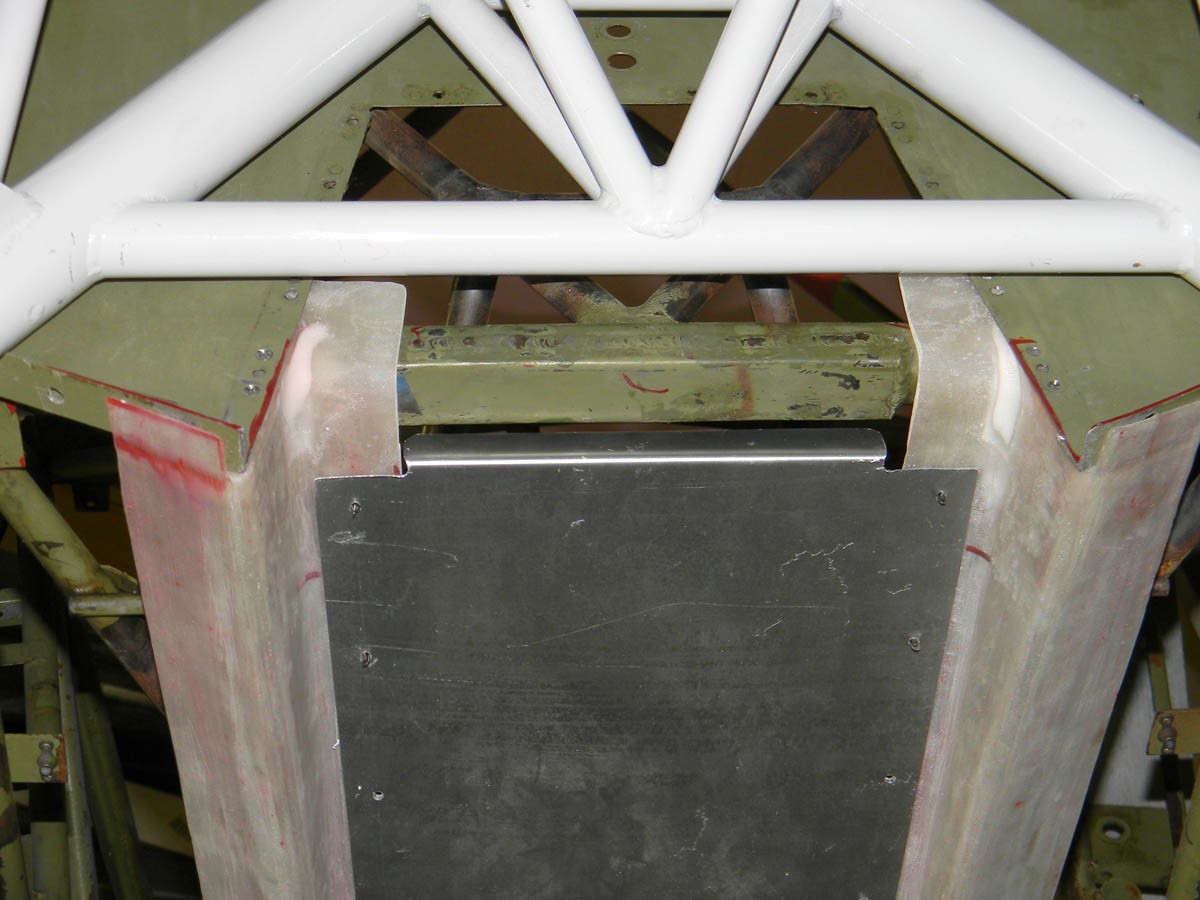
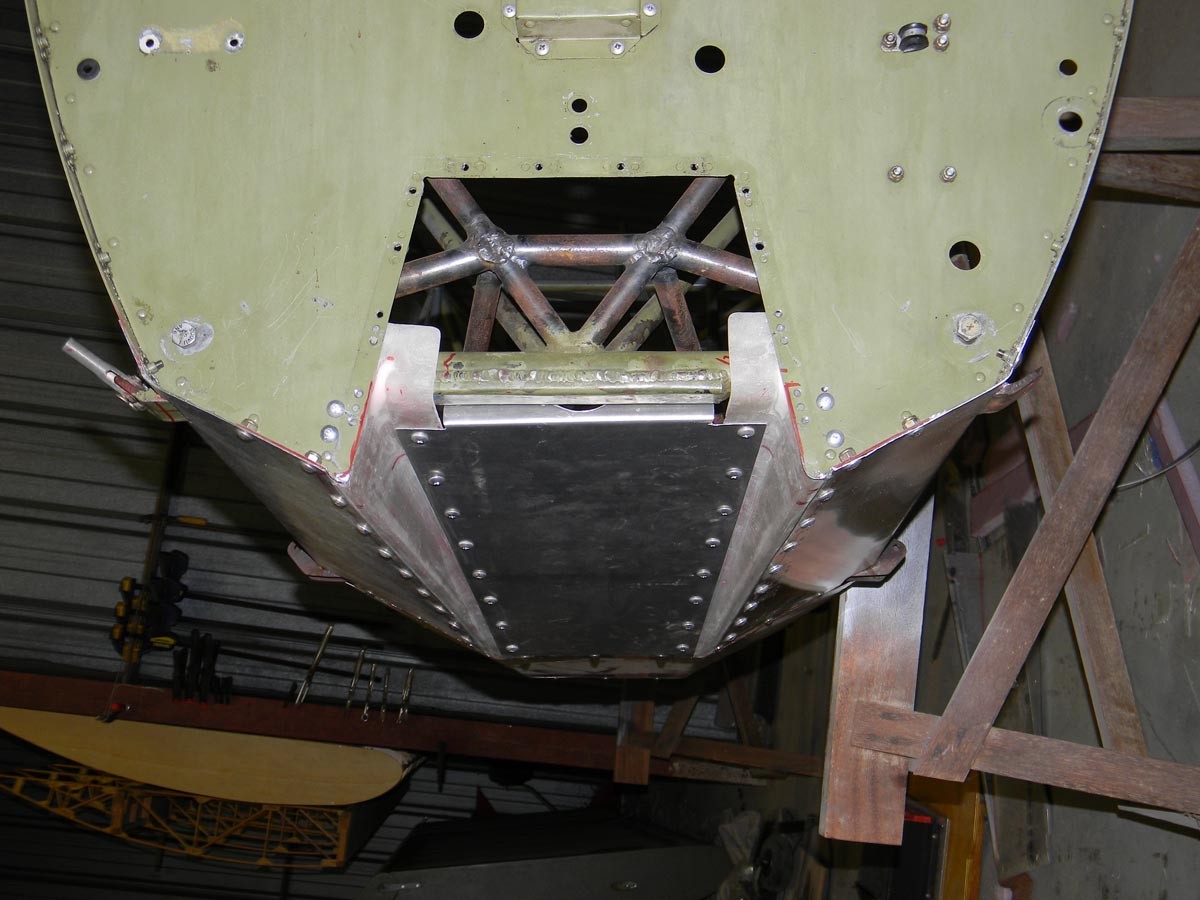
 Starting to figure out the new exhaust tunnel layout. View from the front.
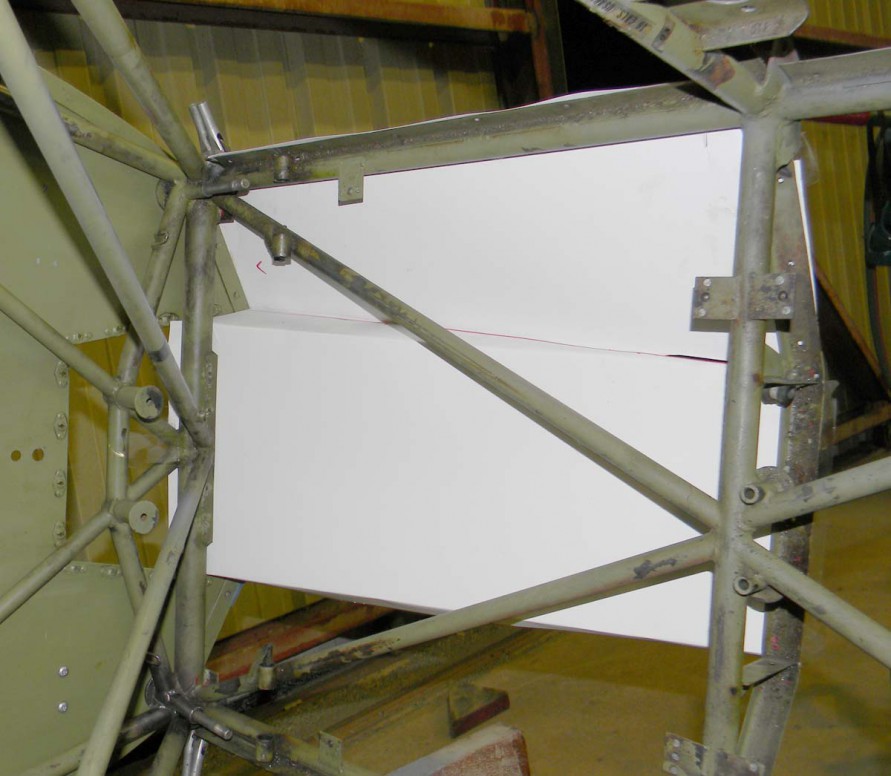
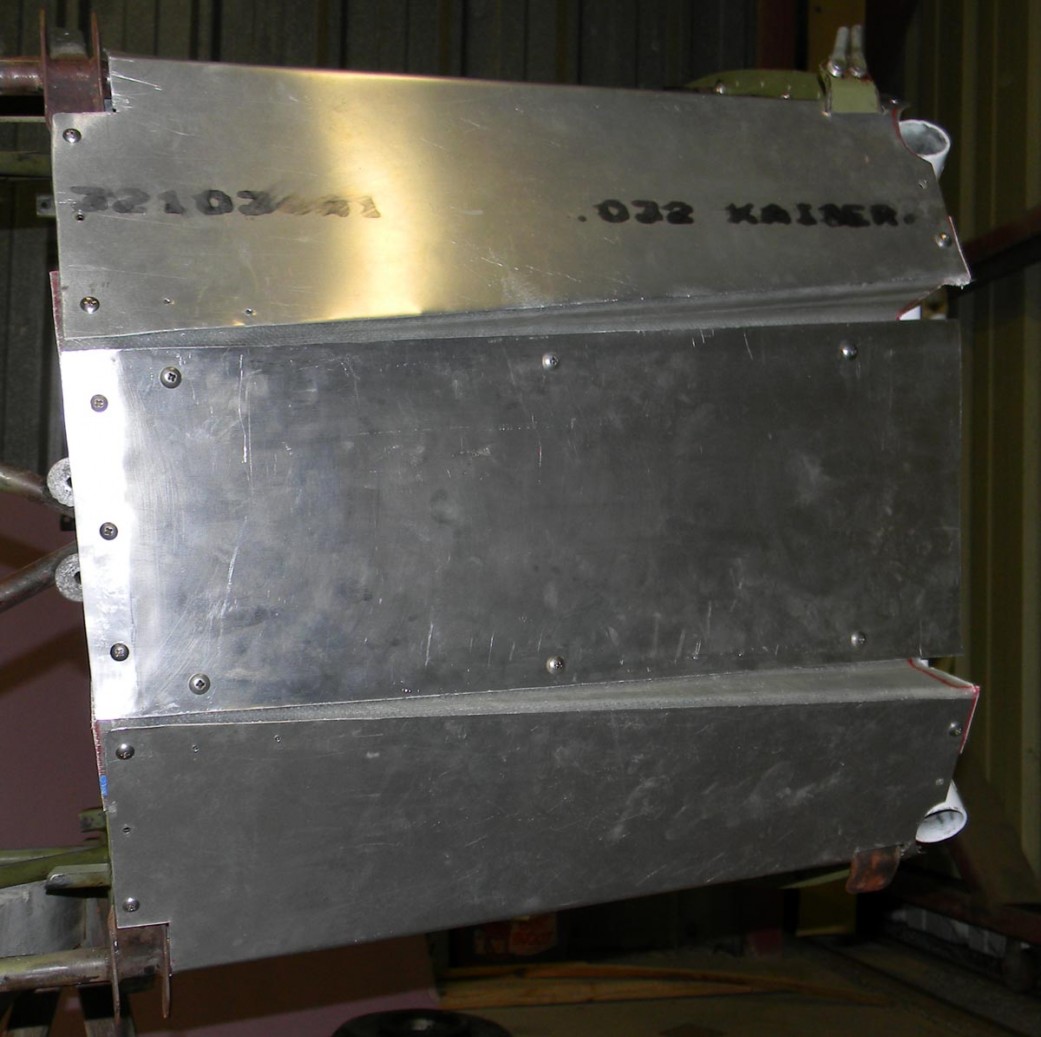
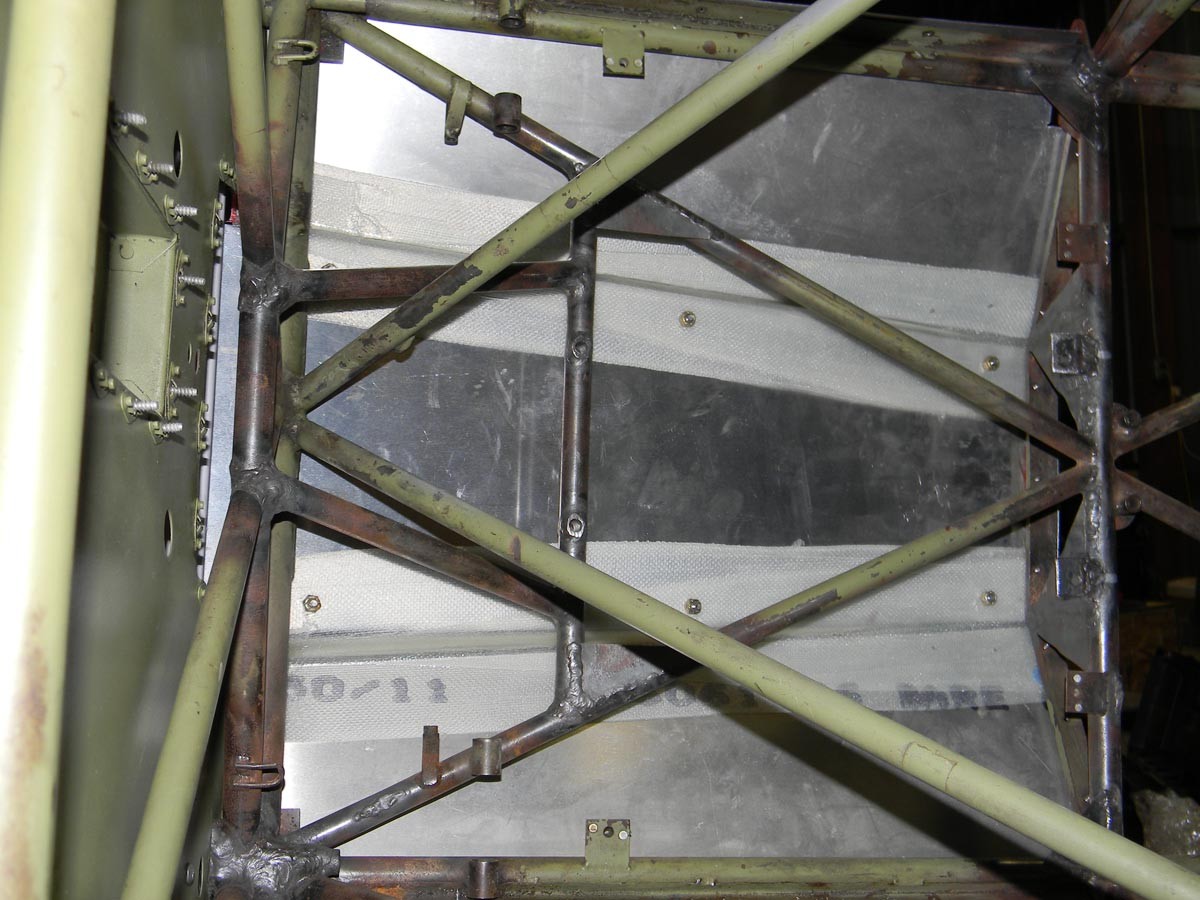
 Looking up the firewall from the bottom.
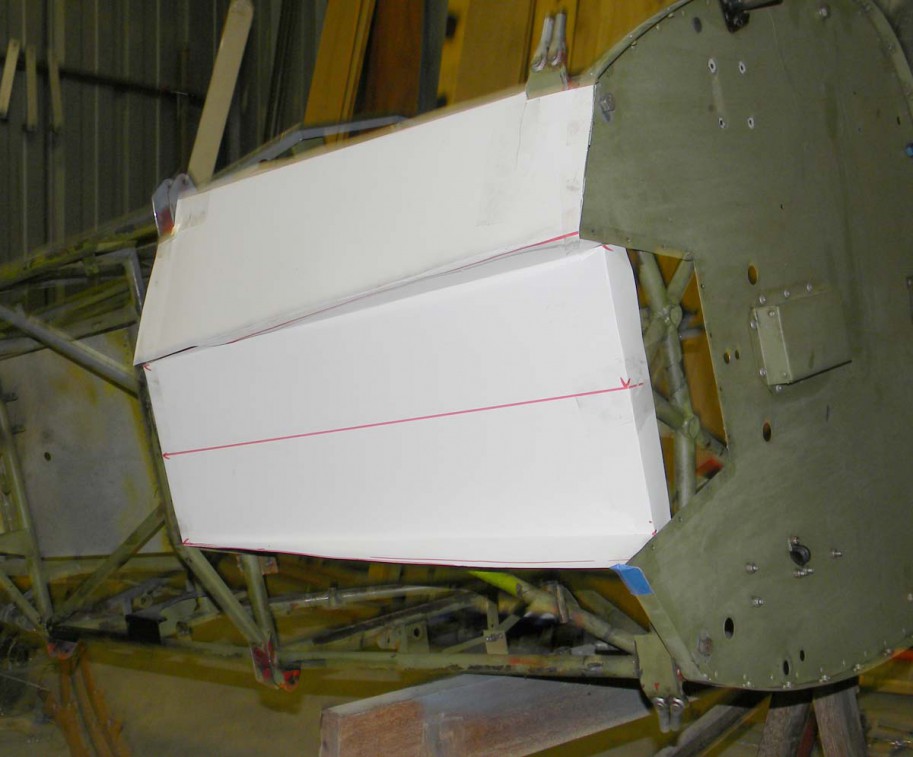
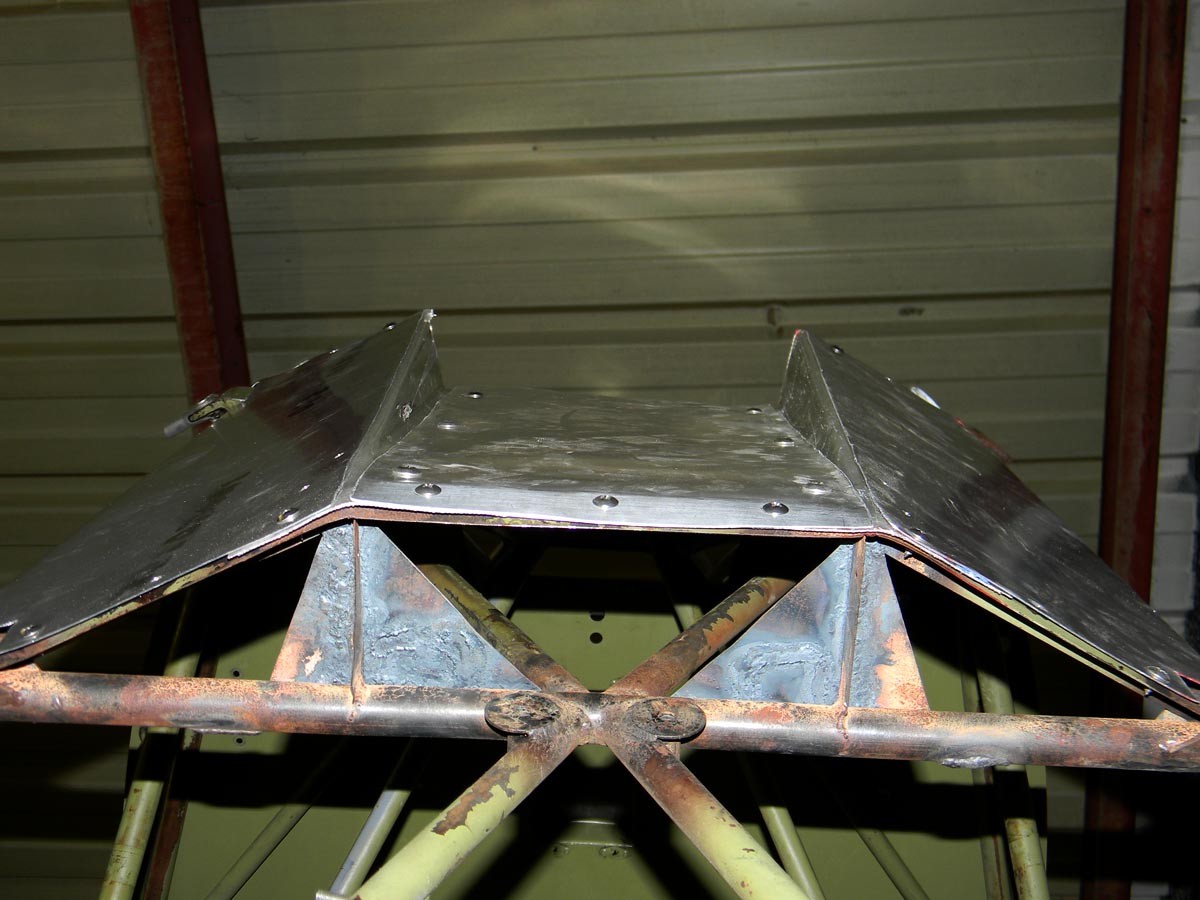
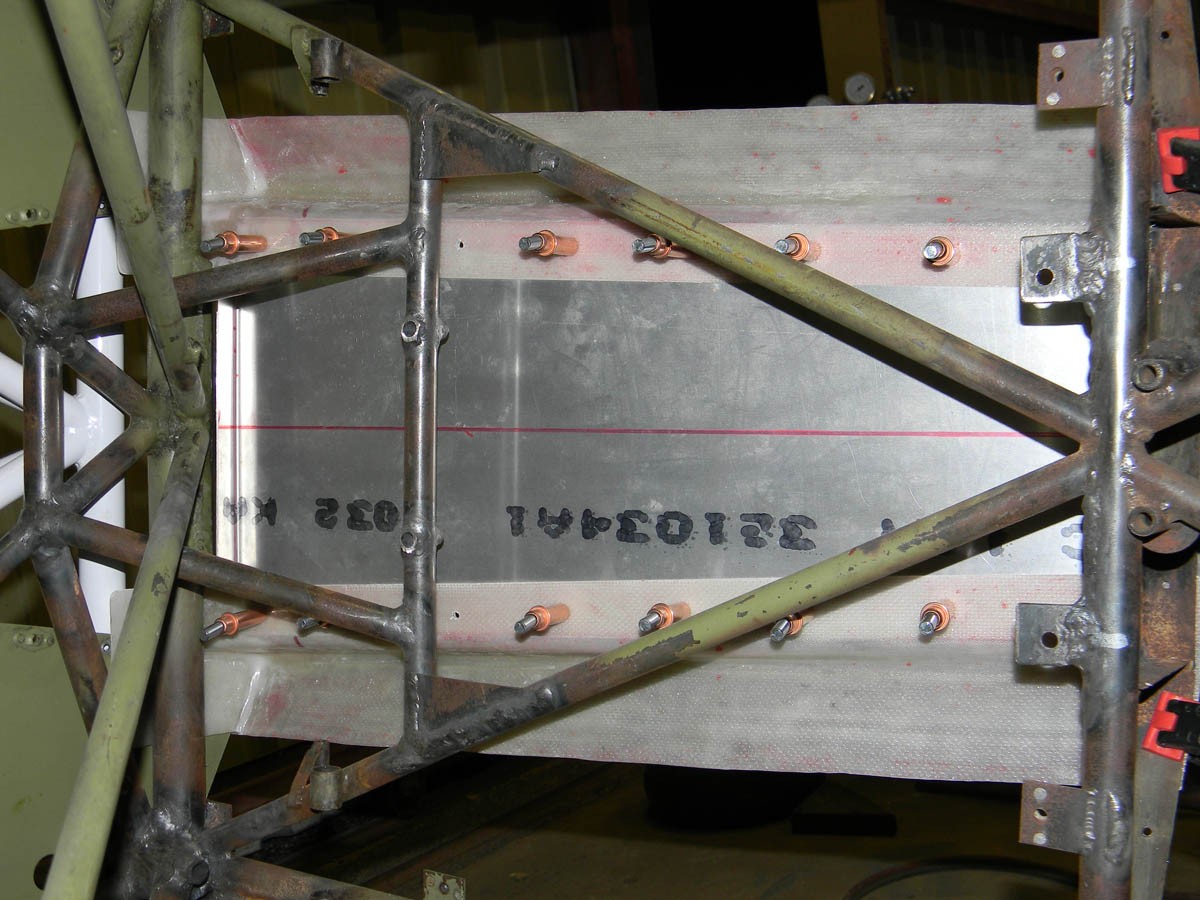
 Looking forward.
 First mock-up with poster board. Most of it is simple but there area couple tricky bits.

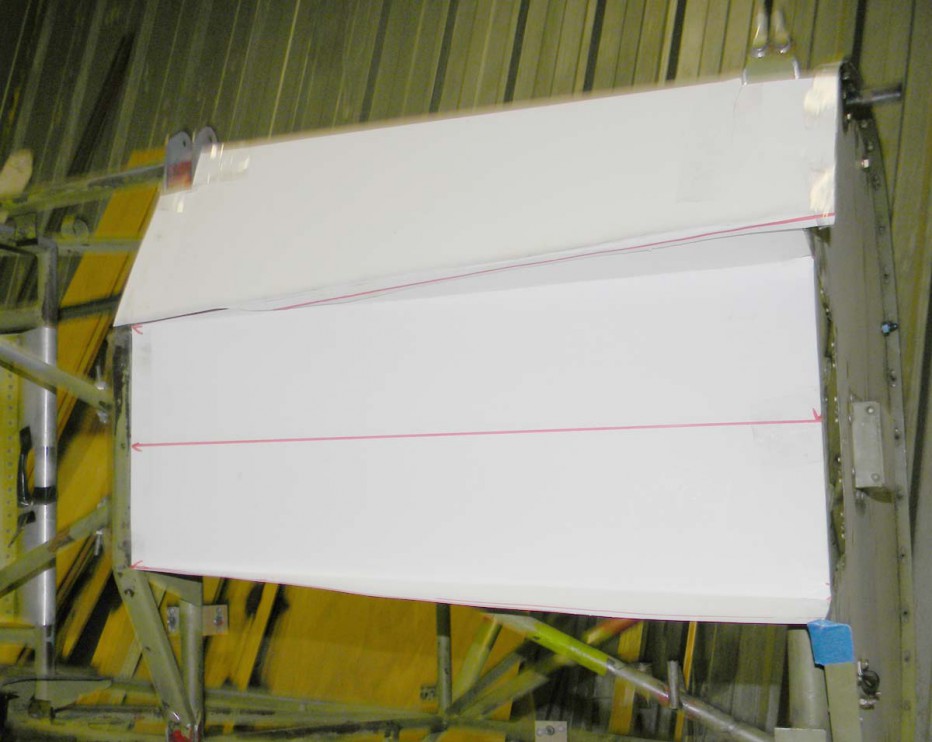
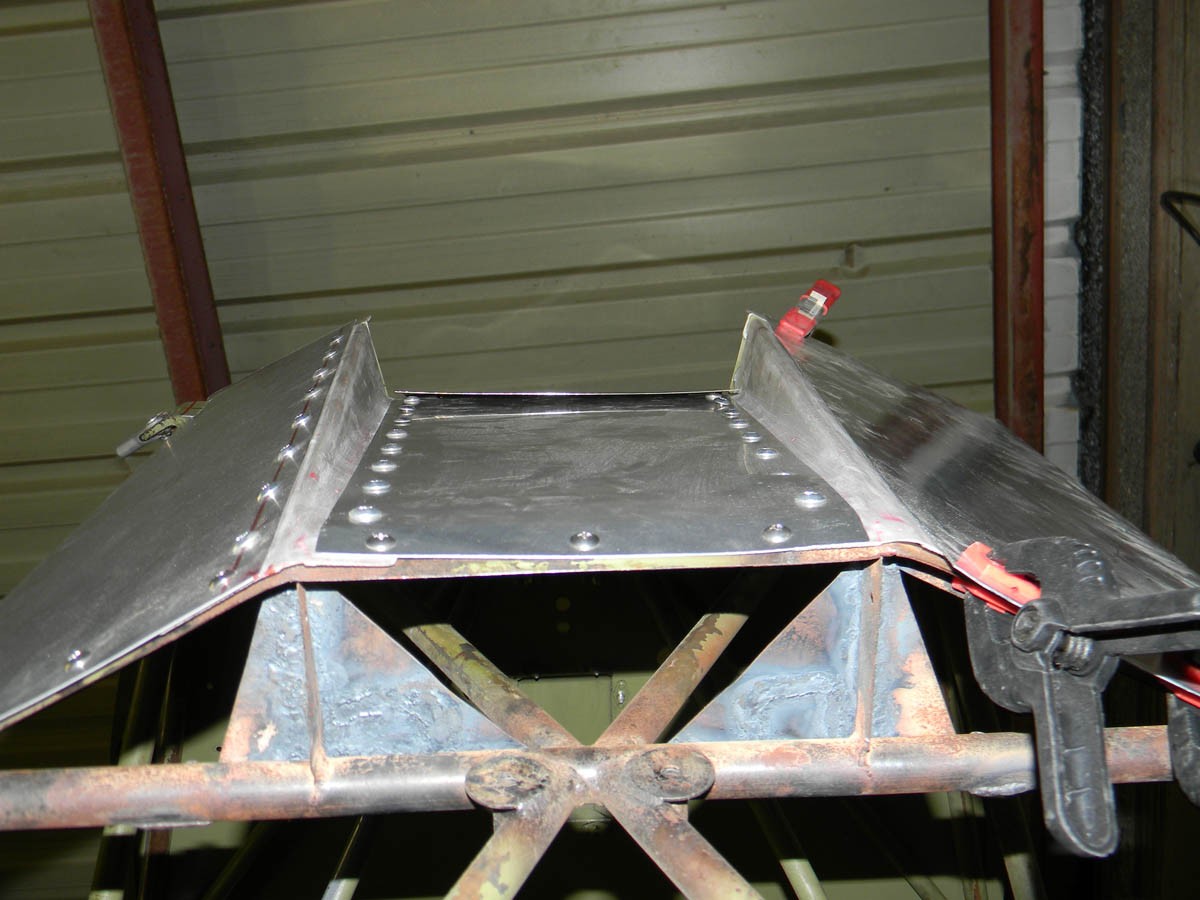
 It will be interesting to see how well the rear joints come out. They look like they may be difficult to seal up well.
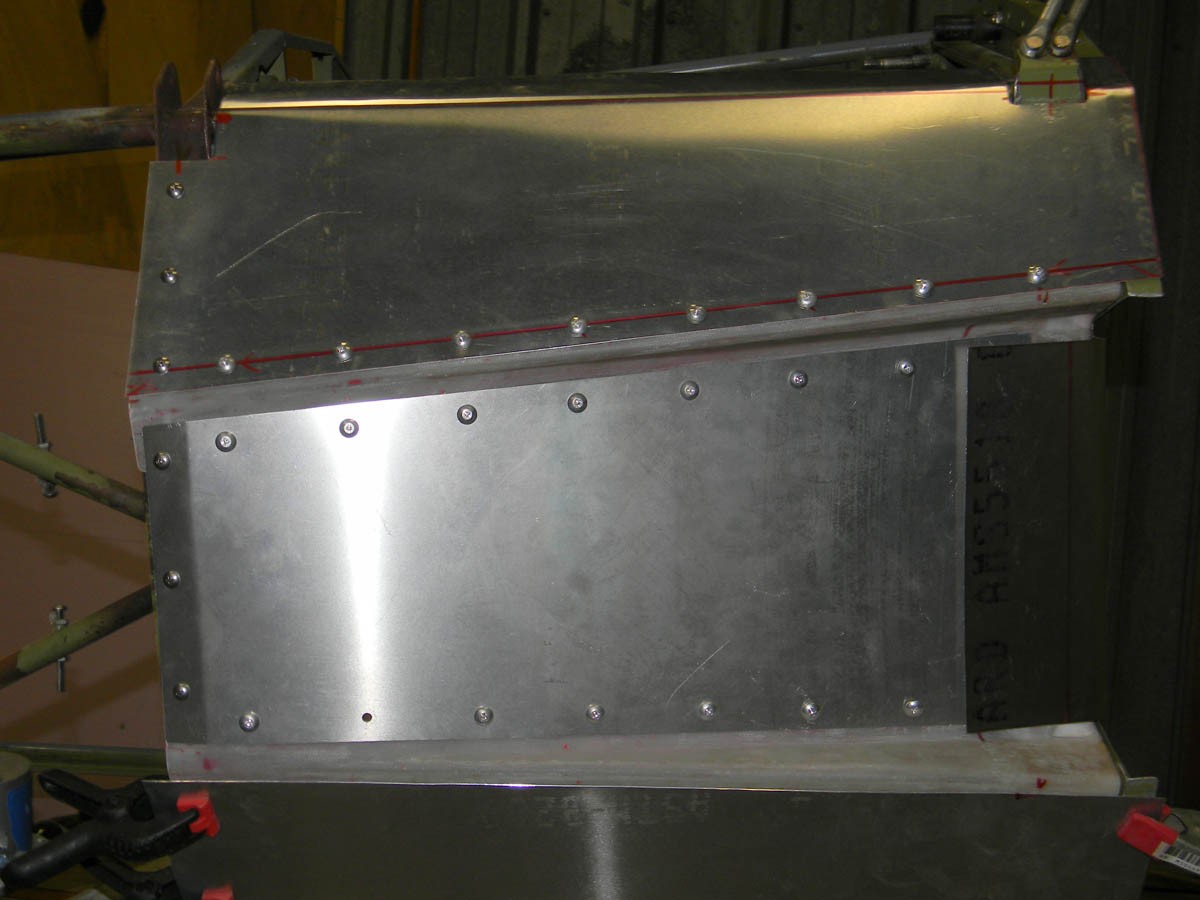
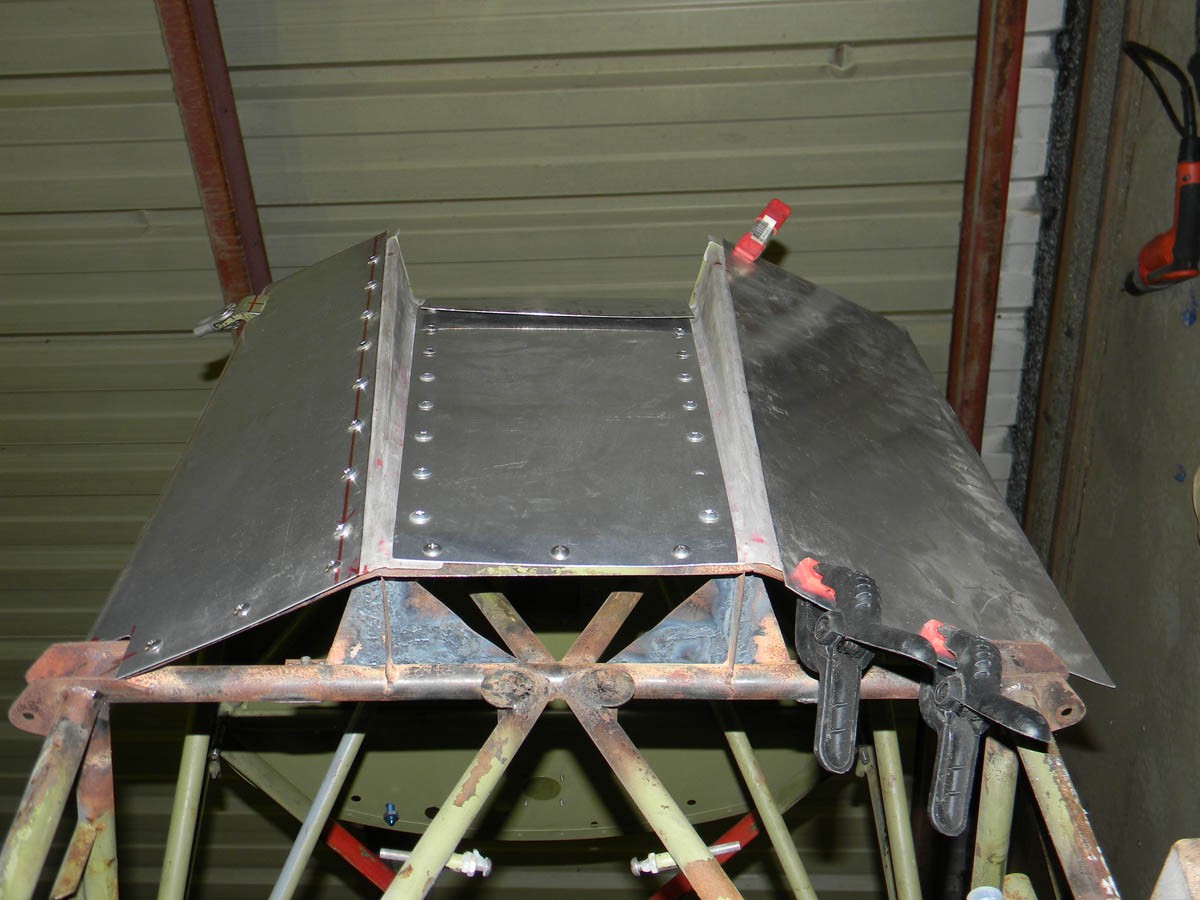
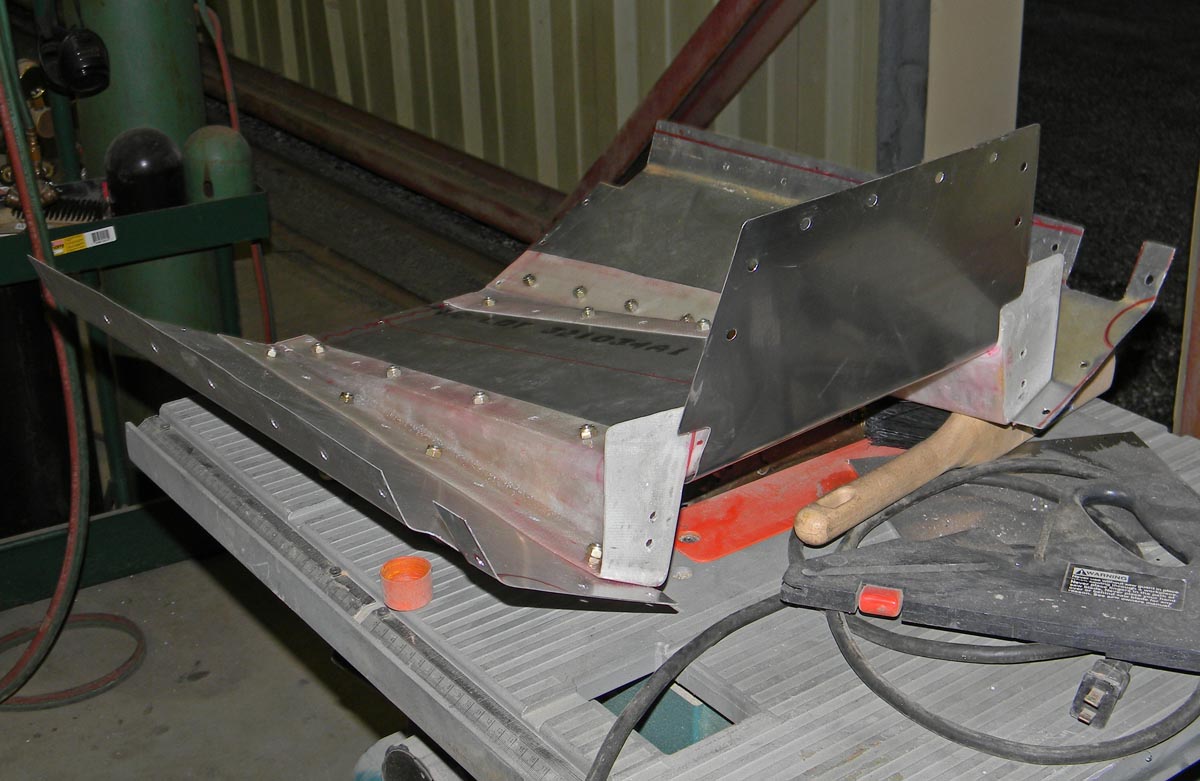
 Good progress on the new exhaust tunnel parts. It took about three hours to get to this point.
 I expected these to be practice parts, but they look like keepers so far. Everything fits well and the angles are correct. The finishing details will determine if they make the cut.
 The inside view shows how the three parts fit together. Still some trimming to do and some other clean-up. Need to install some nut plates and other hardware as well.

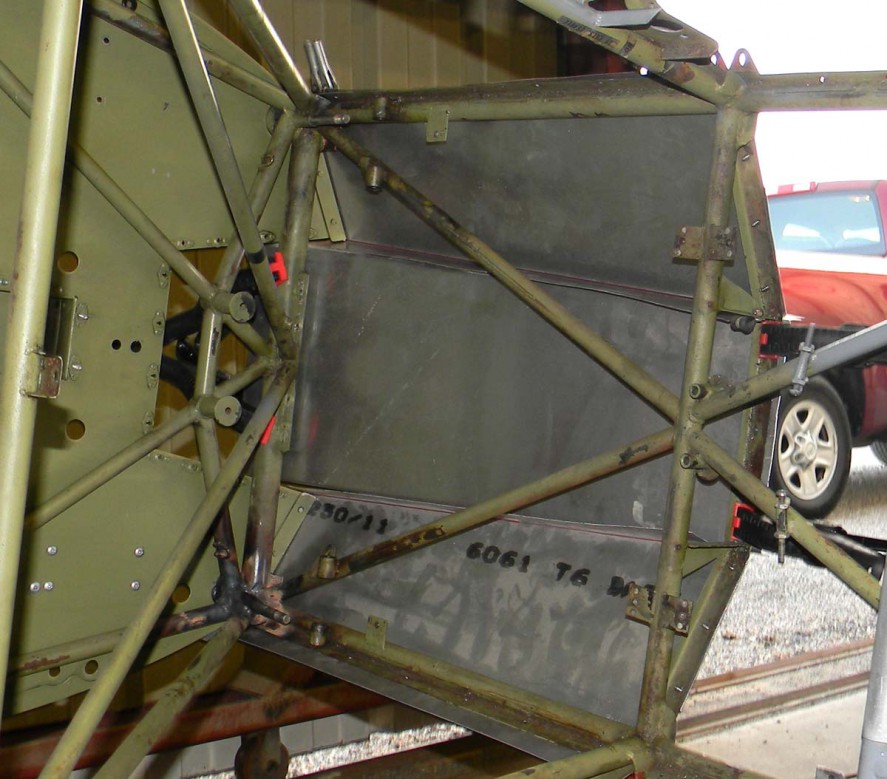
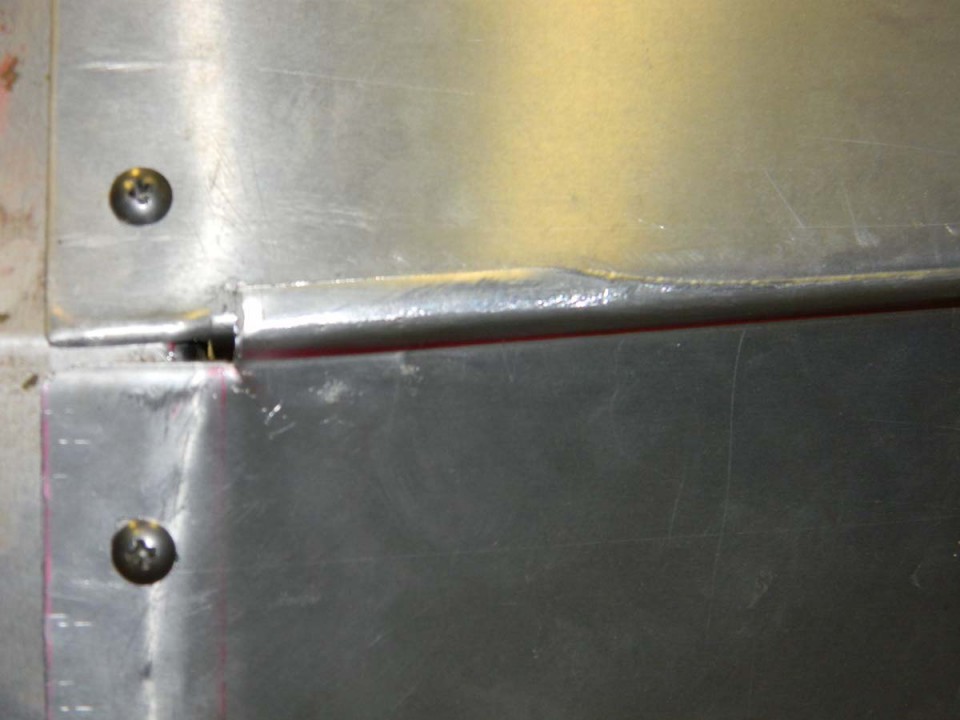
 First attempt at closing the gaps at the rear of the exhaust tunnel. Not bad, but not a keeper.


 The corners both work hardened and cracked a bit. May try welding them up, but will probably make another part and start with a softer alloy. I think this is 6061 T6. T4 should be easier to work.


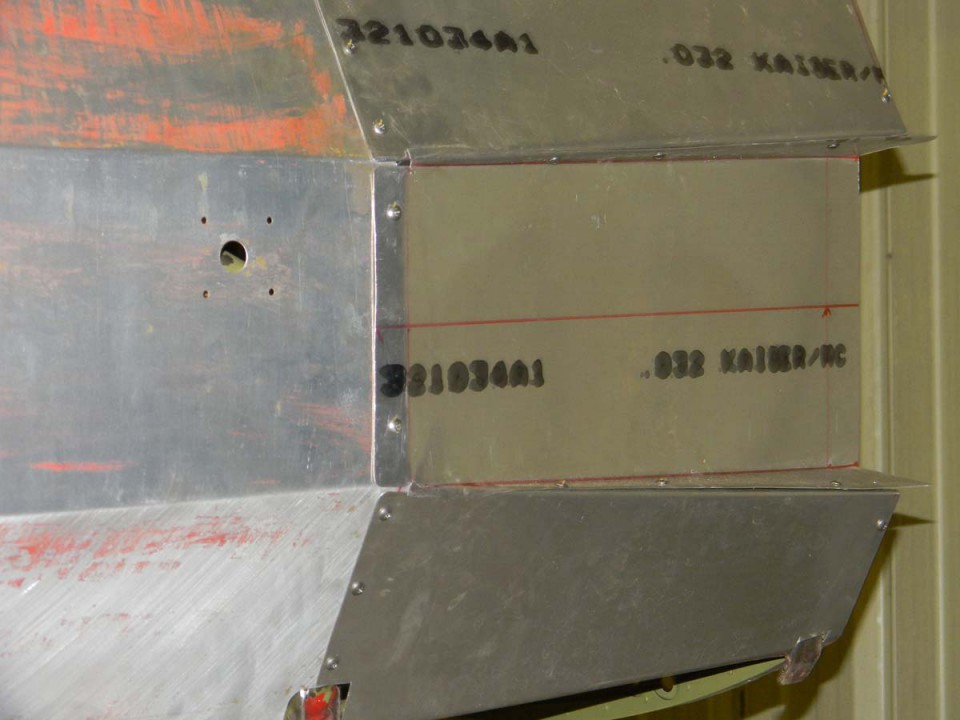
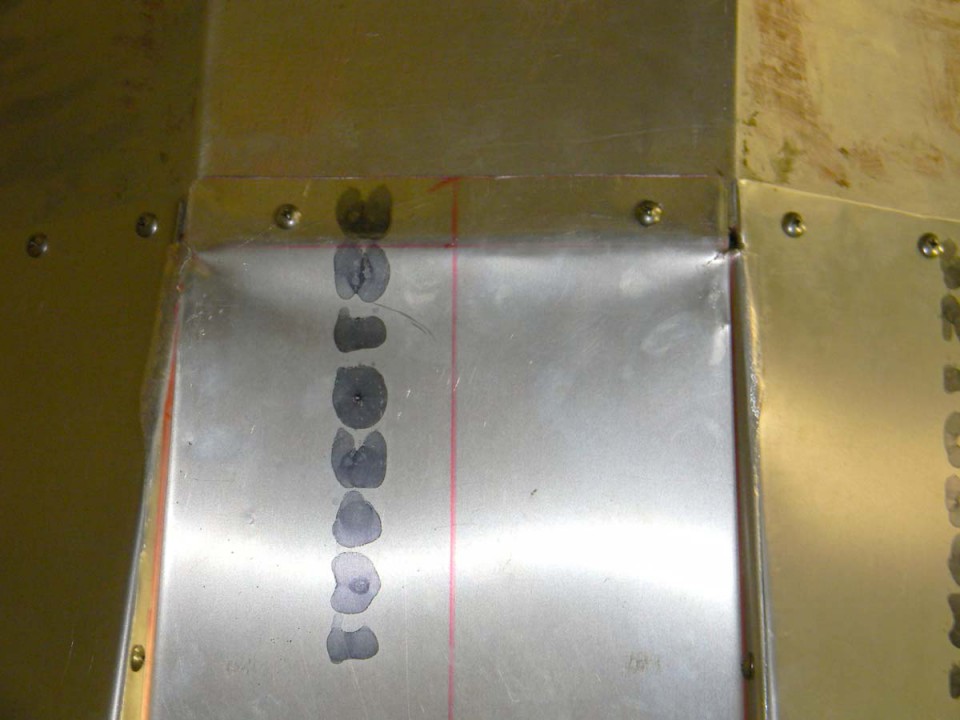
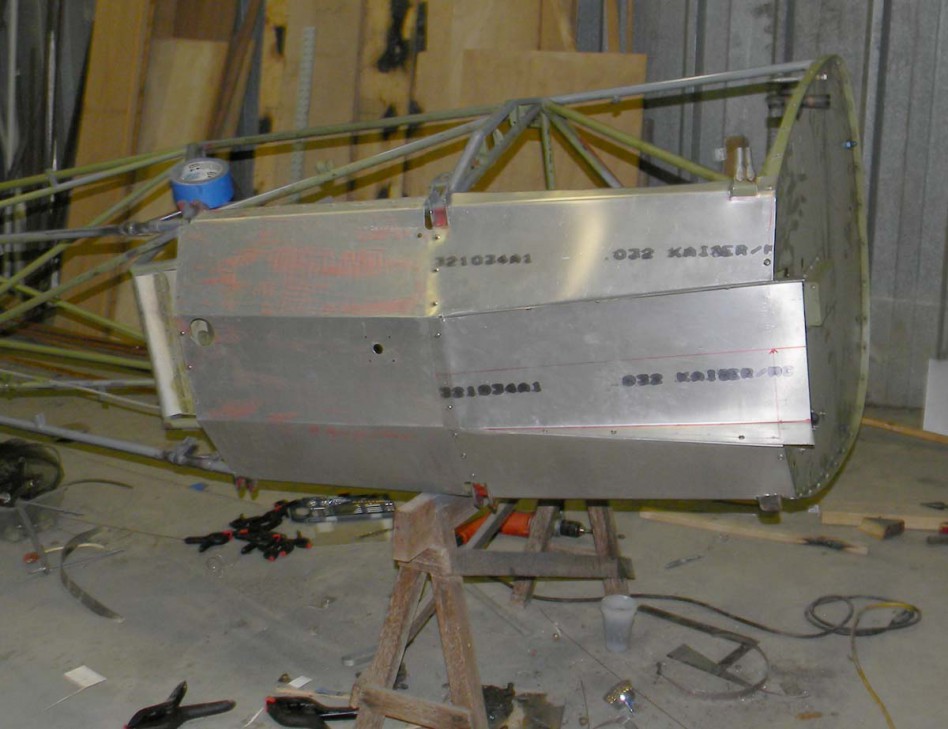
 Starting the second attempt at the exhaust tunnel. This time I didn't make any notches or cuts before fitting.

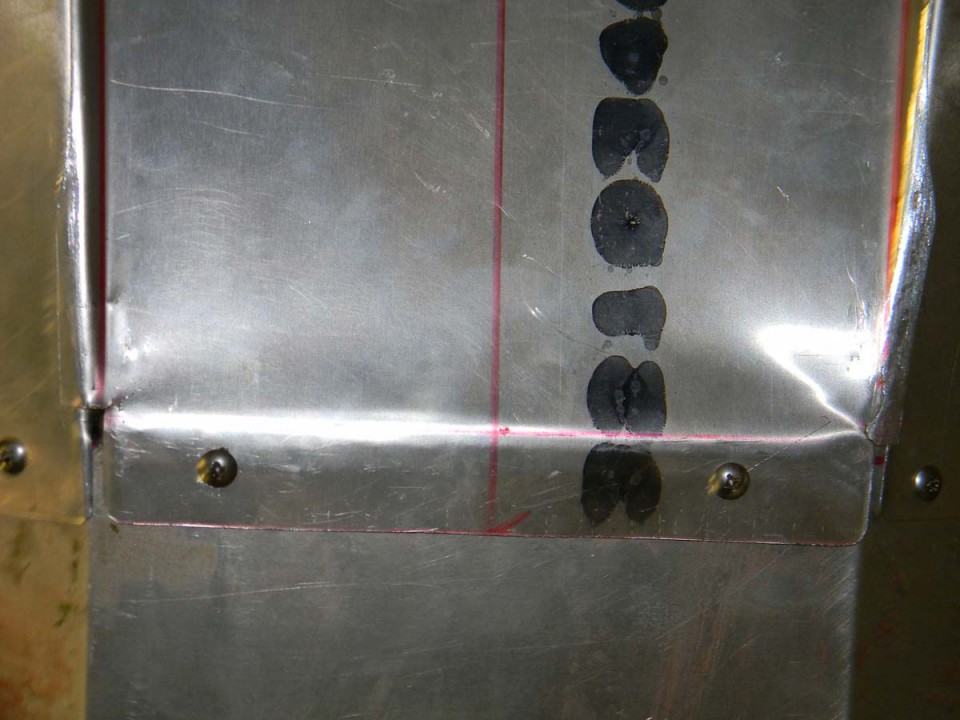
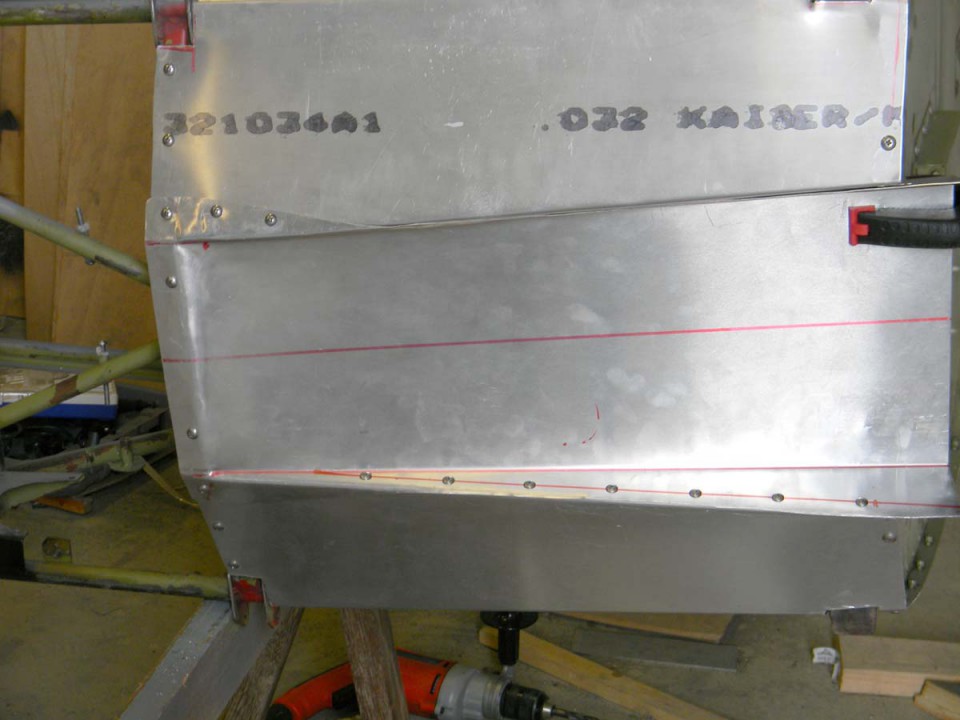
 Still needs some clean-up work, but about half of the screw holes are drilled. Sheet metal screws for now. They will get replaced with nut plates and machine screws.
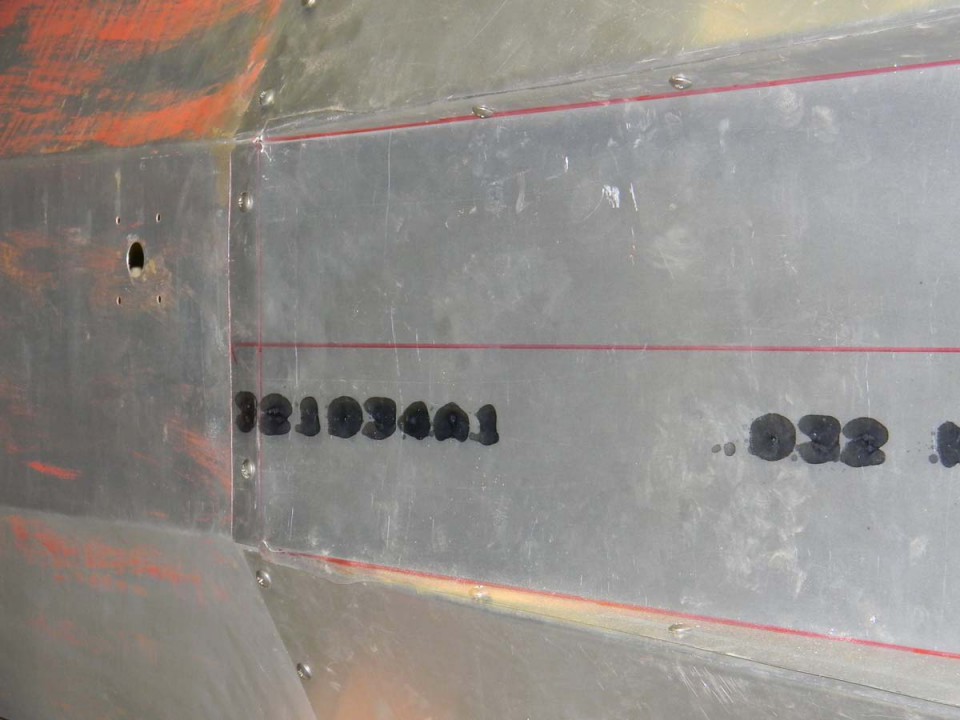
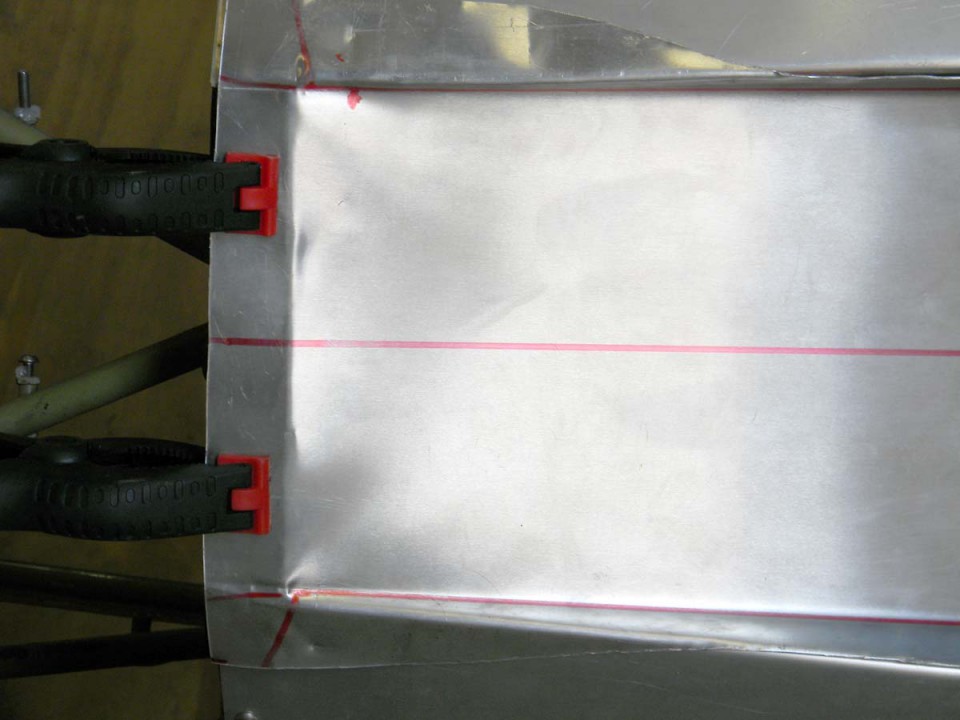
 Close-up of the 'wings' that cover the gap with the side panels. I still need to work on the finish a bit, but the ripples are exaggerated in the picture.
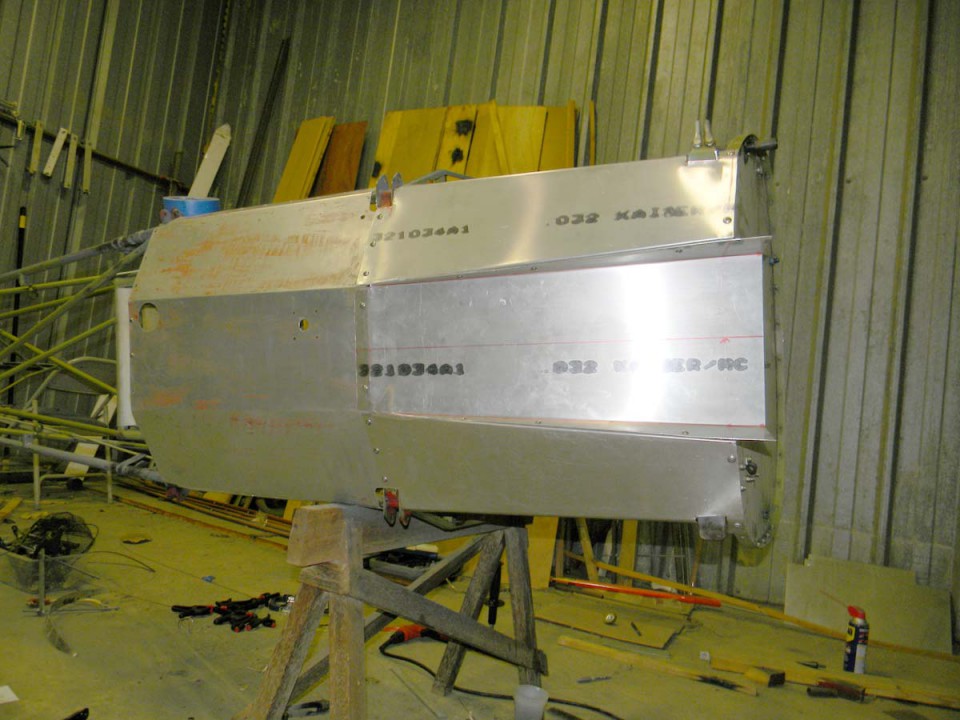
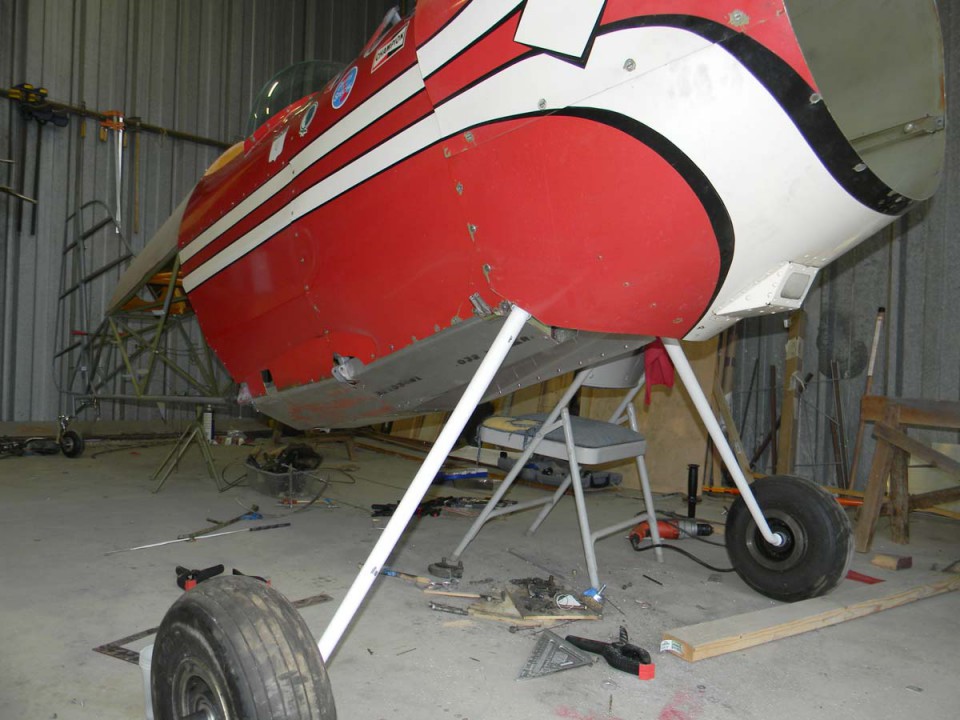
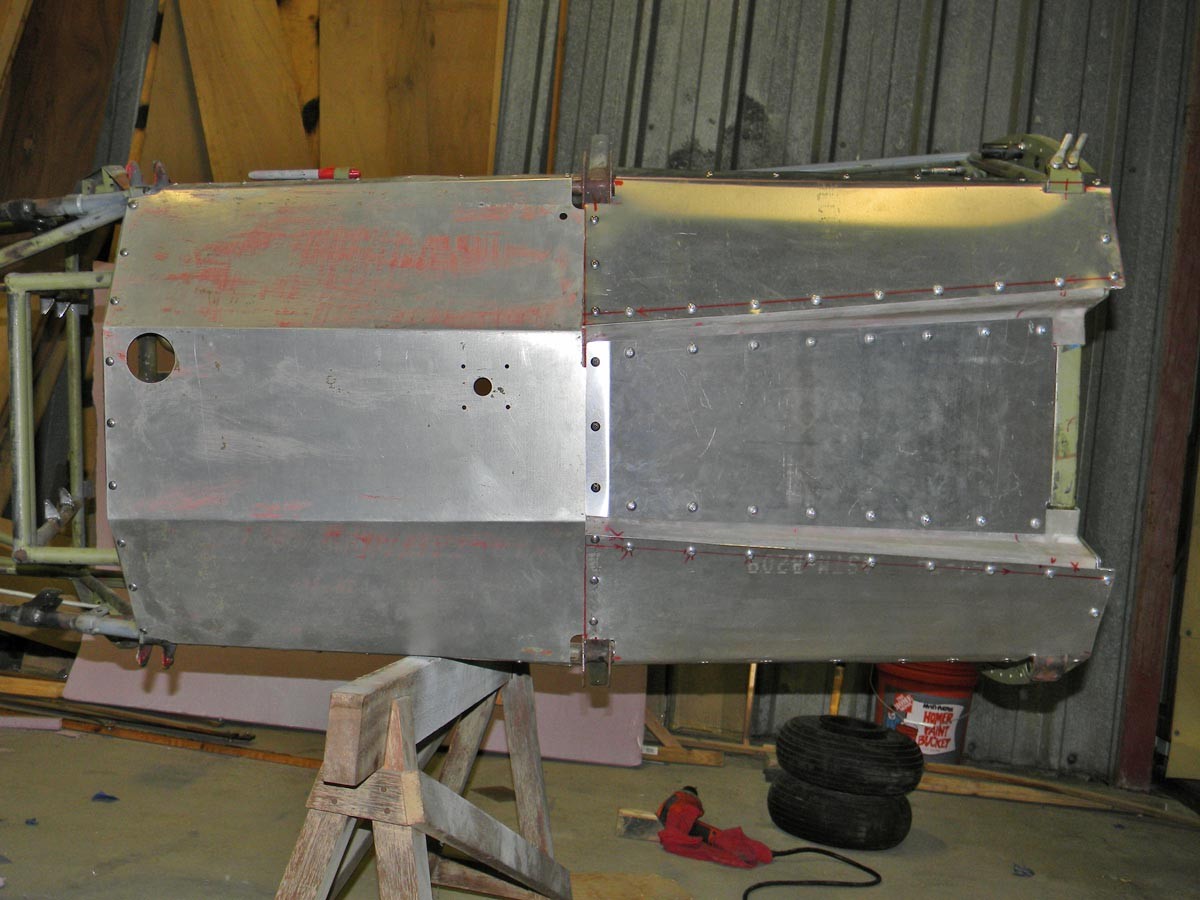
 I installed most of the sheet metal to see how things were working out with the new tunnel parts and landing gear.


-
 The start of a plug for some new exhaust tunnel parts.
 -
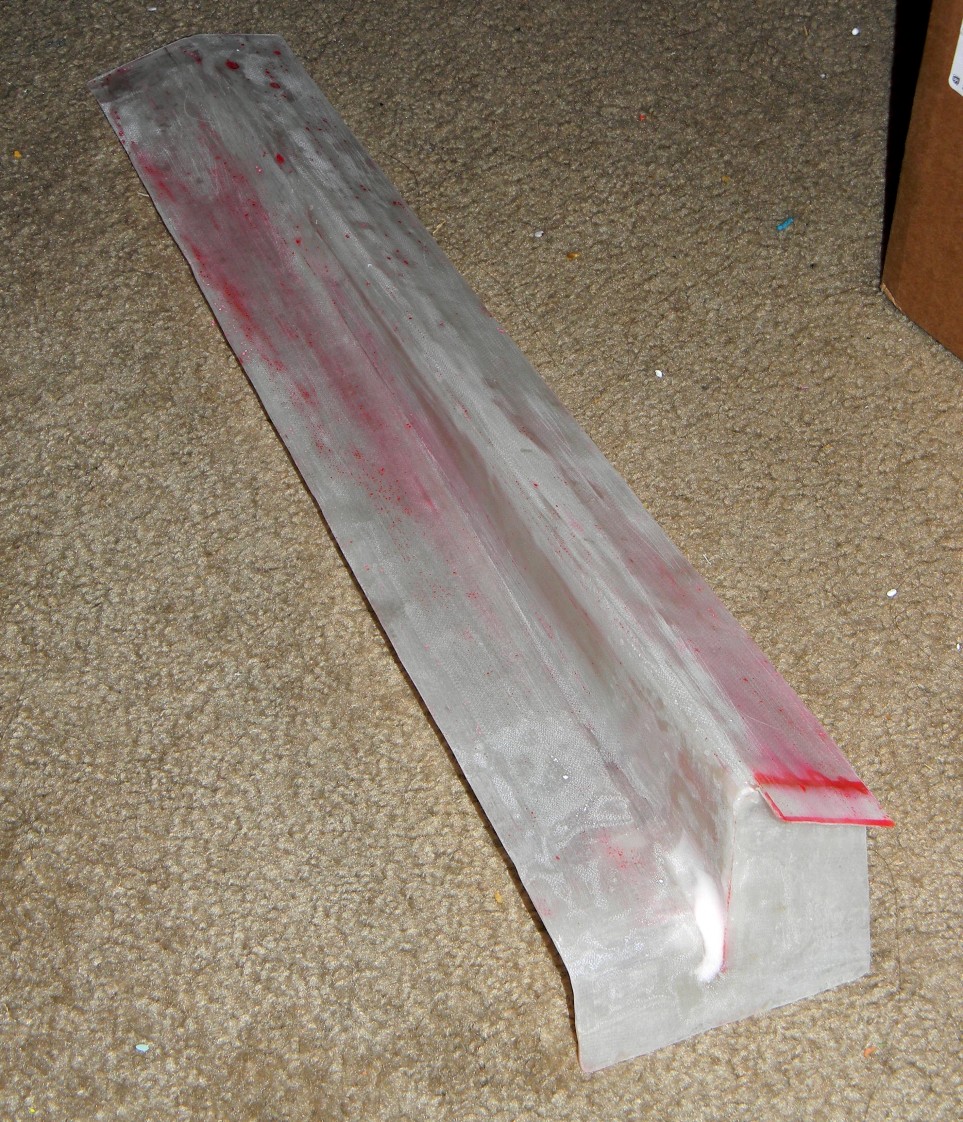
 Plug after sanding the drywall spackle and coating with a slurry of epoxy and micro.
 -
 This is approximate shape of the part I'm after. I should be able to make a right and left from the resulting mold.
 -
 Test parts pulled from the foam plug.
 -
 Trial fit of fiberglass flanges (test parts).
 -
 The aluminum panels were quickly cut from the last exhaust tunnel attempt. The side panels will be done over and the center panel will be stainless steel.
 -
 Nice fit on the rear former.
 -

-
 No gaps to seal like the last attempts.
 -

-
 Inside view.
 -

-
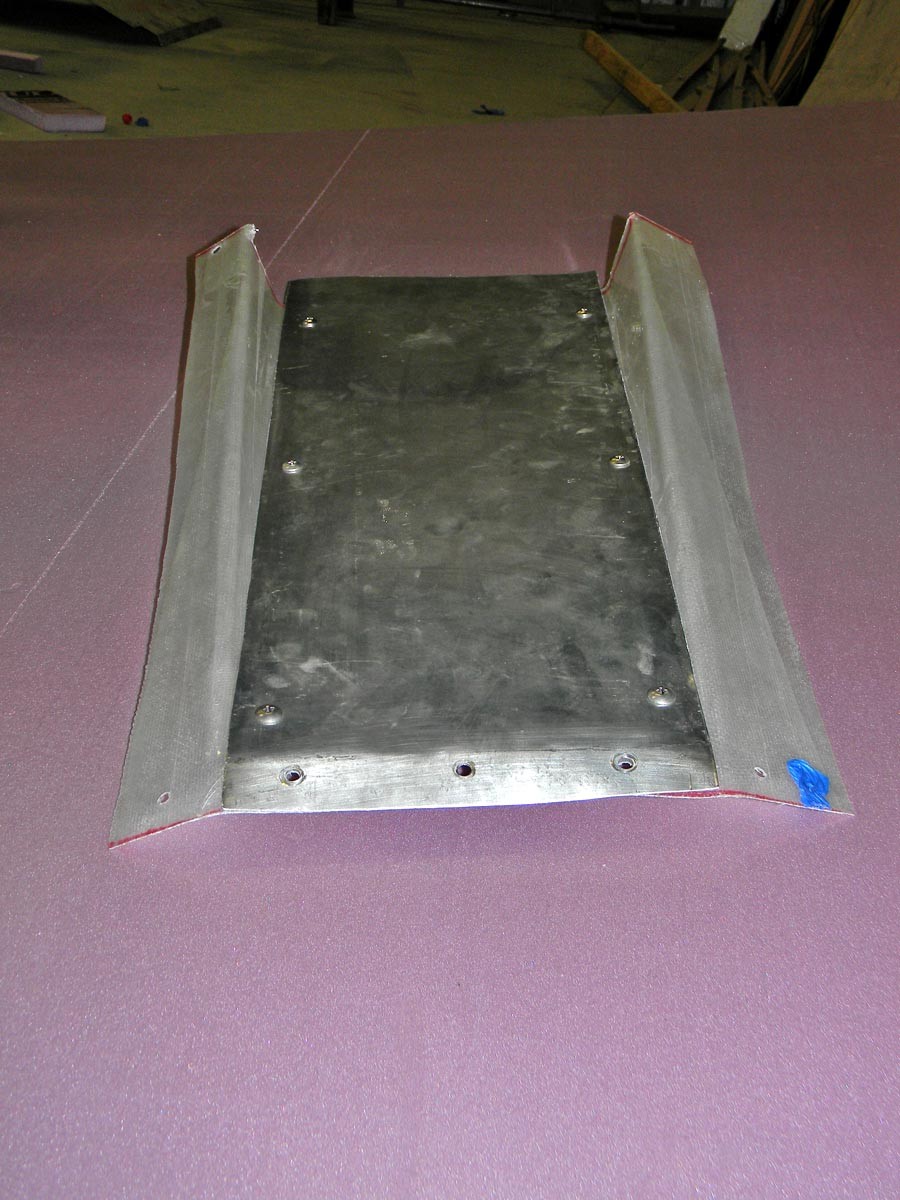
 The ramp with the test flanges. The final parts will use more screws. This was just enough to verify the fit.
 -

-
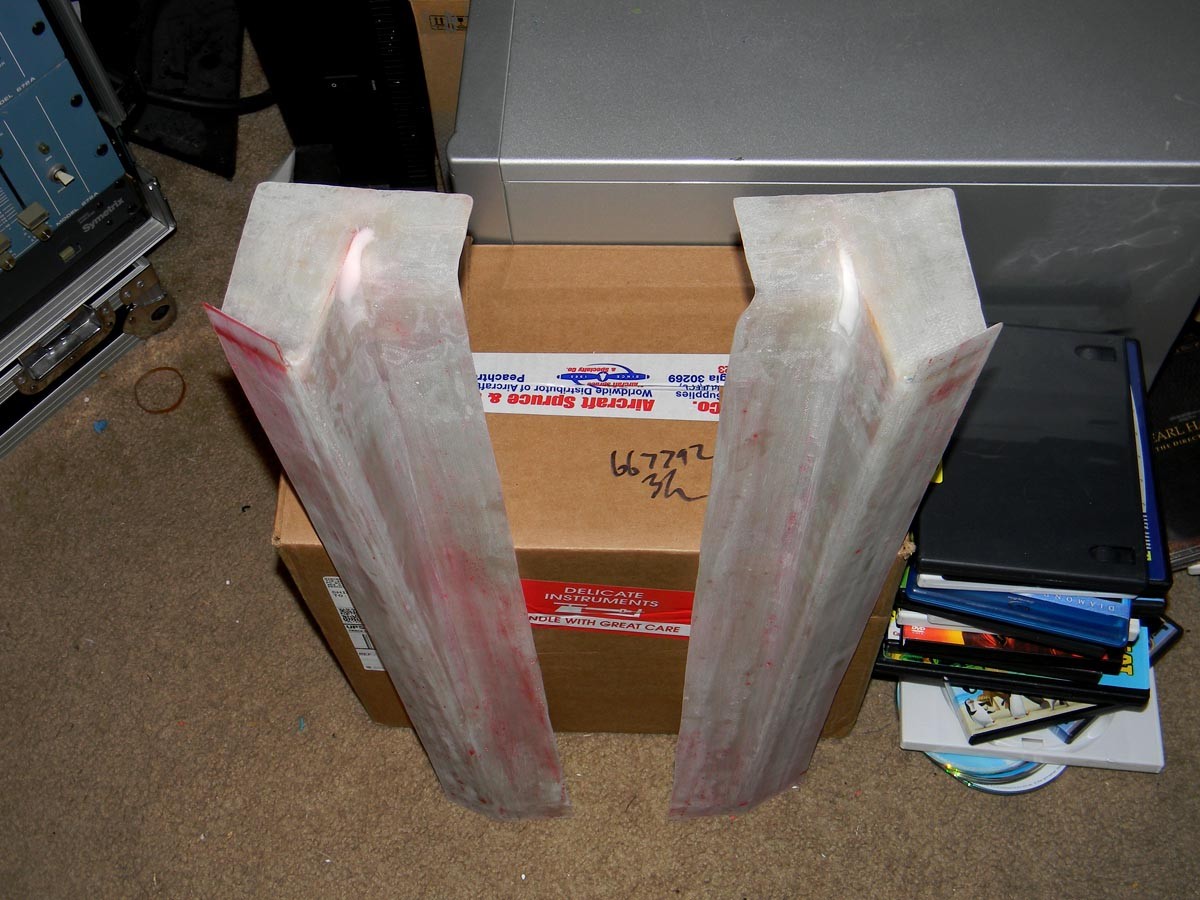
 Flanges built. The square ends butt up to the rear of the firewall. The curved section wraps up around the bottom cross tube on the fuselage.
 -
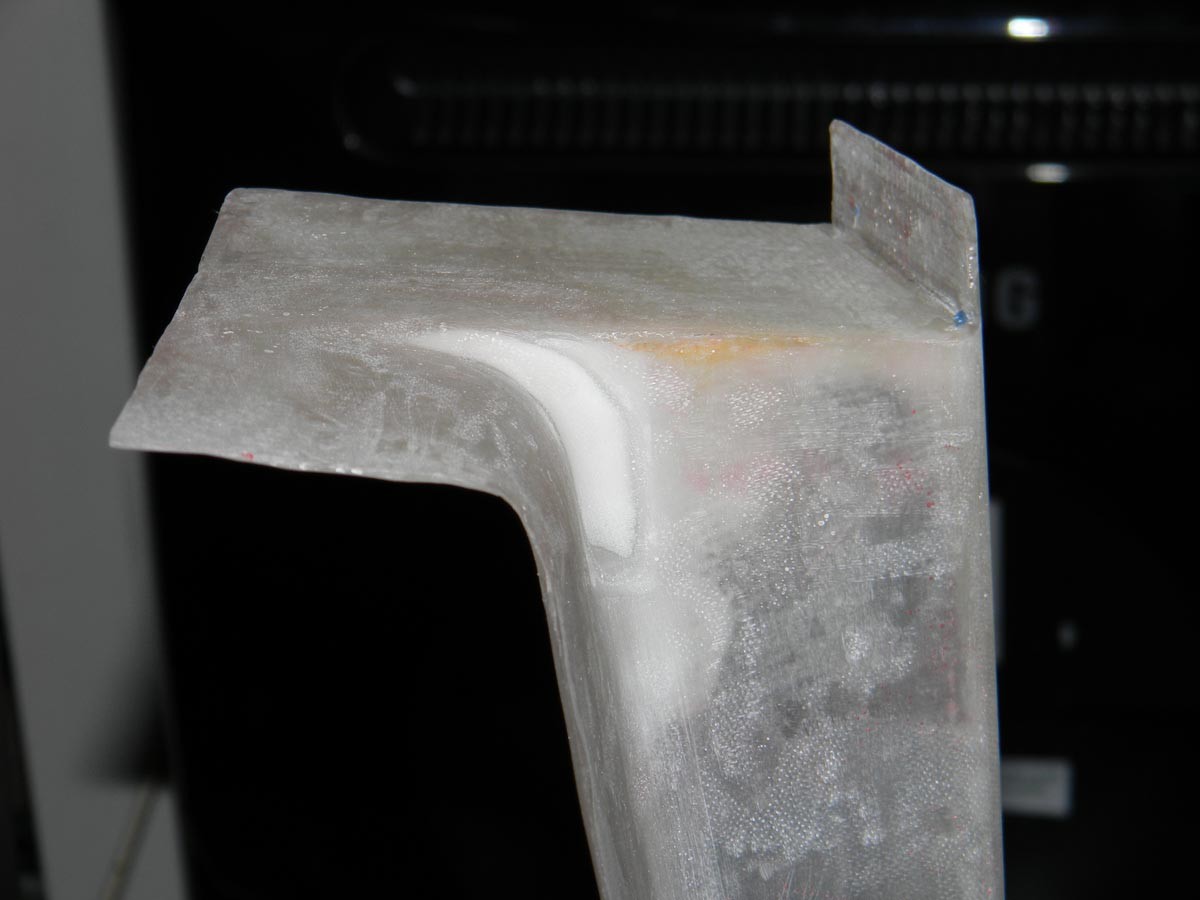
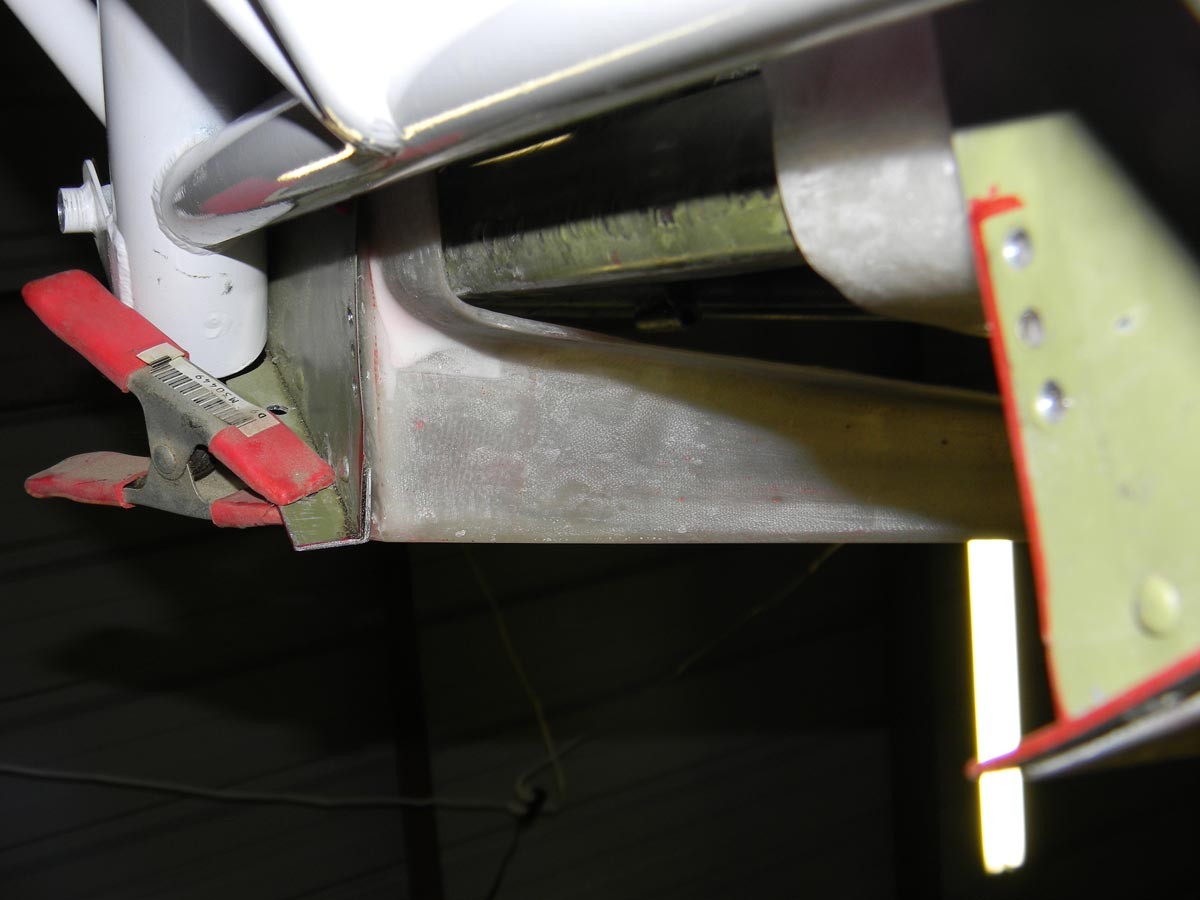
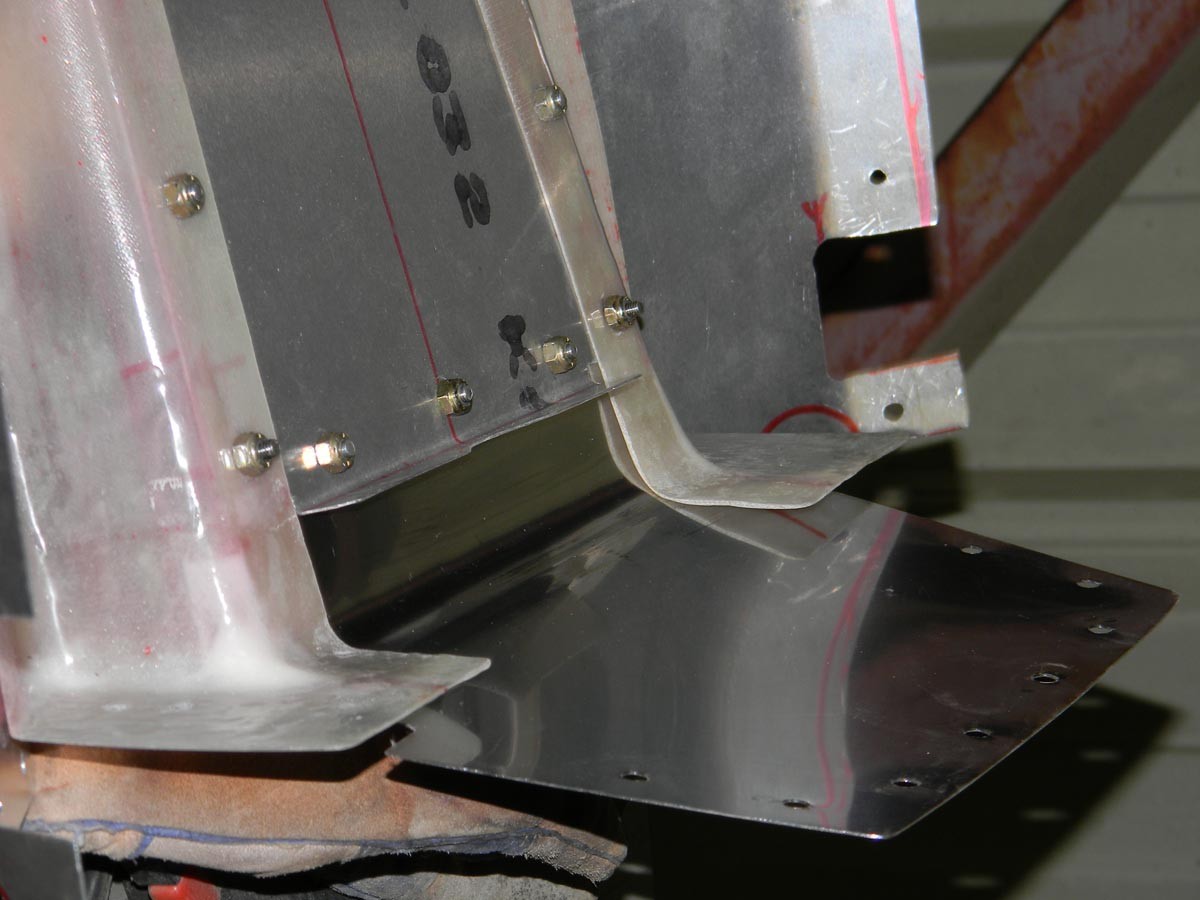
 Side detail of the firewall joggle. The short bottom flange will attach to the aluminum angle on the bottom sides of the firewall. The white fillet is made from micro and epoxy. It sands and shapes nice and is covered by a light layer of S-Glass.
 -
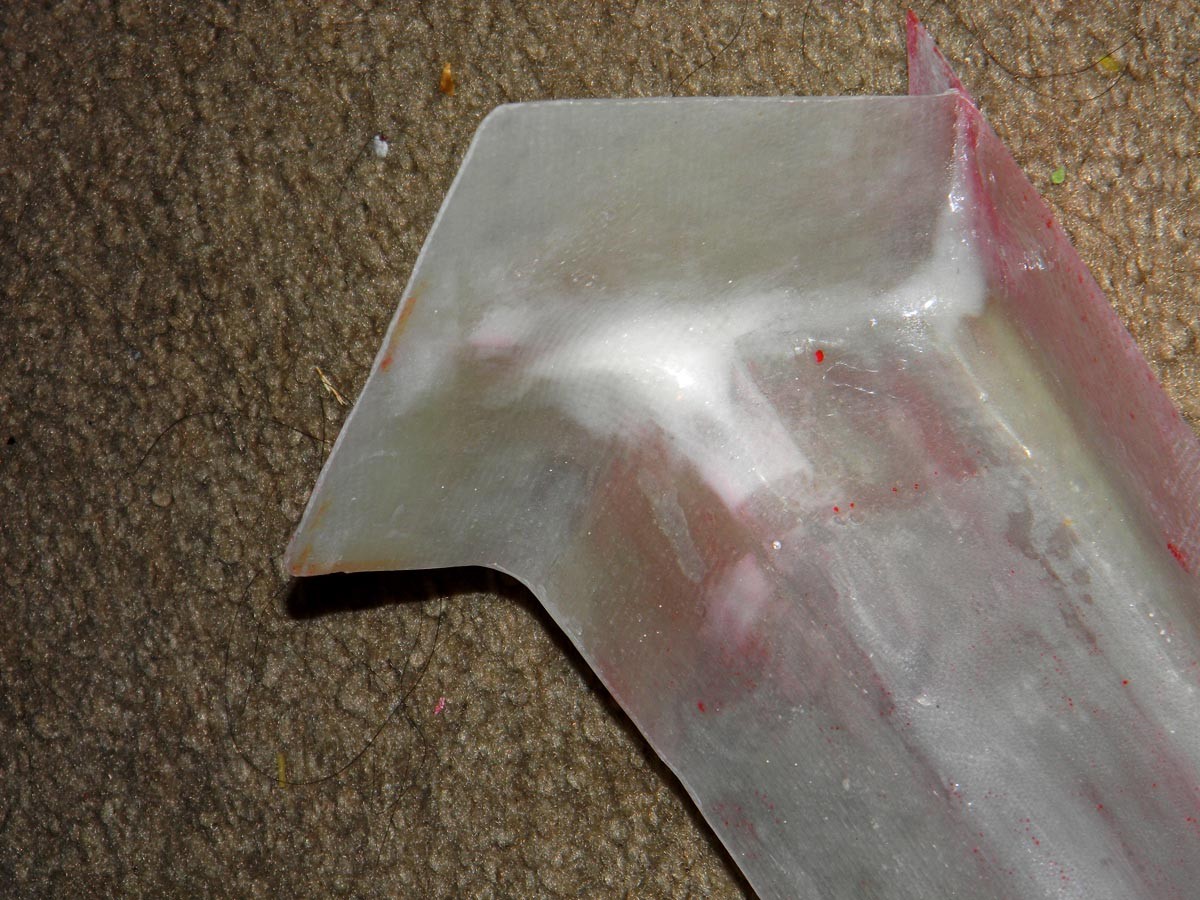
 Inside detail. The white stuff on this side is flox used to reinforce the intersection of the curve and firewall joggle. It is stronger than micro, but doesn't sand as nice. It is covered with a layer of glass for support.
 -
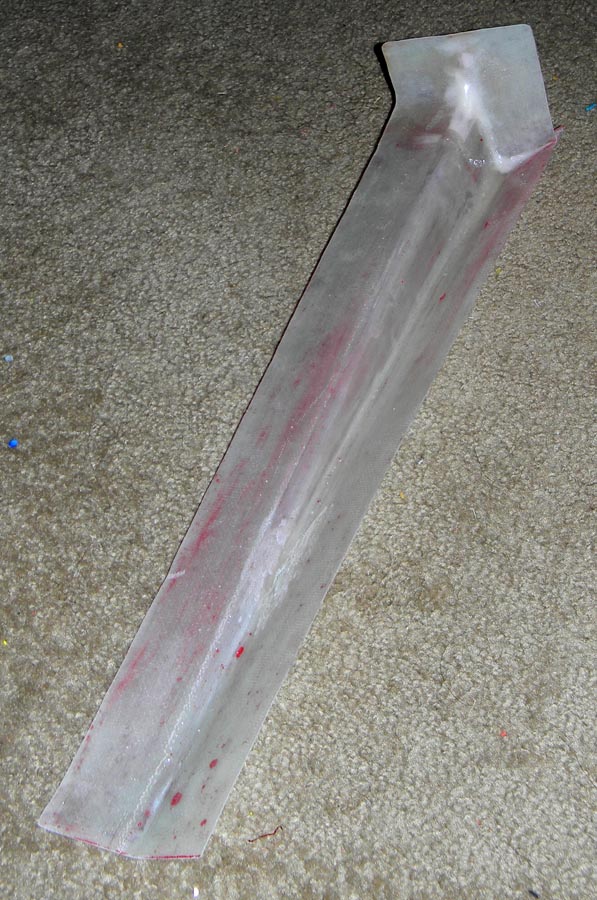
 Left flange inside view.
 -
 Left flange outside view.
 -
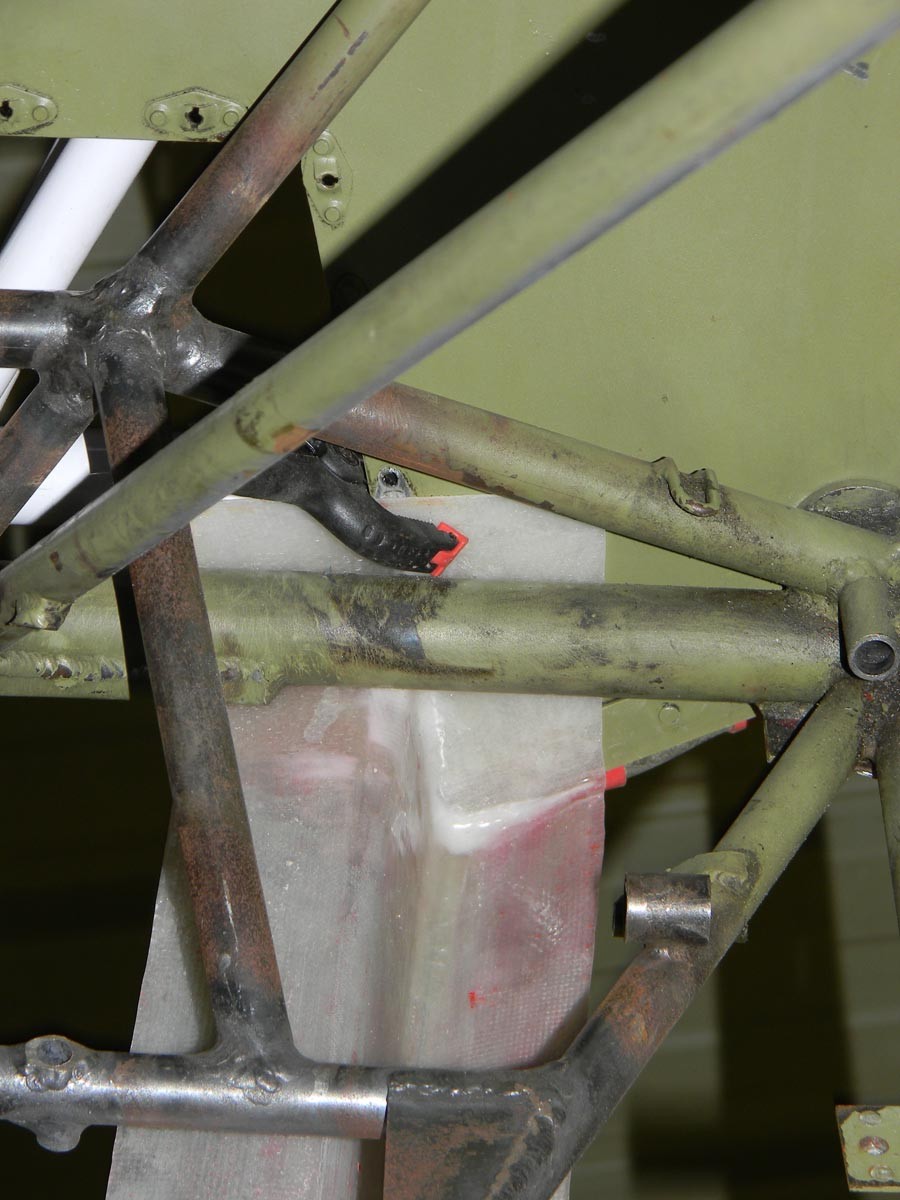
 New parts fit to belly and firewall.
 -

-
 Radius detail.
 -
 Firewall joggle detail from the inside.
 -
 New center panel cut, drilled and clecoed.
 -
 Front edge has a flange to stiffen up the overlap of the stainless that will wrap around from the firewall. I'll install nutplates here to attach the edge of the stainless.
 -

-
 Detail of the front and the flange for stiffening.
 -
 View from the inside. The center edges of the flange have been trimmed to width.
 -
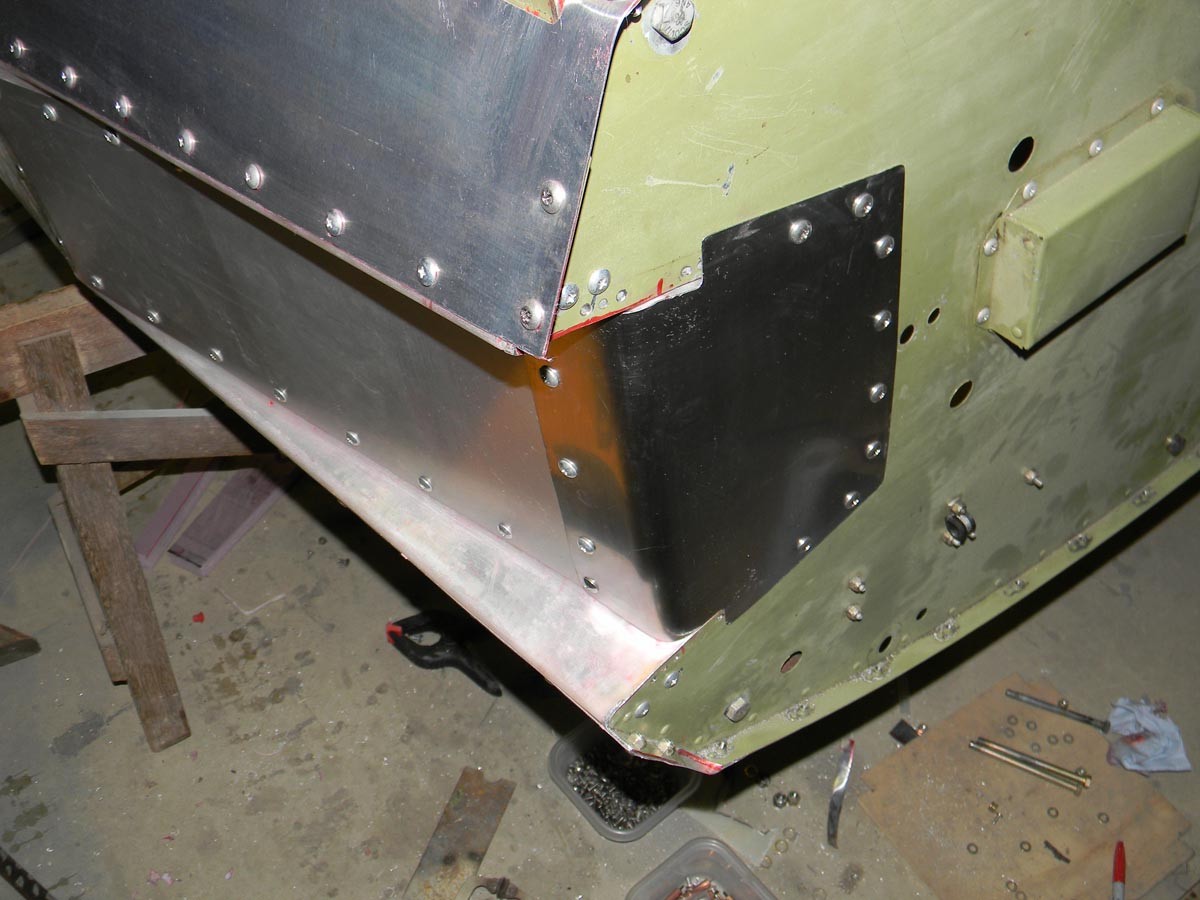
 Right panel fit and partially drilled. Also shows the stainless piece that will cover the old bungee cutout and wrap to the bottom. This one was made from a piece of scrap to try it out. The final part will be much cleaner.
 -
 I spent extra time getting the fit right around the wing attach and flying wire fittings. It came out pretty well.
 -

-

-

-

-
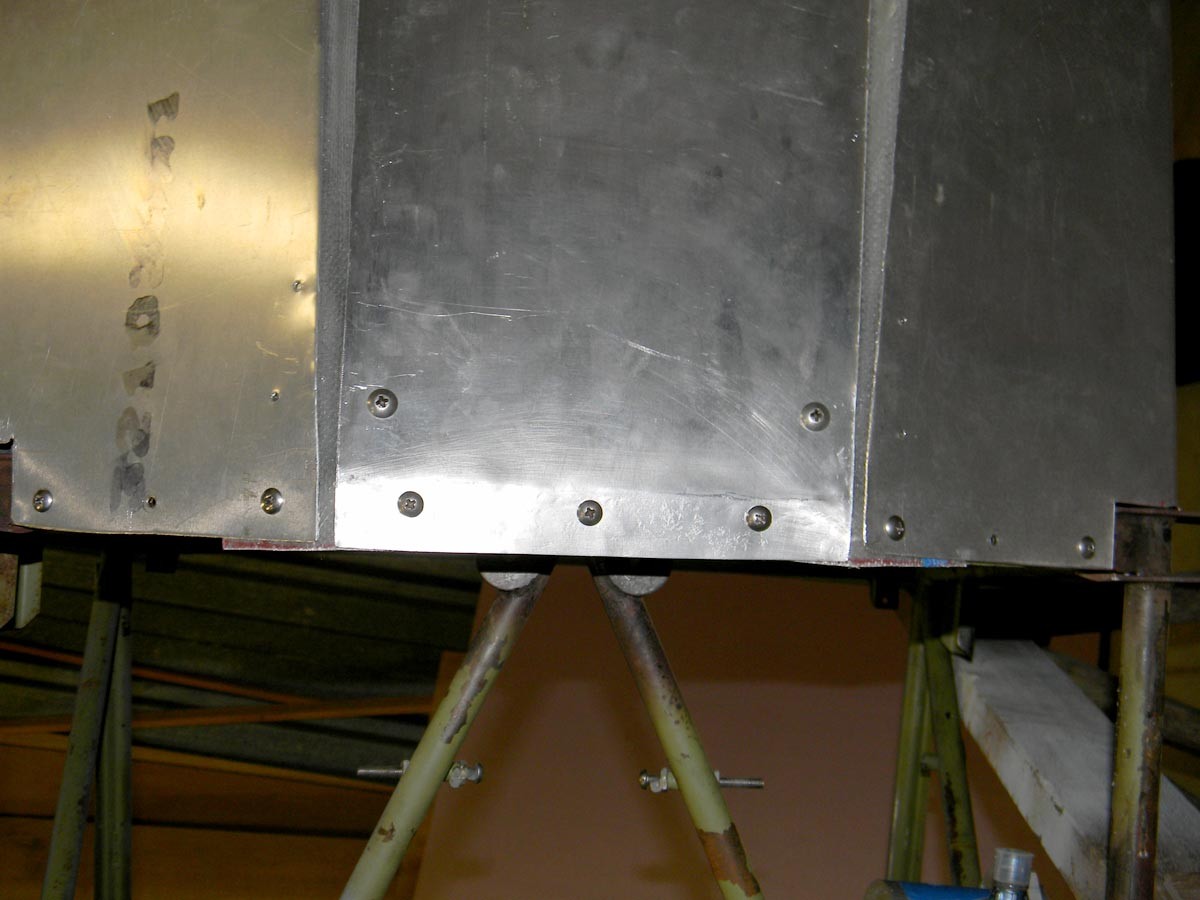
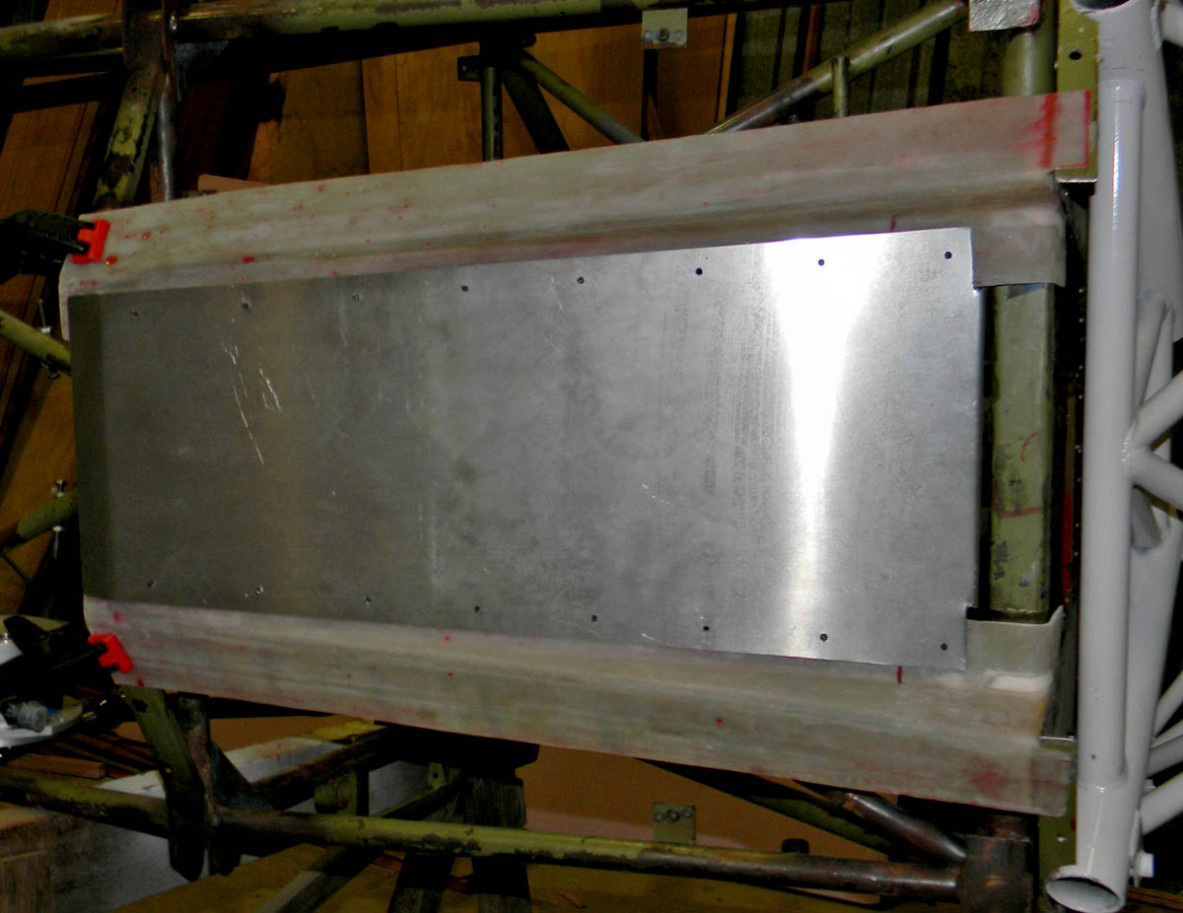
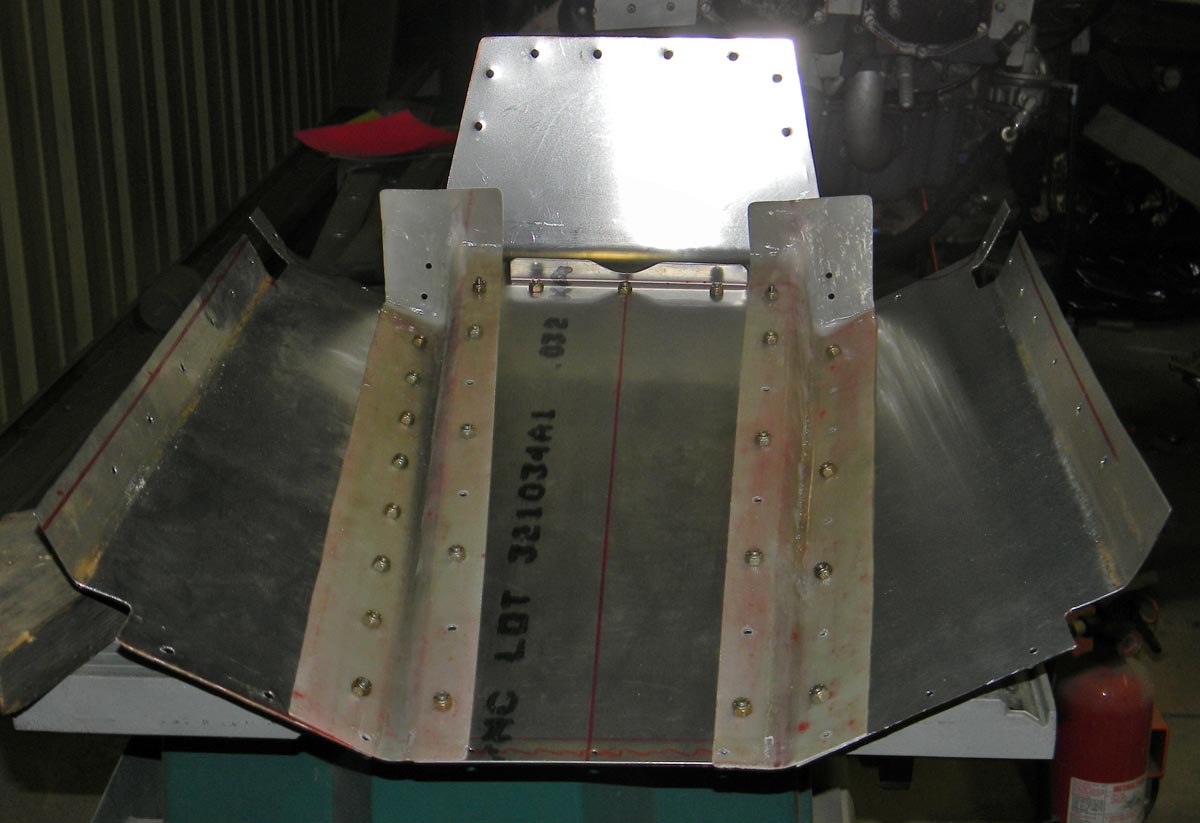
 All three panels fit, formed and drilled. Just a little trimming and deburring left to complete.
 -
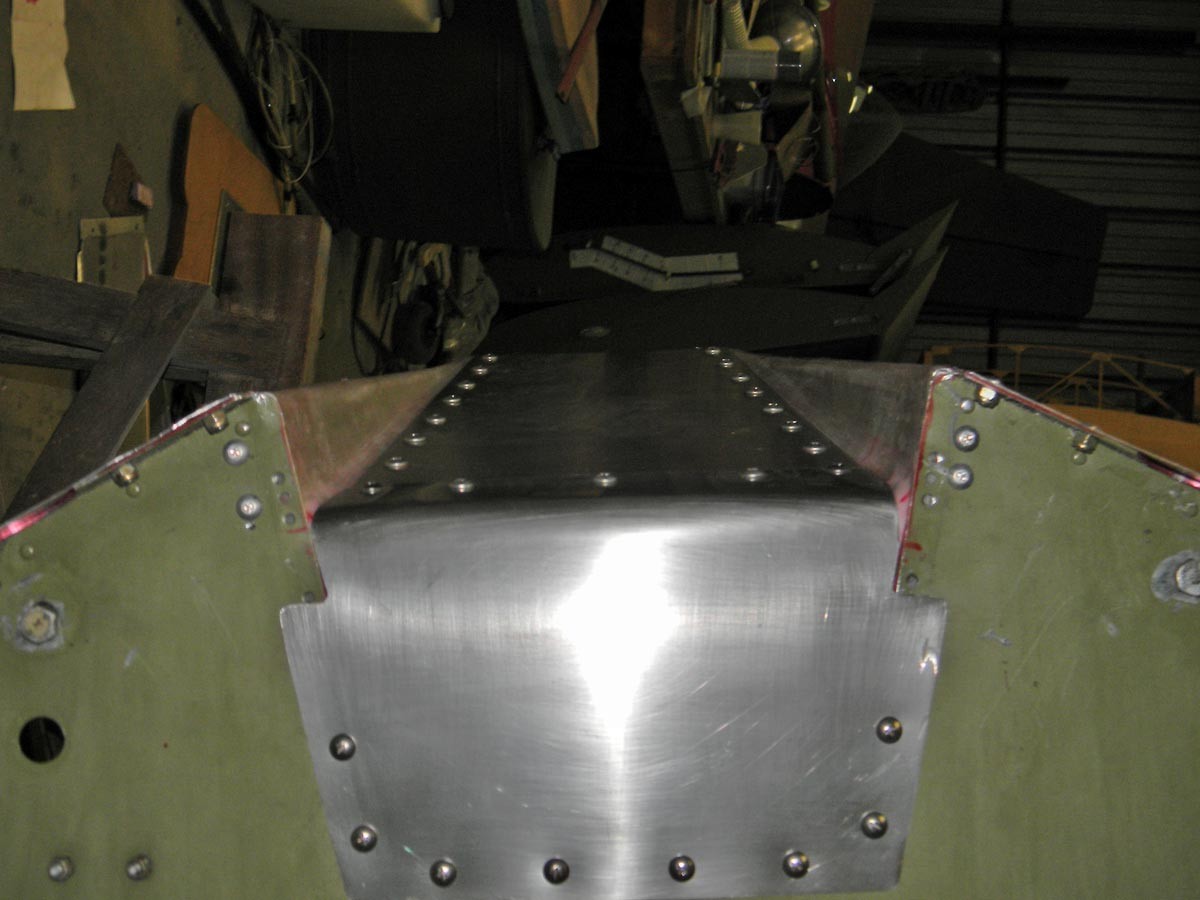
 Looks pretty good now with the other belly panel. Not perfect, but I like the result.
 -

-

-
 I like this shot. It shows the rounded corner of the firewall and the straightness of the panel edges and flange radii.
 -

-
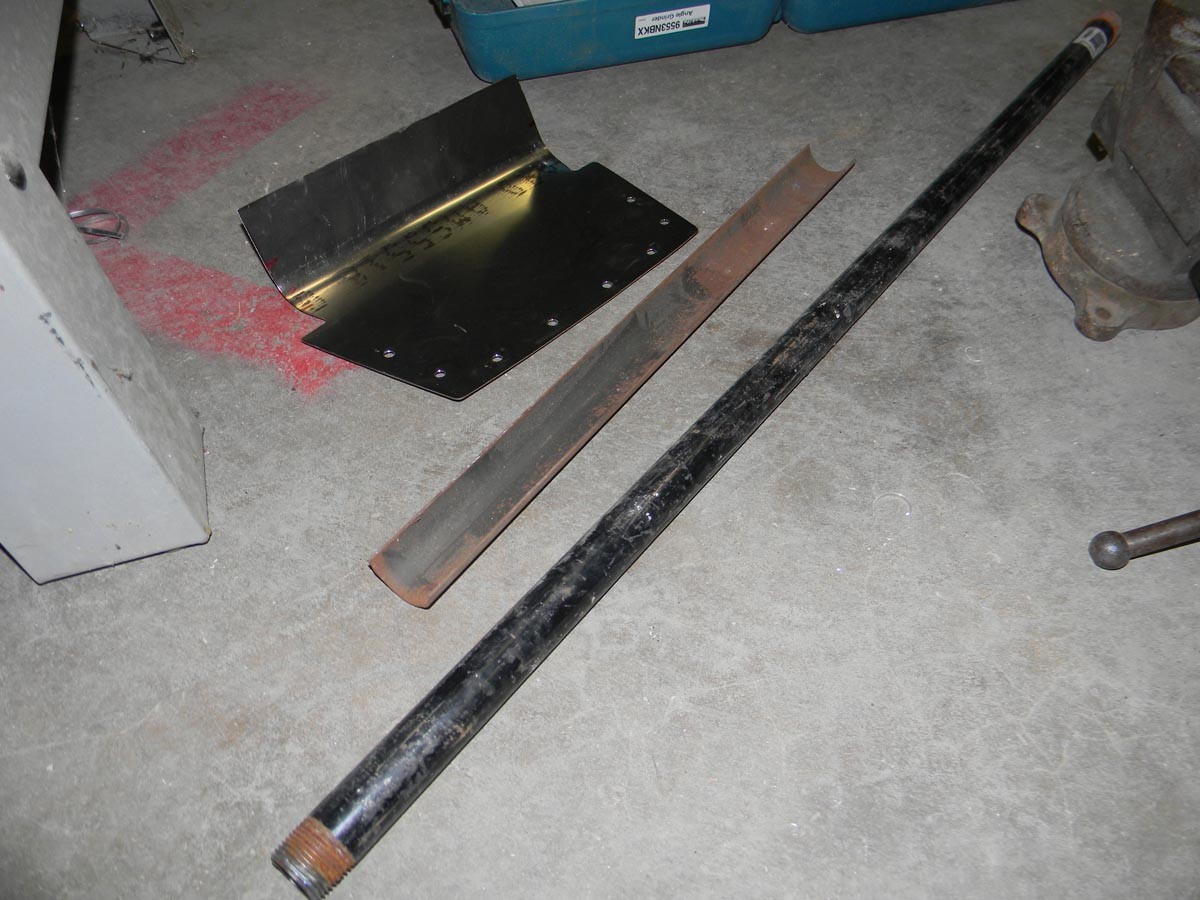
 Pipe and piece of steel tubing used to form the bend in the stainless steel.
 -

-
 Stainless steel wrap panel finished.
 -

-

-

-
 An inside view of the whole assembly after it was removed from the frame. The nylock nuts will be replaced with nutplates. There is still some trimming to do as well.
 -

-

-

-
 Added doubler behind the flanges to support the countersunk rivets better. A little flow on the front face that will get sanded down for a clean fit with the back of the firewall.